52339001系统-2.pdf - 第4页
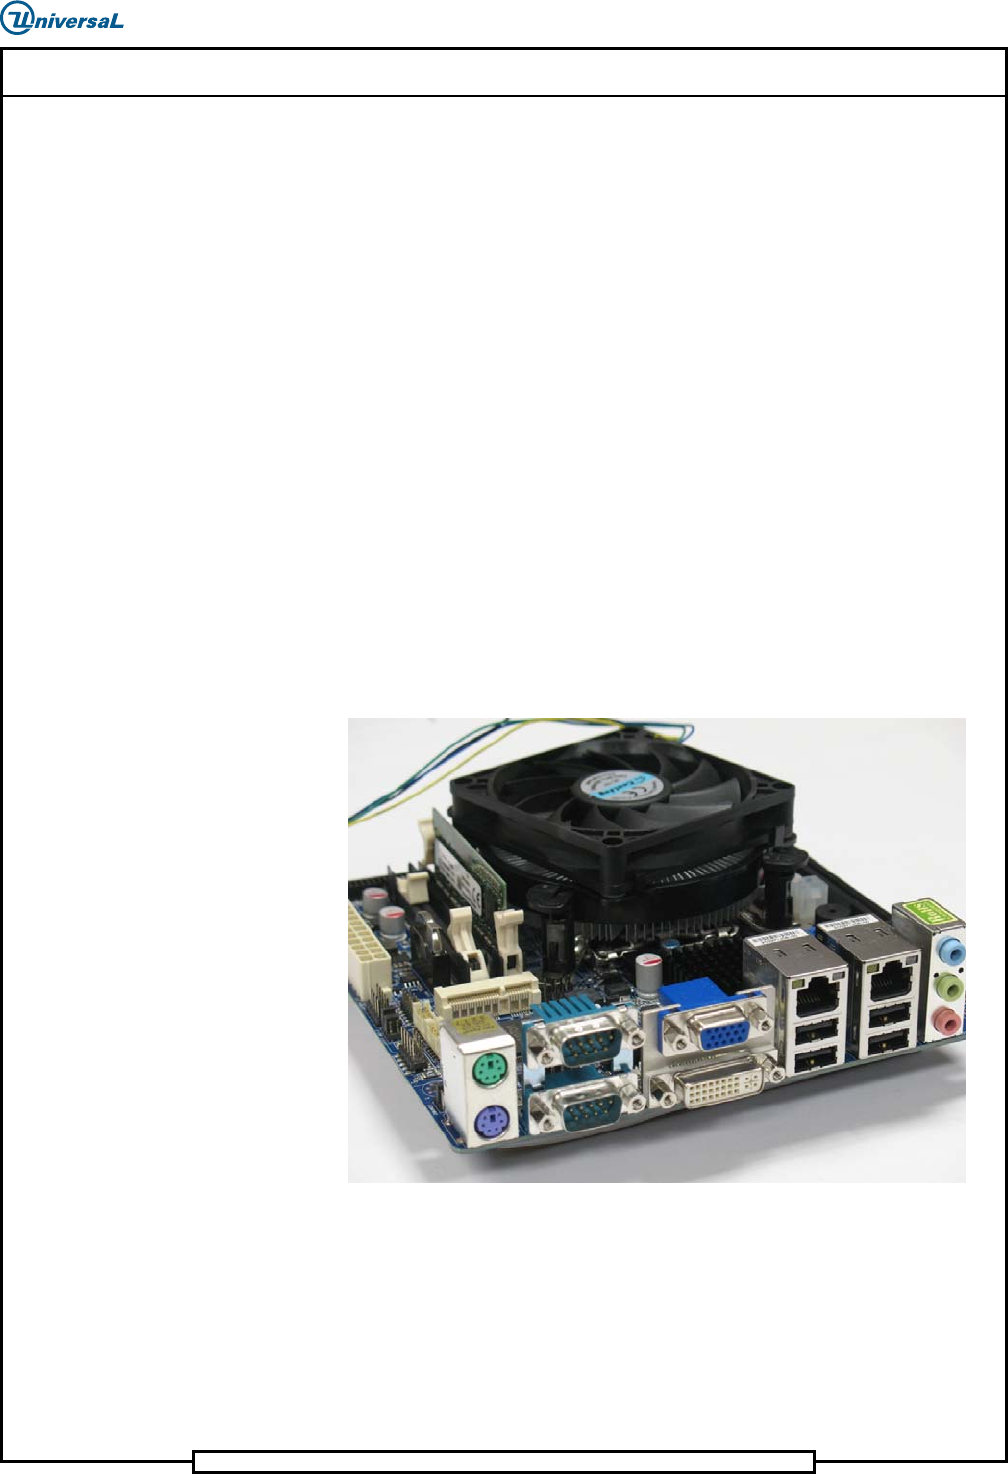
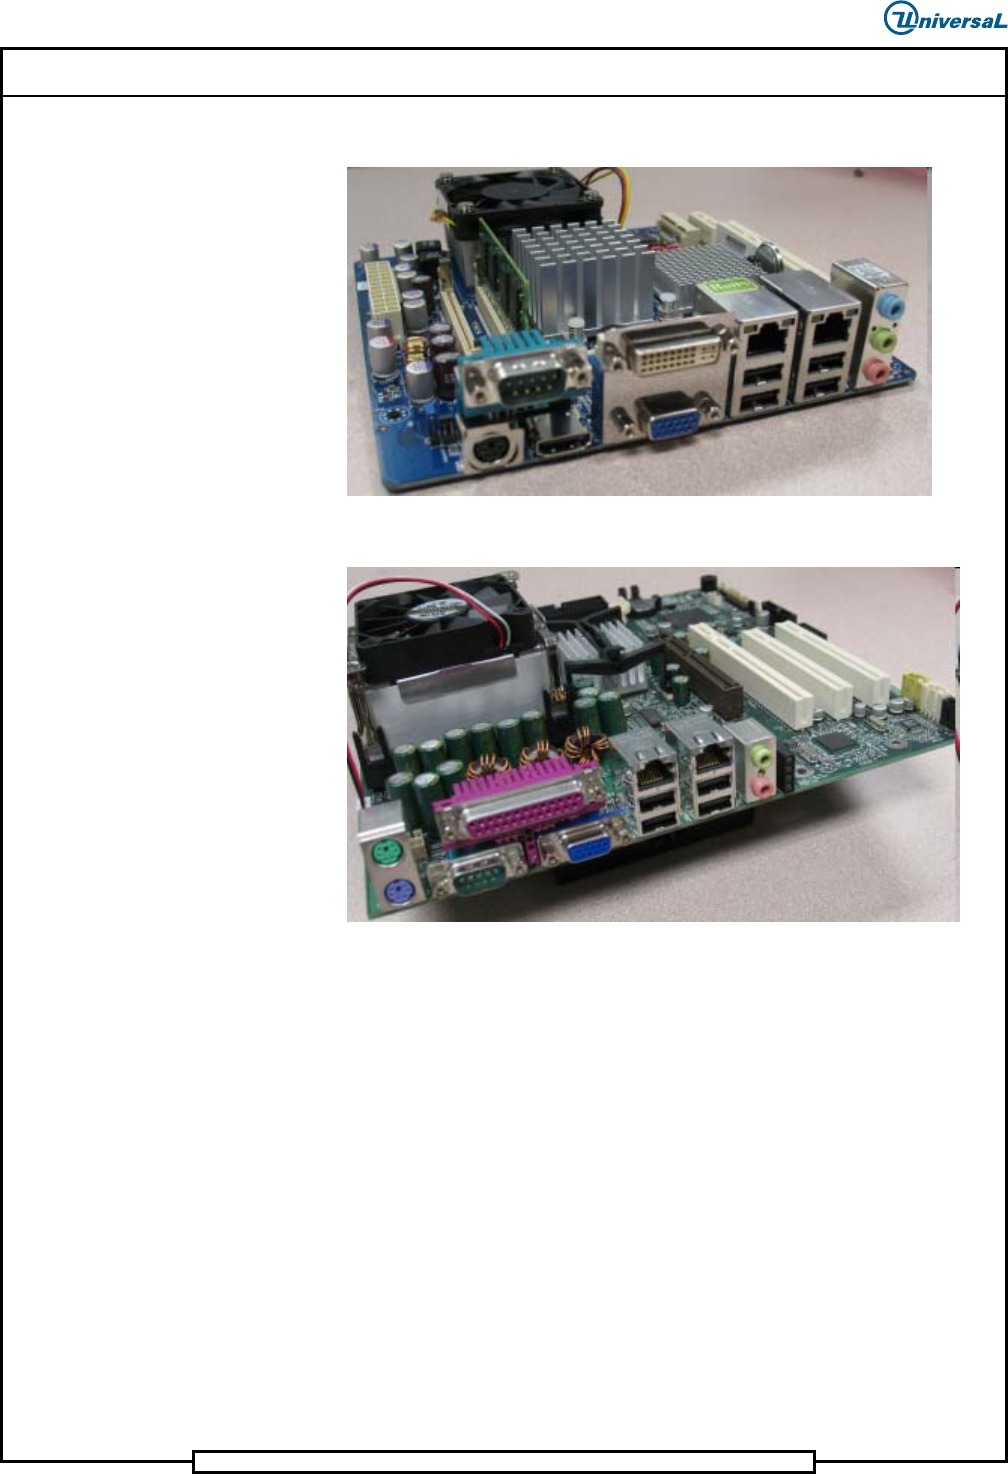
Page 2 52339001 Rev . C Installing eComStation fr om a Disk Image This document supports eComStation 2.x and higher and IM-UPS 6.0 and higher. ITX Motherboard – Use Procedure #2: ATX Motherboard – Use Procedure #2:
Page 1
Installing eComStation from a Disk Image 52339001 Rev. C
This document supports eComStation 2.x and higher and IM-UPS 6.0 and higher.
Introduction
This document provides instructions for installing eComStation. Depending
on the machine, one of the procedures will be used.
• MX61H motherboard: Follow the procedure “Procedure #1:
Install eComStation (BCM MX61H Motherboard)”
• ITX or ATX Motherboards: Follow the procedure “Procedure #2:
Install eComStation from a Disk Image (ITX or ATX
Motherboards)”
Determine the Motherboard in the Machine
Determine what motherboard is installed in the machine, then use the
corresponding procedure:
1. Look at the ports on the back of the VME Chassis.
2. Refer to the following pictures to identify the type of motherboard:
BCM MX61H Motherboard – Use Procedure #1:

Page 3
Installing eComStation from a Disk Image 52339001 Rev. C
This document supports eComStation 2.x and higher and IM-UPS 6.0 and higher.
Procedure #1: Install eComStation (BCM MX61H Motherboards)
Use this procedure on machines with the BCM MX61H motherboard.
Perform the procedures in the sequence provided to install eComStation.
Prerequisites
• Back up IM-UPS if it is already installed on the machine and if the
machine is functioning.
• Obtain the appropriate eComStation CD or DVD and the license
key.
• The BCM MX61H motheroboard has been intstalled or has been
identified.
1. Boot Up Machine, Verify BIOS, Start
Installation
To start the installation, do the following:
1. Power-up or boot up the VME chassis. While it is powering up, press
the Delete key several times until the BIOS screen displays.
2. Select Save & Exit > Load Optimized Defaults.
a. Press Enter.
b. Select Yes.
c. Press Enter.
3. Select Advanced > SATA Configuration > SATA Mode
Selection.
a. Press Enter.
b. Select AHCI.
c. Press Enter.
d. Press Esc.
4. Select Chipset > PCH-IO Configuration > Restore AC Power
Loss.
a. Press Enter.
b. Select Power On.