52339001系统-2.pdf - 第17页
Page 15 Installing eComStation fr om a Disk Image 52339001 Rev . C This document supports eComStation 2.x and higher and IM-UPS 6.0 and higher. 1. Select Shut down from the tool bar. The Shut Down dialog displays. 2. Sel…
Page 14
52339001 Rev. C Installing eComStation from a Disk Image
This document supports eComStation 2.x and higher and IM-UPS 6.0 and higher.
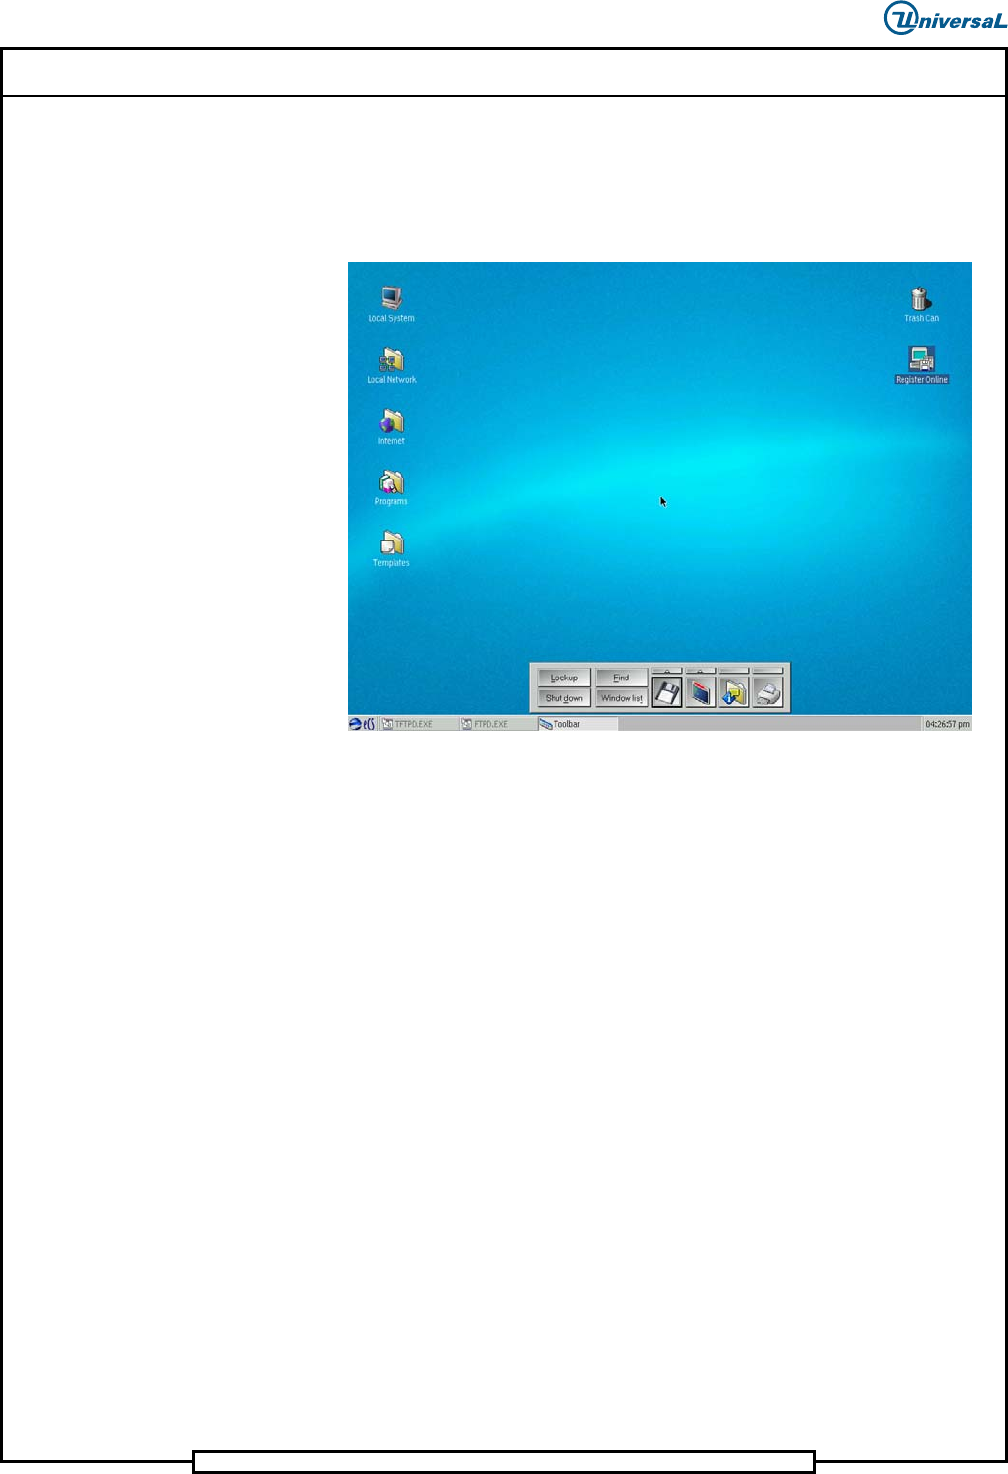
20. After the system reboots, the desktop should display as follows.
Note that the Toolbar is displayed, and that three items are listed in the
task bar (TFTPD.EXE, FTPD.EXE, and Toolbar). The screen will also
be operating in 1024x768 resolution.
16. Set Up Shortcut for DVD/CD Toys
It might be convenient to create a desktop shortcut to the DVD/CD Toys
(which allow burning of CDs); this item is located within Programs >
Installed Software.
To create a shortcut:
1. Find the item of interest, and select it.
2. Press and hold the right mouse button and the Ctrl key.
3. Drag the item icon onto the desktop.
4. Release the right mouse button and Ctrl key.
5. Close the Programs and Installed Software windows.
17. Final Shutdown Configuration
The final task is to perform another reboot of the system. This will allow the
shutdown defaults to be set for FTPD.EXE and TFTPD.EXE, and will
confirm that all settings are stored correctly.

Page 15
Installing eComStation from a Disk Image 52339001 Rev. C
This document supports eComStation 2.x and higher and IM-UPS 6.0 and higher.
1. Select Shut down from the tool bar. The Shut Down dialog displays.
2. Select Shut down only.
3. Select OK. A message displays indicating that TFTPD.EXE cannot be
closed automatically.
4. Select Skip session (do not close).
5. Place an X in Store these settings with auto-close details.
6. Select OK. Another message displays indicating that FTPD.EXE
cannot be closed automatically.
7. Select Skip session (do not close).
8. Place an X in Store these settings with auto-close details.
9. Select OK. The system will shut down and display its final message.
The installation process is now complete.
10. Type Ctrl+Alt+Del.
11. Observe that the system reboots and the desktop displays.
The system is now ready to load IM-UPS for the required machine
type.
Page 16
52339001 Rev. C Installing eComStation from a Disk Image
This document supports eComStation 2.x and higher and IM-UPS 6.0 and higher.
Procedure #2: Install eComStation from a Disk Image (ITX or ATX
Motherboards)
Use this procedure on machines with the ITX or ATX motherboard.
The image CD included in this package can be used to install the appropriate
version of eComStation, pre-configured for use on your machine. Once the
image has been installed and the system rebooted the machine controller will
be ready to have IM-UPS installed on it. The machine should run correctly
with no need for further configuration upon completion of this procedure. It
should be possible to go from a new or unloaded hard drive to the
eComStation desktop in less than 10 minutes when loading eComStation
onto an ITX or ATX based control system.
An image package, created by imaging an eComStation installation on a
“Master Drive”, is currently available for the following Universal standard
Operating System/Hardware configuration:
eComStation/ATX/Motorola Power PC
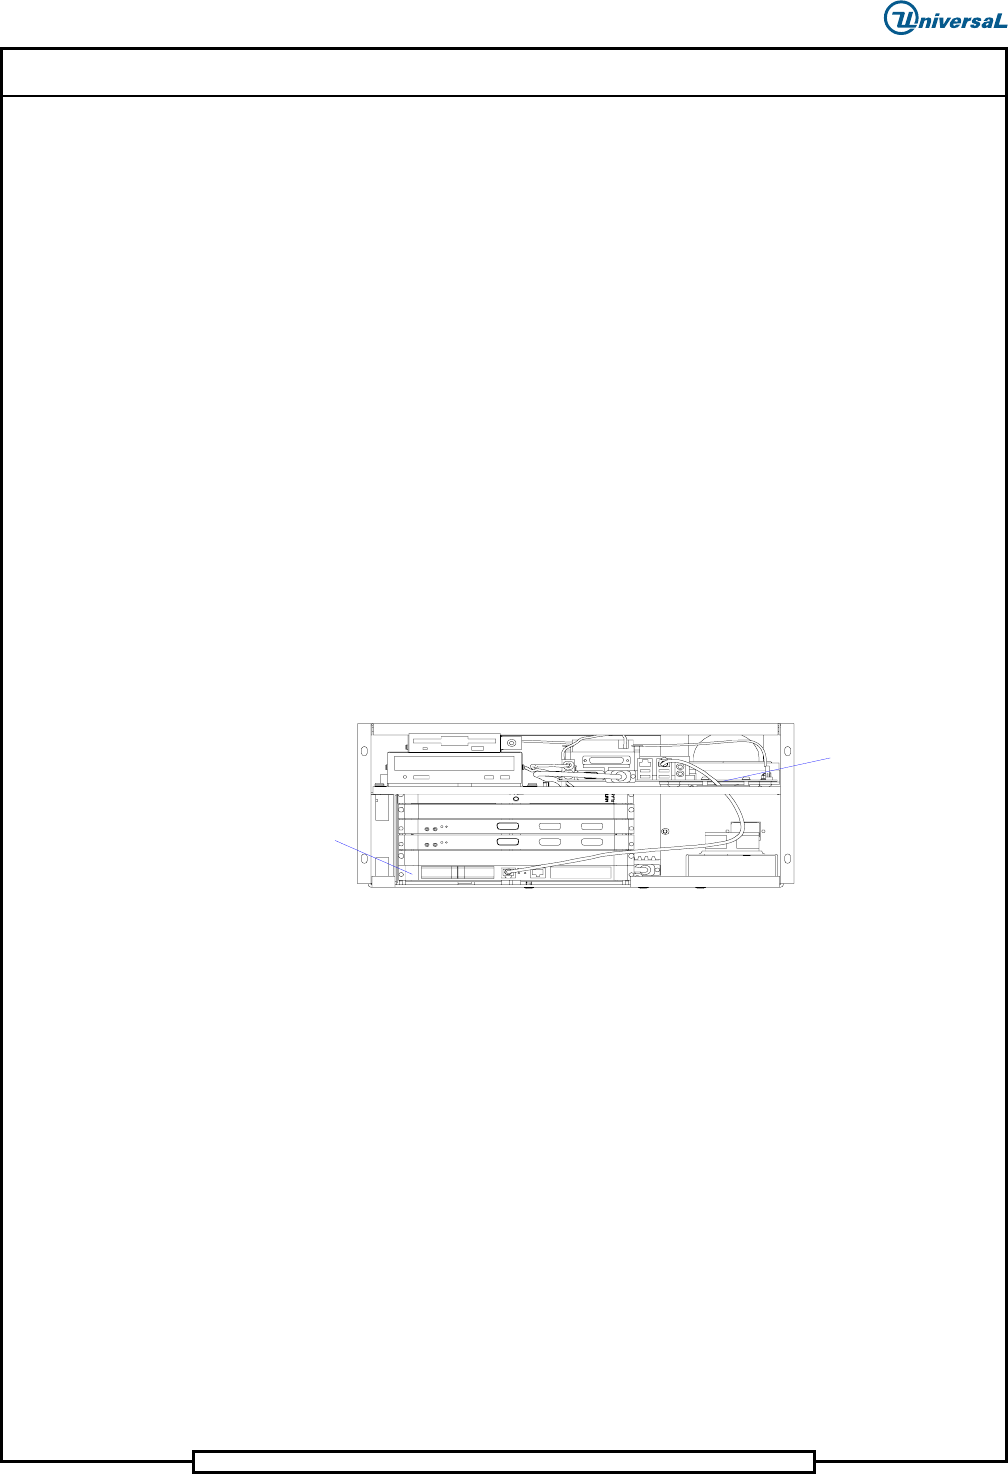
Use the following illustration to determine the hardware configuration.
VME/ATX Chassis Assembly
ATX Mother Board/Motorola Power PC Hardware Configuration
Motorola Power PC
MCOS Board
ATX Mother Board
These images cannot be installed on drives that are smaller than the master
drives the images were created from. The eComStation images must be
installed on a drive that is at least 100GB in capacity. The HPFS file system
used by eComStation allows additional drive space up to a maximum of
64GB, to be used in most cases.
This installation document assumes that the processor BIOS settings are
correctly set. Installing an image on a system with incorrect BIOS settings
might result in improper or unstable operation. Refer to the machine software
installation documentation for details on these settings.
This installation document does not discuss network configuration. Network
settings required for machine operation are incorporated into the image and
should not require changing. Refer to the appropriate section of the software
installation manual if the machine is to be connected to a Wide Area Network
(WAN).
Universal recommends not performing the WAN configuration steps until the
machine has been running correctly in a stand alone configuration.