1_SME_DB_Feeder_User_Guide(Eng_Ver1.4).pdf - 第52页
2-26 SM-Series SME DB Tape Feeder User's Manual 2.7.2. SME 12~88mm Tape Feeder Transport Pitch For the SME 12~88 mm tape feeder s, the feeding pitch can be set to units of 4mm. Actual feeding distan ce can be calcul…
2-25
Operation of the Feeder
2.7. Changing the Transport Pitch
2.7.1. SME 8mm Tape Feeder Transport Pitch
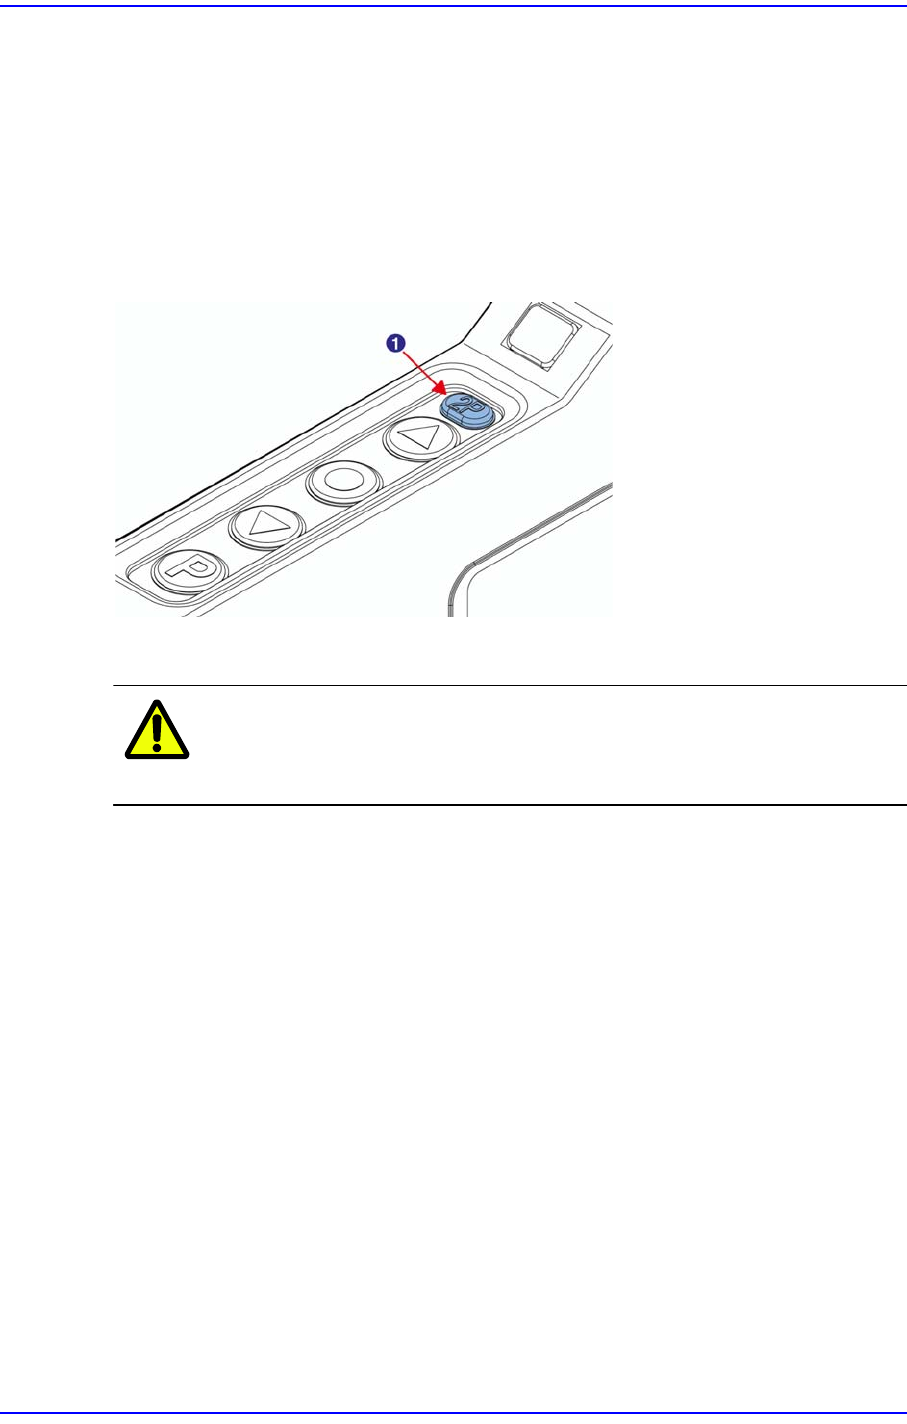
The SME 8mm tape feeder feeds parts with feeding pitches of 2 and 4mm. That is, its
feeding pitch can be set in 2mm intervals. If the pitch lamp turns green, it means the feed
pitch is 2mm (2P state). If the pitch lamp turns off, it means the feed pitch is 4mm (4P
state). For the setup method, refer to ‘2.6 SME Tape Feeder Switch Operation Method’.
Figure2.21 Setting the pitch for the tape feeder
1: Pitch Lamp
Caution Unless the pitch is set properly, part loss may occur.
Therefore, exercise care.
For machines supported by a motor driven feeder (option), the pitch of the feeder is set to
the feed pitch set in the Part Information.
In addition, in order to change the pitch, press the ‘Home’ button or remove the feeder and
install it again and then press the ‘Home’ button. If the ‘Home’ button is not pressed, it
will not operate properly when the LED indicator is red..
2-26
SM-Series SME DB Tape Feeder User's Manual
2.7.2. SME 12~88mm Tape Feeder Transport Pitch
For the SME 12~88 mm tape feeders, the feeding pitch can be set to units of 4mm.
Actual feeding distance can be calculated by multiplying the value displayed in the 7-
Segment window by 4mm.
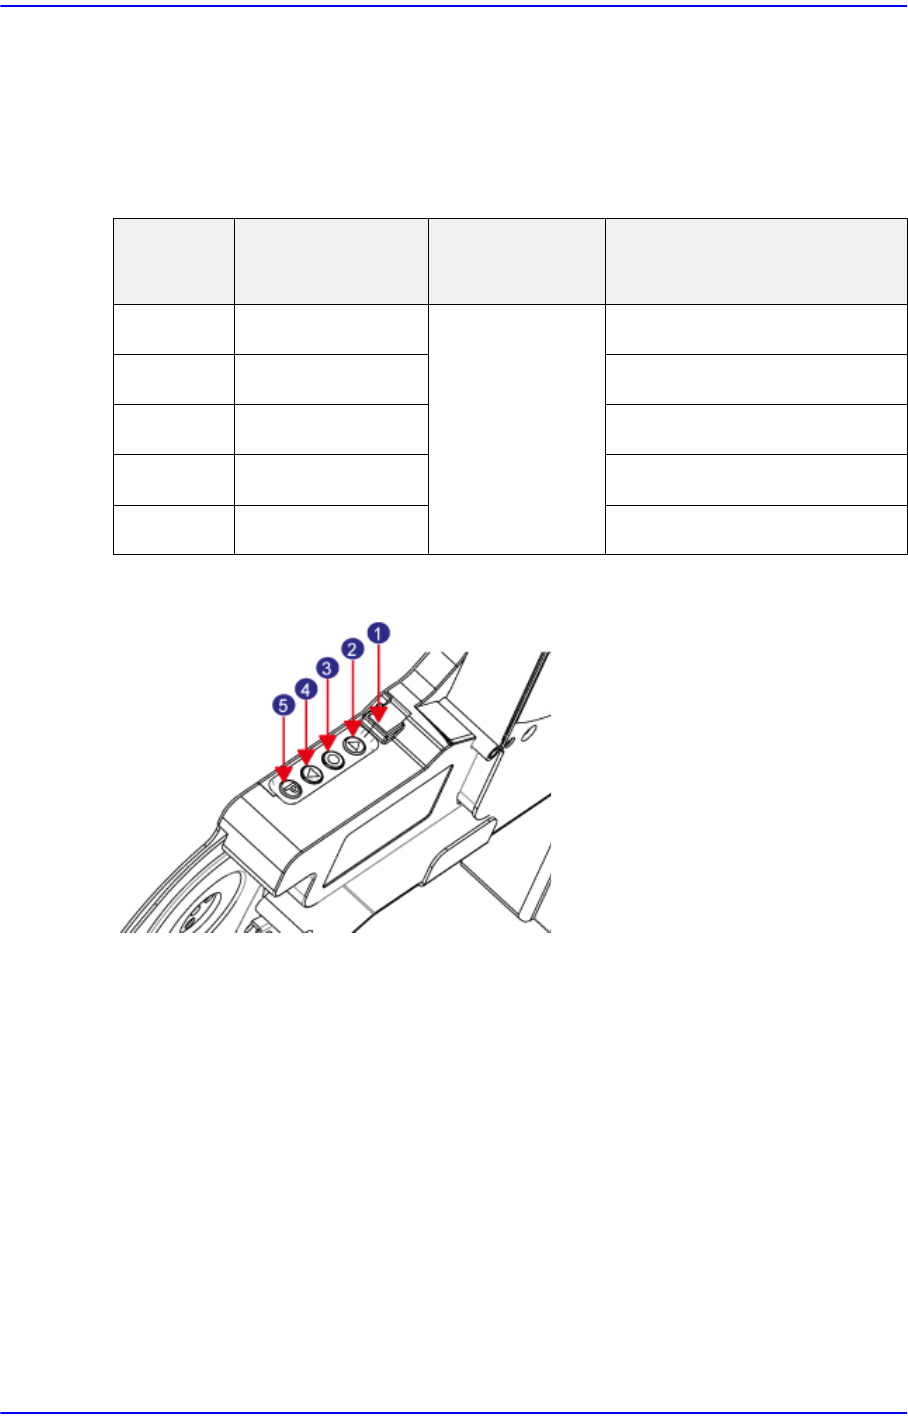
Table2.1 Table for Feeding Pitch by Tape Feeder
Figure2.22 12~88mm Tape Feeder Switch
1: 7Segment
2: Forward Button
3: Home Button
4: Backward Button
5: Pitch Change Button
The method to set the tape feeding pitch by pressing the button on the tape feeder
operation panel is as follows:
1) Pressing and holding the 'Pitch Change' button changes the status of the 7-Segment to
blinking.
2) Referring to the table for feeding pitch by tape feeder, press the Forward or Backward
button to change the pitch.
3) Press the 'Pitch Change' button briefly to finish tape pitch setup.
Tape Size
7-Segment
Indication Value
Feeding Pitch Possible Feeding Distance
12mm 1~3 4mm 4~12mm
16mm 1~4 4~16mm
24mm 1~6 4~24mm
32mm 2~8 8~32mm
44~88mm 2~11 8~44mm
2-27
Operation of the Feeder
The method to set the tape feeding speed by pressing the button on the tape feeder
operation panel is as follows:
1) Pressing and holding the 'Pitch Change' button changes the status of the 7-Segment to
blinking.
2) Press the 'Home' button and hold to change the state of the 7-Segment to .
3) It is possible to change the tape
feeding speed by selecting one of the 3 types displayed
on the 7-Segment. Select the tape feeding speed by pressing the Forward or Backward
button.
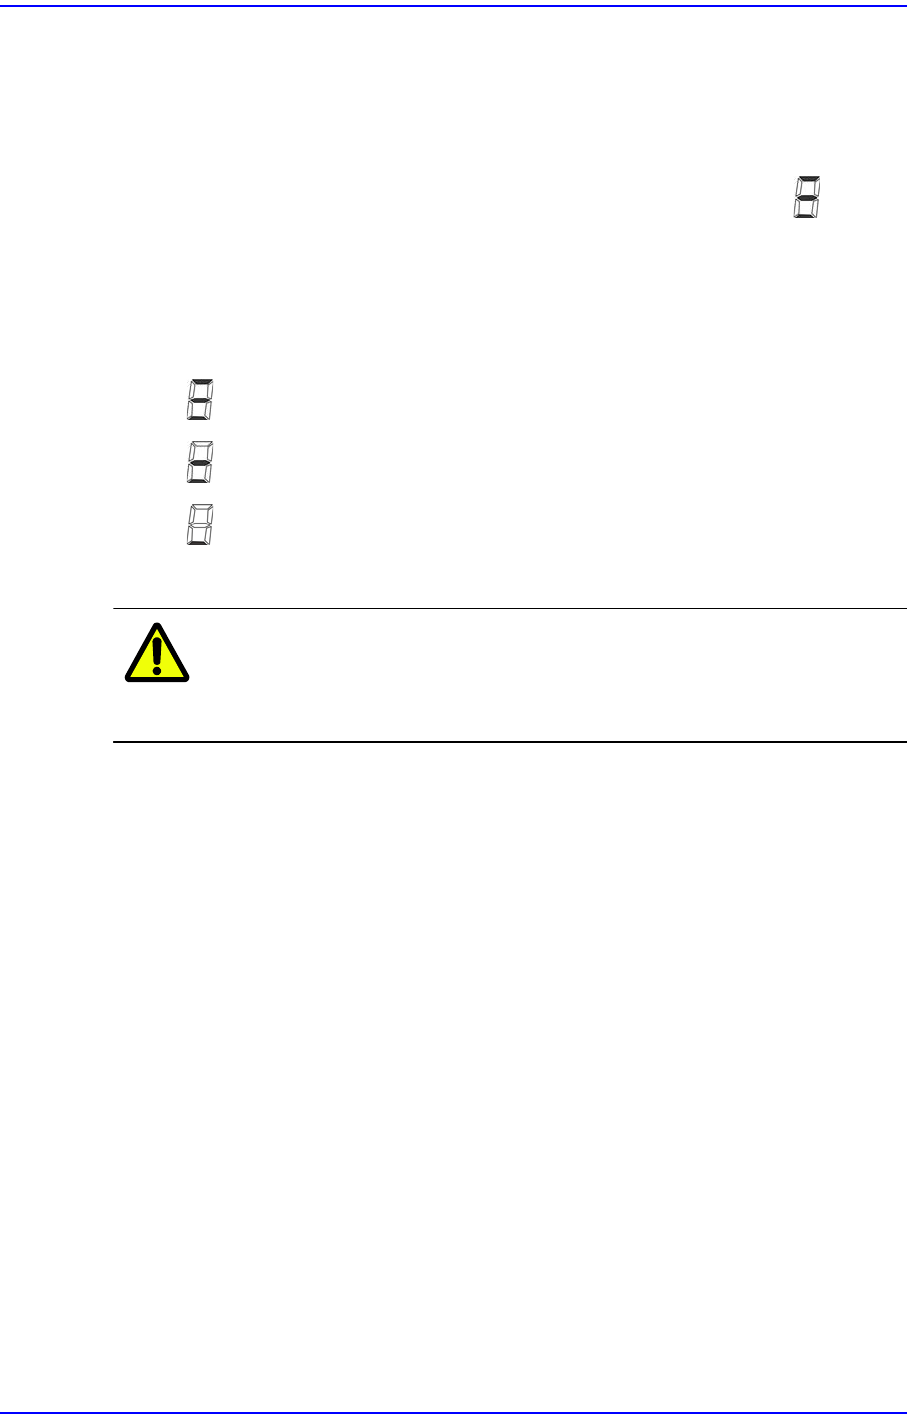
Fe
eding Speed of tape Indicated with the 7-Segment
: Normal
: Slow
: Slowly
4) Press the 'Pitch Change' button briefly to finish setup of t
he tape feeding speed.
Caution Unless the pitch is set properly, part loss may occur.
Therefore, exercise care.