Hybridklemmung mit Vakuumabfrage (Funktionsbeschreibung).pdf - 第39页
Functional description - Special design for t he hybrid clamping unit with vacuum check 02/2006 Edition 39 2.5 Connecting the pneumatic system 2.5.1 Pneumatic diagram for the vacuum support 2 2.5.2 Programming the KEYENC…
Functional description - Special design for the hybrid clamping unit with vacuum check
02/2006 Edition
38
2
2
2
2
2
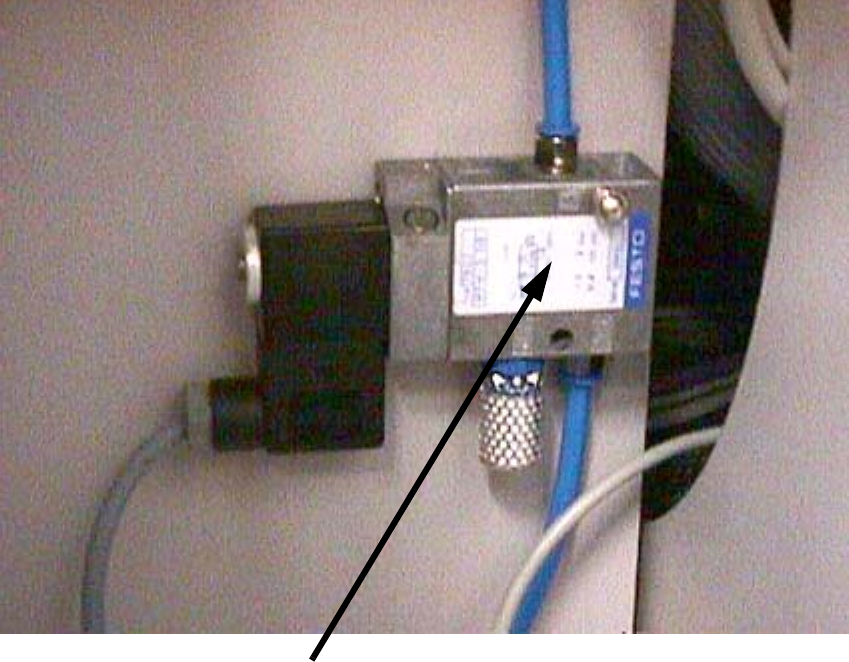
3/2-way valve with silencer

Functional description - Special design for the hybrid clamping unit with vacuum check
02/2006 Edition
39
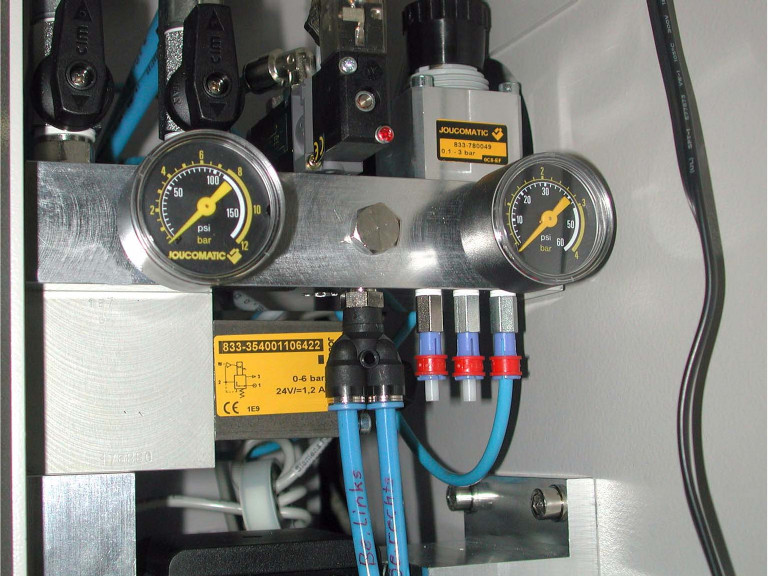
2.5 Connecting the pneumatic system
2.5.1 Pneumatic diagram for the vacuum support
2
2.5.2 Programming the KEYENCE air pressure sensor AP-31P (PNP)
The "lifting table up" signal is not enabled until the value set on the Keyence vacuum sensor is
reached. This threshold should be approx. -200 mbar below the closed vacuum (values of –820
mbar are possible with a good vacuum). 2
Setting instructions as per enclosure. 2
Program default setting 2
: Hold down the SET key for 3 seconds.
: Use the
ÇÈ keys to set the display unit to bAr (unit: BAR). Press the SET key.
: Use the
ÇÈ keys to set the operating mode to F3 (F3: mode for two independent outputs).
Press the SET key.
: Set N.O./N.C. to N.O. (normally-open contact) as above. Press the SET key.
: Set vibration avoidance to 100 (100 ms). Press the SET key.
: Set the display color to 2-C (2 color: red/green LED). Press the SET key. The device then re-
turns to measuring mode.
Included in item number for
Keyence compressed air sensor
00366201-01
Vacuum filter
00373428-01
(00375531-01)
fitted on the lifting table
Base with magnets
vacuum generating unit
00323173-01
(003327746)
the cable, vacuum tooling solenoid valve
3/2-way valve
To vacu
um
Functional description - Special design for the hybrid clamping unit with vacuum check
02/2006 Edition
40
Setting the zero point (calibration) 2
: Hold down key A in measuring mode for approx. 2 seconds. First "----" appears, then "0". The
measurement is now complete.
Entering the setpoint value 2
: Press the SET key. "A" and the current setpoint value flash alternately.
: Use the
ÇÈ keys to set the setpoint value. It should be 200 mbar less than the closed vac-
uum.
: Press the "A" key to save the setpoint value.
Setpoint value B is not needed and may be left set to -0.300 bar.
: Press the SET key to finish entering the setpoint value.
General 2
Measured values shown in red on the display indicate "closed vacuum OK".
N.O. contact closed. 2
Values shown in green: The measured values are lower than the threshold.
Closed vacuum too low or vacuum open (no PCB present). N.O. contact open. 2
Closed vacuum (PCB present) should be approx. > -700 mbar. 2
2.5.3 Connection on the machine compressed air supply
2