User Manual SIPLACE Linear Dipping Unit 2 X.pdf - 第68页
4 Operation 4.8 Operating the control unit via user interface 68 User Manual SIPLACE Linear Dipping Unit 2 X 05/2020 Starting a warm-up cycle NOTICE Only for testing the user interface Regardless of these settings, Serio…
4 Operation
4.8 Operating the control unit via user interface
User Manual SIPLACE Linear Dipping Unit 2 X 05/2020 67
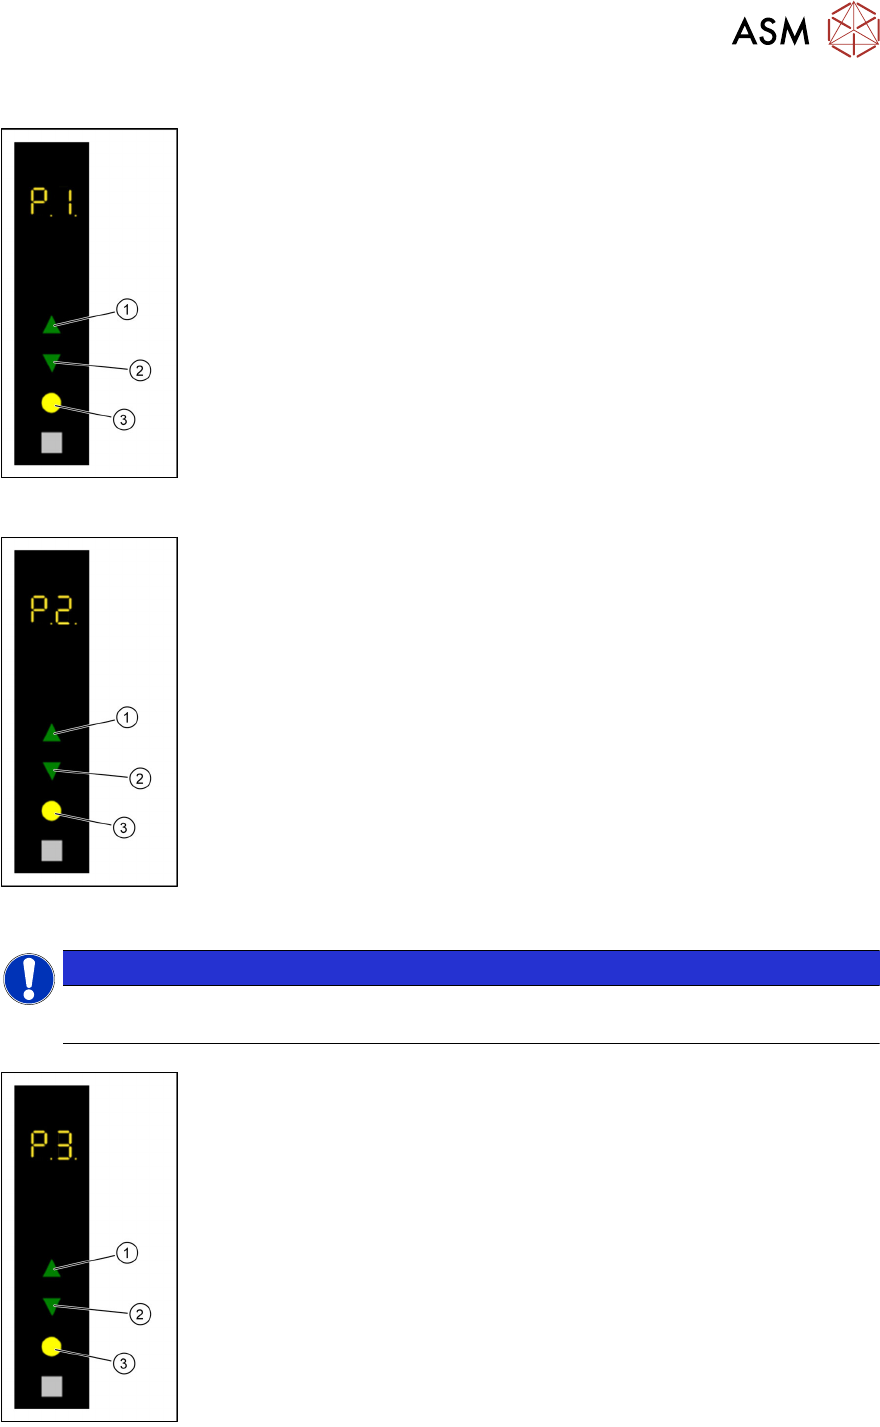
Starting a reference run
► Use the Up(1) or Down key(2) to select the operating mode P1.
► Press the Select key(3).
The LDU performs a reference run.
Refreshing the dipping medium
► Select with the Up (1) or Down key (2) the operating mode P2.
► Press the Select key (3).
The LDU performs a squeegee movement.
Adjusting the squeegee speed
NOTICE
Only for testing the user interface
Regardless of these settings, Serio always uses the SIPLACE Pro settings!
► Use the Up (1) or Down key(2) to select the operating mode P2.
► Press and hold the Up key(1), to switch to the Advanced production
activity level.
► Use the Up (1) or Down key (2) to select the operating mode P3.
► Press the Select key (3).
► Press the Up (1) or Down key (2) to increase or decrease the value of
the squeegee speed.
The squeegee speed in mm / s is shown in the 7 segment display 3/4.
► Press the Select key(3) to save the value.
4 Operation
4.8 Operating the control unit via user interface
68 User Manual SIPLACE Linear Dipping Unit 2 X 05/2020
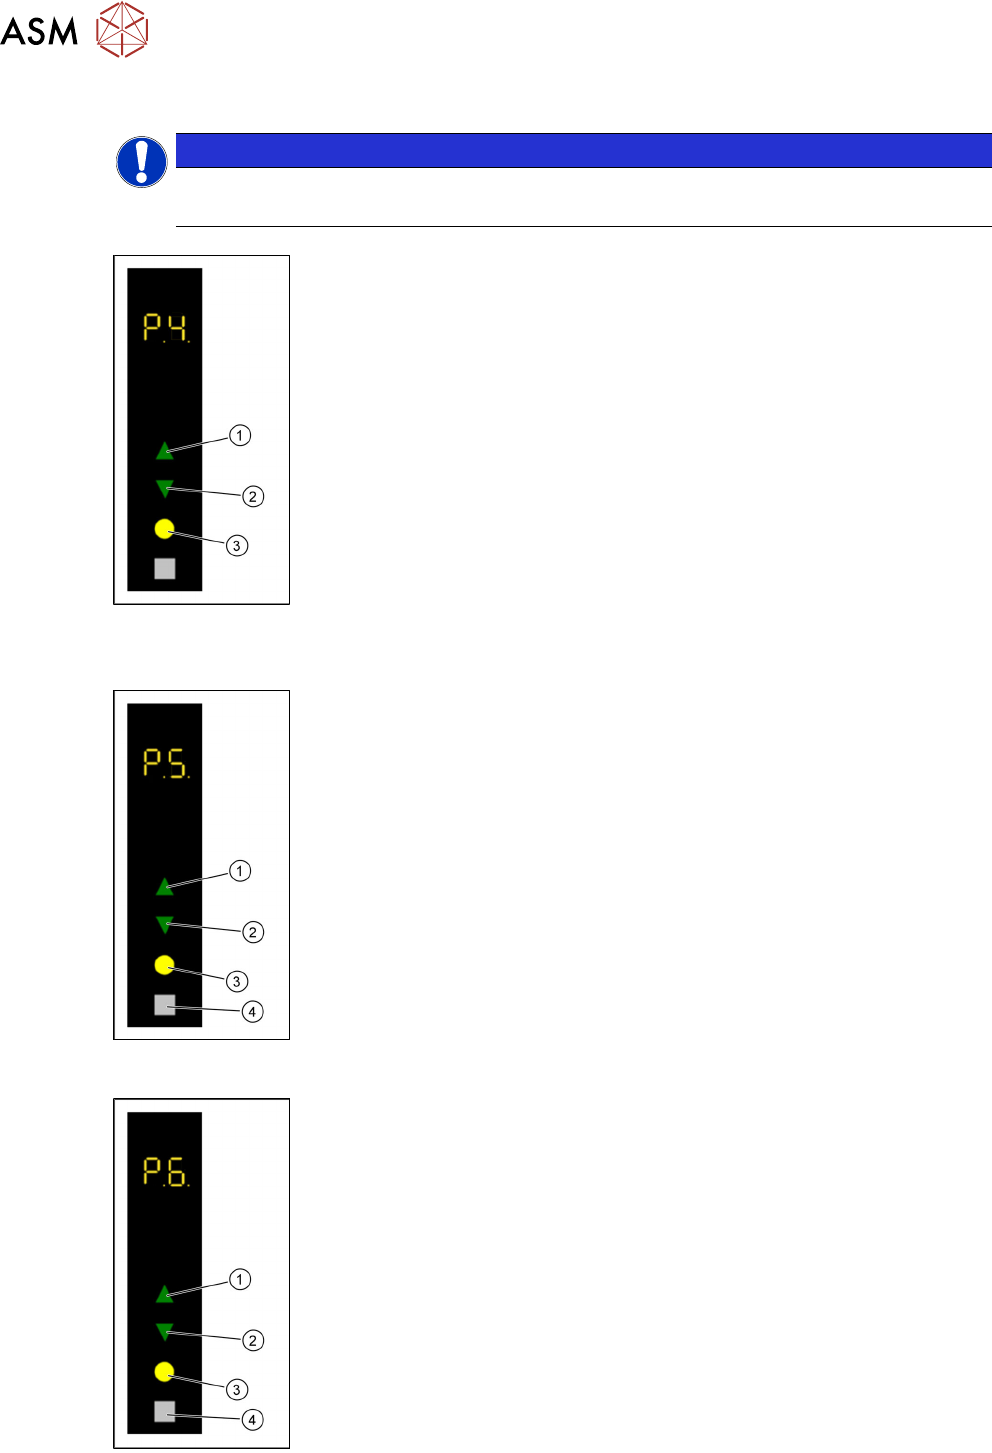
Starting a warm-up cycle
NOTICE
Only for testing the user interface
Regardless of these settings, Serio always uses the SIPLACE Pro settings!
► Use the Up (1) or Down key (2) to select the operating mode P2.
► Press and hold the Up key(1), to switch to the Advanced production
activity level.
► Use the Up (1) or Down key(2) to select the operating mode P4.
► Press the Select key(3).
► Use the Up(1) or Down key(2) to select the desired number of squee-
gee cycles (1-50).
The number of squeegee cycles is shown in the 7 segment display 3/4.
► Press the Select key(3).
The LDU performs a corresponding number of squeegee cycles. The num-
ber of remaining squeegee cycles is shown in the 7 segment display 3/4.
► Press the Adjust key (4) to stop the process.
The number of remaining squeegee cycles is set to zero and the process will
be stopped after finishing the running squeegee cycle.
Setting the zero position of the dipping plate
► Use the Up(1) or Down key(2) to select the operating mode P1.
► Press and hold theSelect(3) and Adjust(4) keys simultaneously to
switch to the Service
activity level.
► Use the Up(1) or Down key (2) to select the operating mode P5.
► Press the Select button(3) to start the calibration.
► Use the Up(1) and Down keys(2) to move the dipping plate until the
park plate and the dipping plate are exactly level.
► Press the Select button(3) to save the zero position.
Performing a self-test
► Use the Up(1) or Down key(2) to select the operating mode P1.
► Press and hold theSelect(3) and Adjust(4) keys simultaneously to
switch to the Service
activity level.
► Use the Up(1) or Down key(2) to select the operating mode P6.
► Press the Select key(3).
The LDU performs a self-test.
4 Operation
4.9 Handling
User Manual SIPLACE Linear Dipping Unit 2 X 05/2020 69
Calibrating the axes
NOTICE
Only use after repair of the LDU
Calibrating the axes is only recommended after the LDU has been repaired!
► Use the Up (1) or Down key (2) to select the operating mode P1.
► Press and hold theSelect(3) and Adjust(4) keys simultaneously to
switch to the Service
activity level.
► Use the Up(1) or Down key(2) to select the operating mode P7.
► Press and hold the Adjust key(4) until the digits 01 are shown in the 7
segment display 3/4.
► Press the Select key(3).
The LDU performs an axis calibration.
4.9 Handling
NOTICE
Target group: standard operator
The procedure described is a regular task that can be carried out by any trained operator.
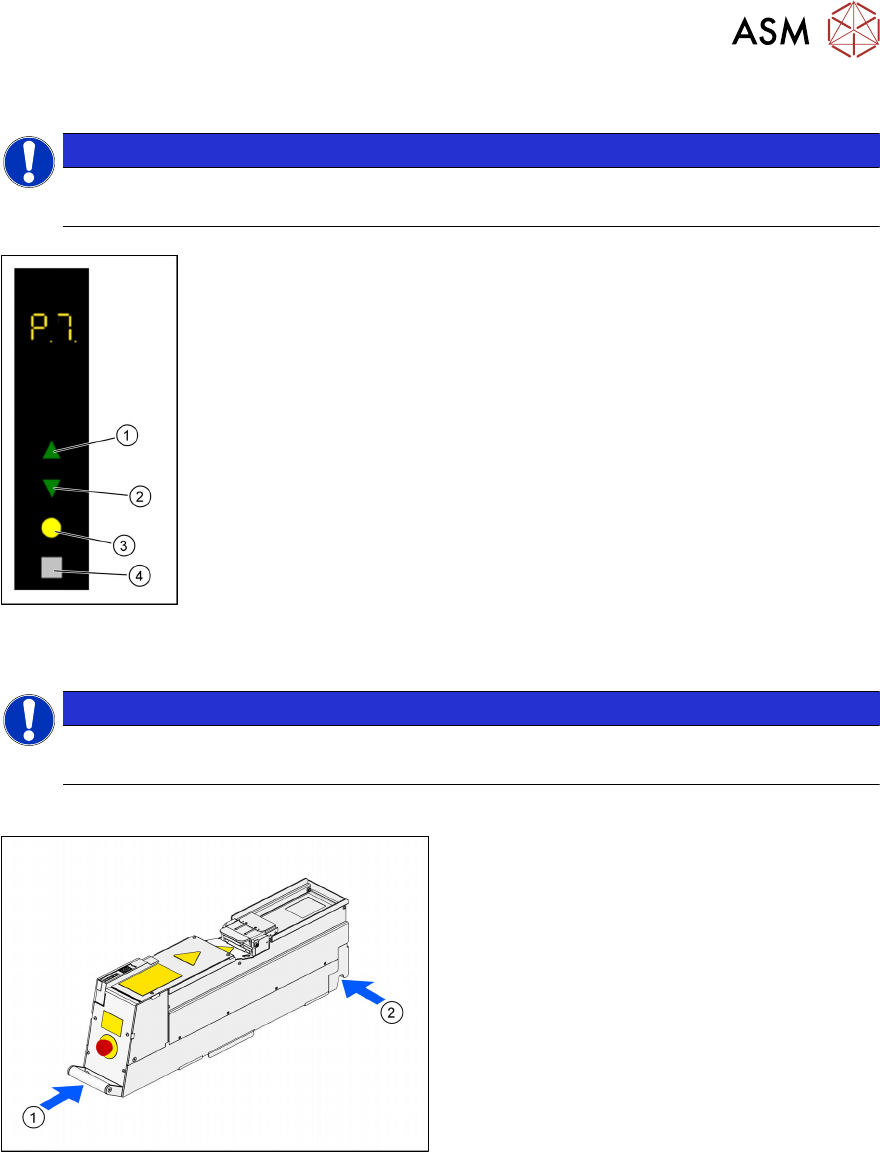
Always carry the LDU2X with both hands holding it as upright and horizontal as possible.
► Take the handle(1) of the LDU 2 X with
one hand and support the housing with the
other hand(2)
.