PatternPro Variable Pitch Guns.pdf - 第21页
17 P/N 1048257_03 2018 Nordson Corporation PatternPro Edition 02/18 Mounting the Applicator Equipment and production line configuration may dictate a variation in the mounting options described in this section. Regardl…

16
P/N 1048257_03
2018 Nordson Corporation
PatternPro
Edition 02/18
Hydraulic and Pneumatic Connections
Use only one fitting to connect the hose to the hose connector on the
applicator.
Insulate the hose‐to‐applicator joint. Insulation cuffs may be ordered
separately.
Use only clean, dry, non‐lubricated air for consistent applicator operation.
Ensure that the plant air supply and regulator provide a minimum of
3.4bar (50 psig) to the applicator solenoid valve.
Unpacking and Inspection
1. Carefully unpack the applicator.
2. Inspect the applicator and check for any damage that may have been
caused during shipping. The applicators are shipped fully assembled.
Applicators ordered with optional features may be shipped with additional
components.
17
P/N 1048257_03
2018 Nordson Corporation
PatternPro
Edition 02/18
Mounting the Applicator
Equipment and production line configuration may dictate a variation in the
mounting options described in this section. Regardless of the mounting
method used, follow the guidelines provided in Installation Guidelines.
This section describes the following applicator‐mounting options:
mounting an applicator on a new or existing system
replacing an applicator on an existing system
Mount an Applicator on a New or Existing System
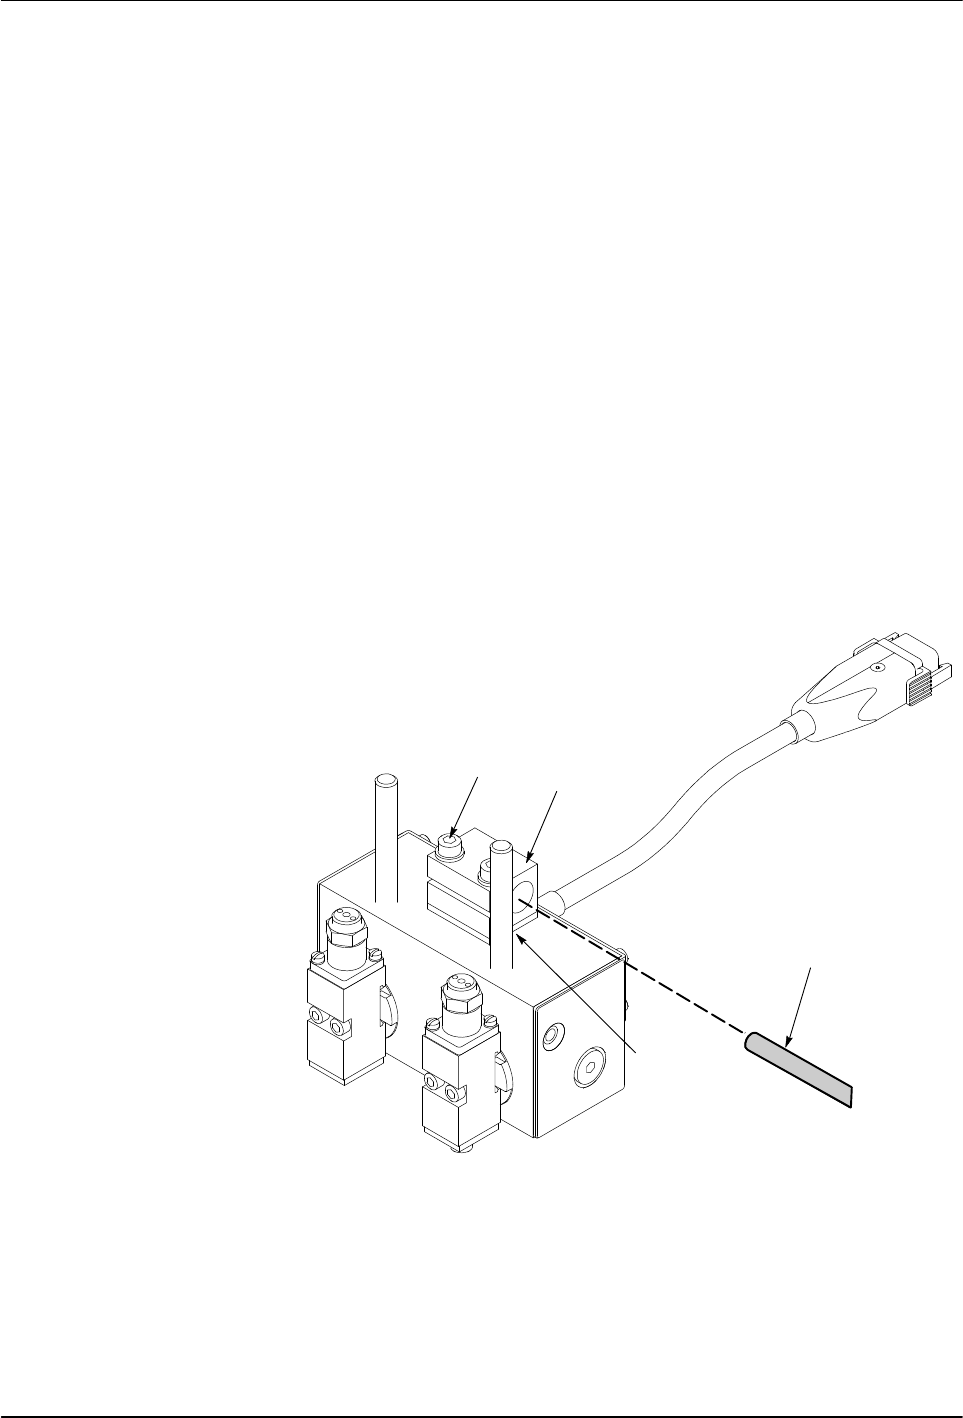
See Figure 4.
1. Slide the mounting bracket onto a 12‐mm, 13‐mm, or
1
/
2
‐in. mounting
bar, or disassemble the mounting bracket and reassemble them (with the
applicator and insulation plate) onto the mounting bar.
Ensure that the insulation plate is placed between the applicator body
and the mounting bracket.
2. Securely tighten the Allen head screws to 3.4 Nm (30 in.‐lb).
3. Go to Connecting the Solenoid Valve.
1
2
3
4
Fig. 4 Mounting an applicator using the Mounting Bar
1 Allen head screws
2 Mounting bracket
3 Mounting bar
(supply by customer)
4 Insulation plate

18
P/N 1048257_03
2018 Nordson Corporation
PatternPro
Edition 02/18
Replace an Applicator on an Existing System
NOTE: If the applicators preassembled with performance‐matched solenoid
valve require replacement, the entire applicator assembly (both the
applicator and solenoid valve) should be replaced as a single unit.
1. Relieve system hydraulic pressure and disable the applicator to be
replaced. Refer to Safety.
2. Disconnect the hose from the applicator both electrically and
hydraulically.
3. Separate the existing applicator from its mounting. If a mounting bracket
will not be reused, remove it from the mounting bar.
4. Disconnect the pipe nipple and solenoid valve from the old applicator and
install them on the new applicator.
5. Mount the new applicator and insulation plate onto the existing mounting
bracket (orrod) or disassemble a new applicator's mounting bracket and
then reassemble the clamp (with the applicator and insulation plate) onto
the existing mounting bar. Tighten the screws securely.
6. Go to Connecting the Solenoid Valve.