PatternPro Variable Pitch Guns.pdf - 第34页
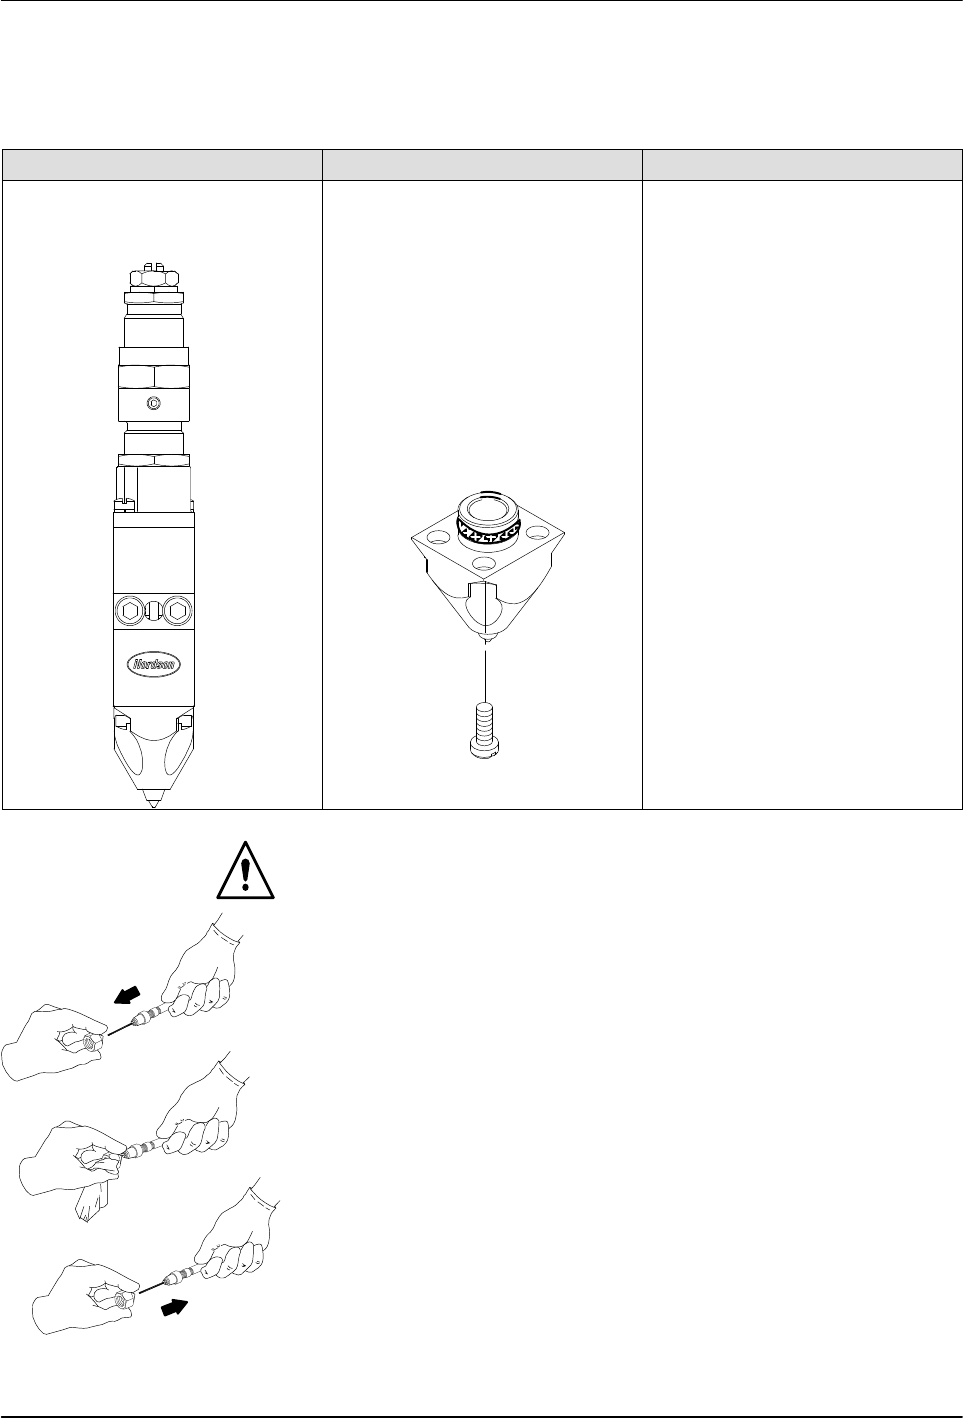
30 P/N 1048257_03 2018 Nordson Corporation PatternPro Edition 02/18 Inspect the Applicator Wiring For details on inspecting the applicator wiring, refer to Replacing the RTD or Heater in Repair .
4204026A
Cleaning a nozzle with a
probe (typical)
29
P/N 1048257_03
2018 Nordson Corporation
PatternPro
Edition 02/18
Cleaning Nozzles (contd)
Table 4 Nozzle Removal and Installation Procedures
(contd)
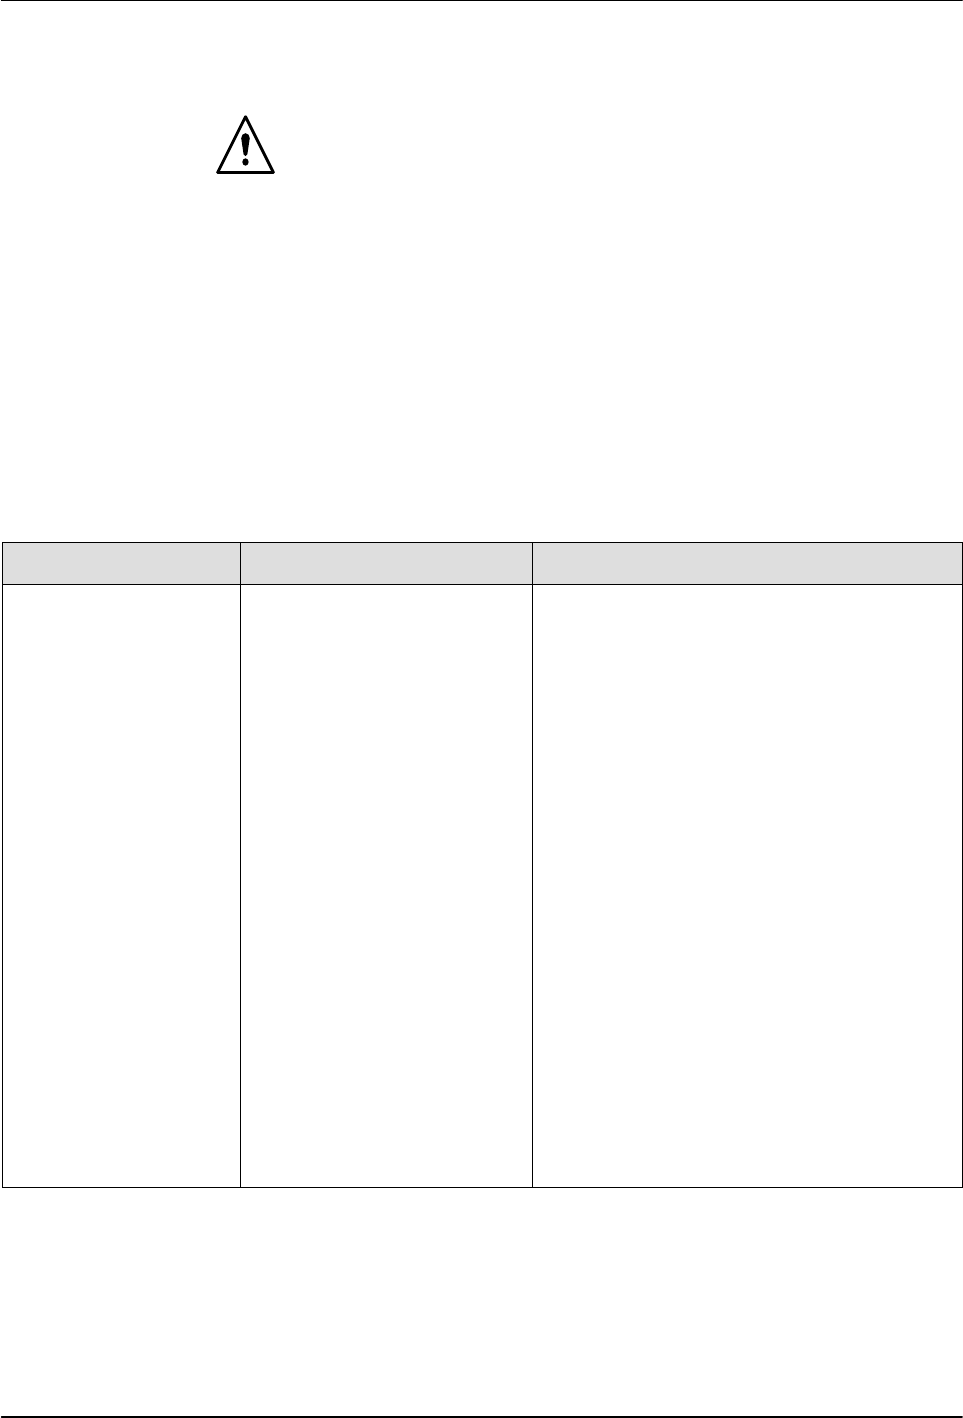
Nozzle Type Removal Procedure Installation Procedure
Zero cavity module nozzle 1. Scribe or otherwise place a
distinctive mark on the side of
the nozzle. Use the same
mark on the applicator body
to identify the correct
replacement location for the
nozzle.
2. Remove the nozzle by
removing the four screws that
secure it to the module.
3. Remove and discard the
nozzle O‐ring.
1. Lubricate with heat‐resisting
lubricant and install a new
nozzle O‐ring.
2. Install the nozzle on the
module, verifying that the
needle guide is still inside the
nozzle and that the nozzle is
properly aligned with the
needle tip and with the scribe
made earlier.
3. Secure the nozzle with the
screws removed previously.
WARNING: Risk of fire. Do not heat Nordson Type R fluid above 245 C
(475 F). Use only an industrial grade, regulated, electrical heating device
that is designed to heat industrial fluids. Personal injury or property damage
can result if Type R cleaning fluid is heated with an open flame or in an
unregulated heating device.
4. Soak the nozzles in Nordson Type R cleaning fluid that has been heated
above the melting point of the hot melt material, to a maximum of
177 C (350F).
5. Remove the nozzles from the cleaning fluid.
CAUTION: Use the correct size precision pin probe to clean Nordson
nozzles. The use of non‐precision or incorrectly sized probes may damage
the nozzle. The Nordson nozzle cleaning kit (P/N 901915) contains a variety
of probe sizes.
6. At the outlet of each nozzle, insert a correctly sized cleaning probe.
7. With a clean cloth, firmly grip the cleaning probe, then pull the probe out
of the nozzle, wiping the probe clean.
8. Reinstall the nozzles. Refer to Table 4.

30
P/N 1048257_03
2018 Nordson Corporation
PatternPro
Edition 02/18
Inspect the Applicator Wiring
For details on inspecting the applicator wiring, refer to Replacing the RTD or
Heater in Repair.
31
P/N 1048257_03
2018 Nordson Corporation
PatternPro
Edition 02/18
Troubleshooting
WARNING: Risk of personal injury. This equipment contains pressurized hot
melt material and high voltage circuits. Read the Safety information provided
in this document before completing any troubleshooting procedure. Failure to
observe safety messages and hazard‐avoidance procedures can result in
personal injury, including death.
Troubleshooting Table
The following table lists the applicator problems that are most likely to occur,
the possible causes of each problem, and steps for corrective action. Where
applicable, cross‐references are made to expanded diagnostic
procedures(DPs) provided later in this section or to other sections of this
manual.
Table 5 Troublehooting Table
Problem Possible Cause Corrective Action
1. No adhesive flow
from a single
applicator module
or from any module
on a multi‐module
applicator
Adhesive level low Add adhesive.
No input power Connect power to the melter and auxiliary
devices. Ensure that all disconnect switches or
circuit breakers are on.
Melter, hose, or applicator
temperature setting too low
Adjust the setting. Refer to the melter manual.
System not at operating
temperature
Verify that the READY light is on and the hot
melt material is molten.
Insufficient air pressure to
melter piston pump (piston
pump melters)
Flush the melter filter. Refer to the melter
manual.
Melter motor not operating
(gear pump melters)
Check the motor operation. Refer to the melter
manual.
No air supply to solenoid valve Check the plant air supply pressure.
Solenoid valve failed Check the solenoid valve and replace if
necessary. Refer to DP1.
Hose clogged Replace the hose.
Nozzle clogged Check the nozzle. Refer to DP2.