444CEMM1.pdf - 第145页
Page 1-83 REGULAR MAINTENANCE 1 Check Every 6000 Hours (Once a Y ear) Notice Before opening the distributor , ensure that the power of the machine is certainly OFF . Remove the 3 wiring connected to the distribution part…
Page 1-82
Check Every 6000 Hours (Once a Year)
1-7-2 Replacing the Vacuum Pump
The fall of the vacuum pressure will cause the miss of the chip pick-up. For the stability of the
vacuum pressure, the replacement of the vacuum pump is required regularly.
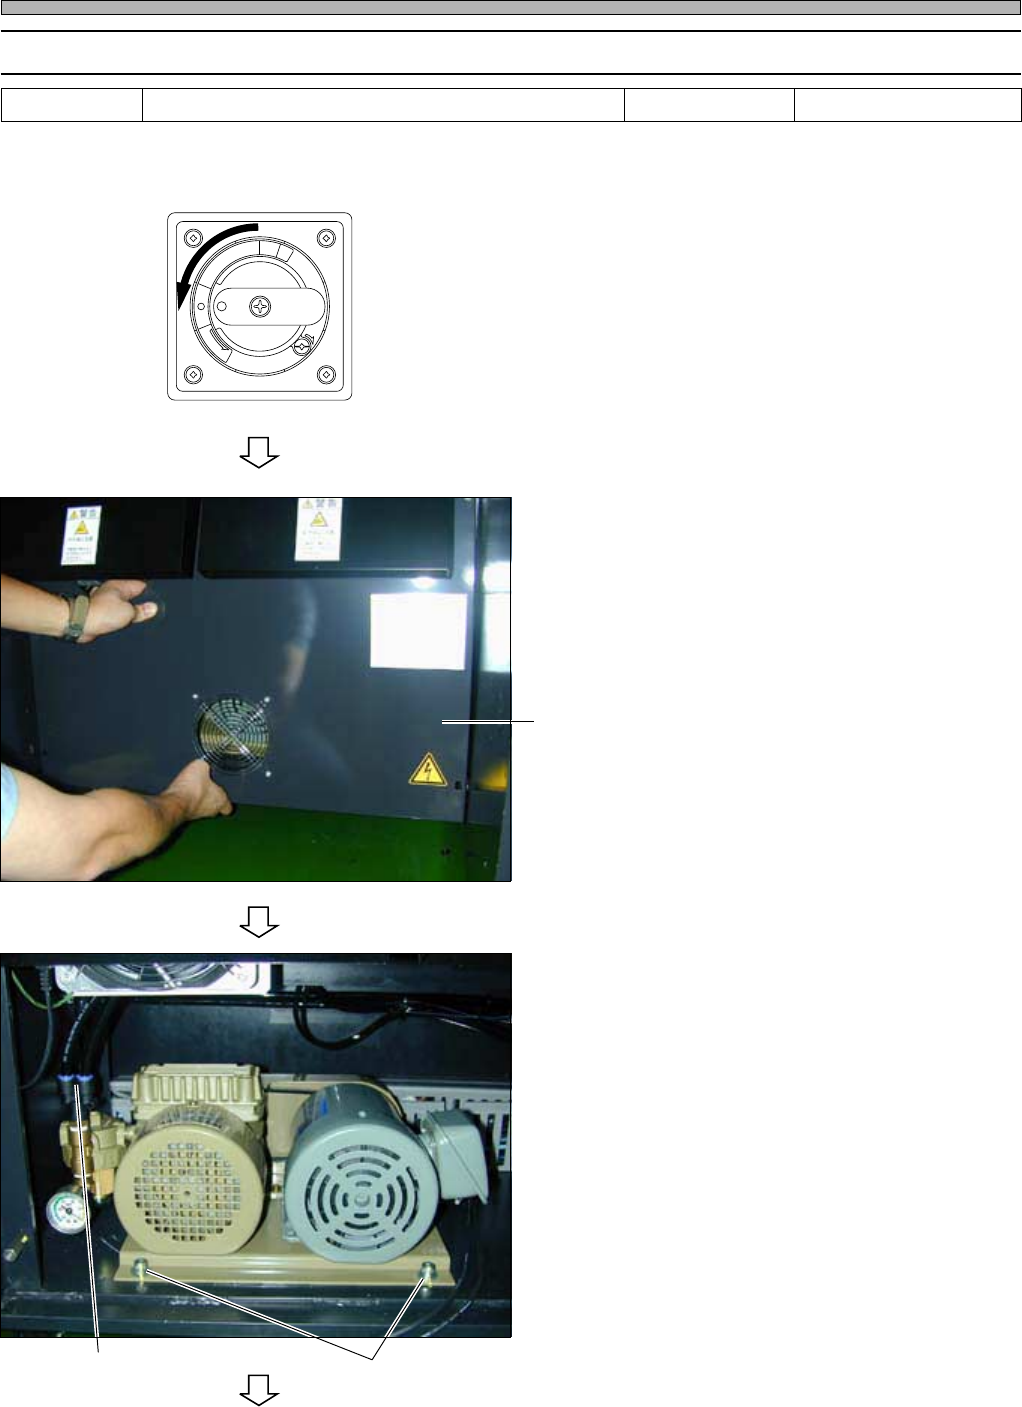
1. Turn OFF the power.
2. Open the cover at the rear side of the
machine (AR • BR).
∗ Remove the setting bolt by using the philips
driver.
3. Remove the tubes (black X 2) con-
nected to the vacuum pump.
4. Remove the 2 bolts fixing the vacuum
pump.
To the next page
444C-E-MMA01-A09-05
Tools Required time 60 minutes
Philips driver, allen wrench
R
E
L
E
A
S
E
T
R
I
P
O
F
F
O
N
R
E
S
E
T
444C-492P
444C-493P
cover
Fixing boltsTube
Page 1-83
REGULAR
MAINTENANCE
1
Check Every 6000 Hours (Once a Year)
Notice
Before opening the distributor, ensure that the power of the machine is certainly
OFF.
Remove the 3 wiring connected to the distribution part.
Write down the wiring order not to mistake. The mistaken order will cause the
reverse of the vacuum pump.
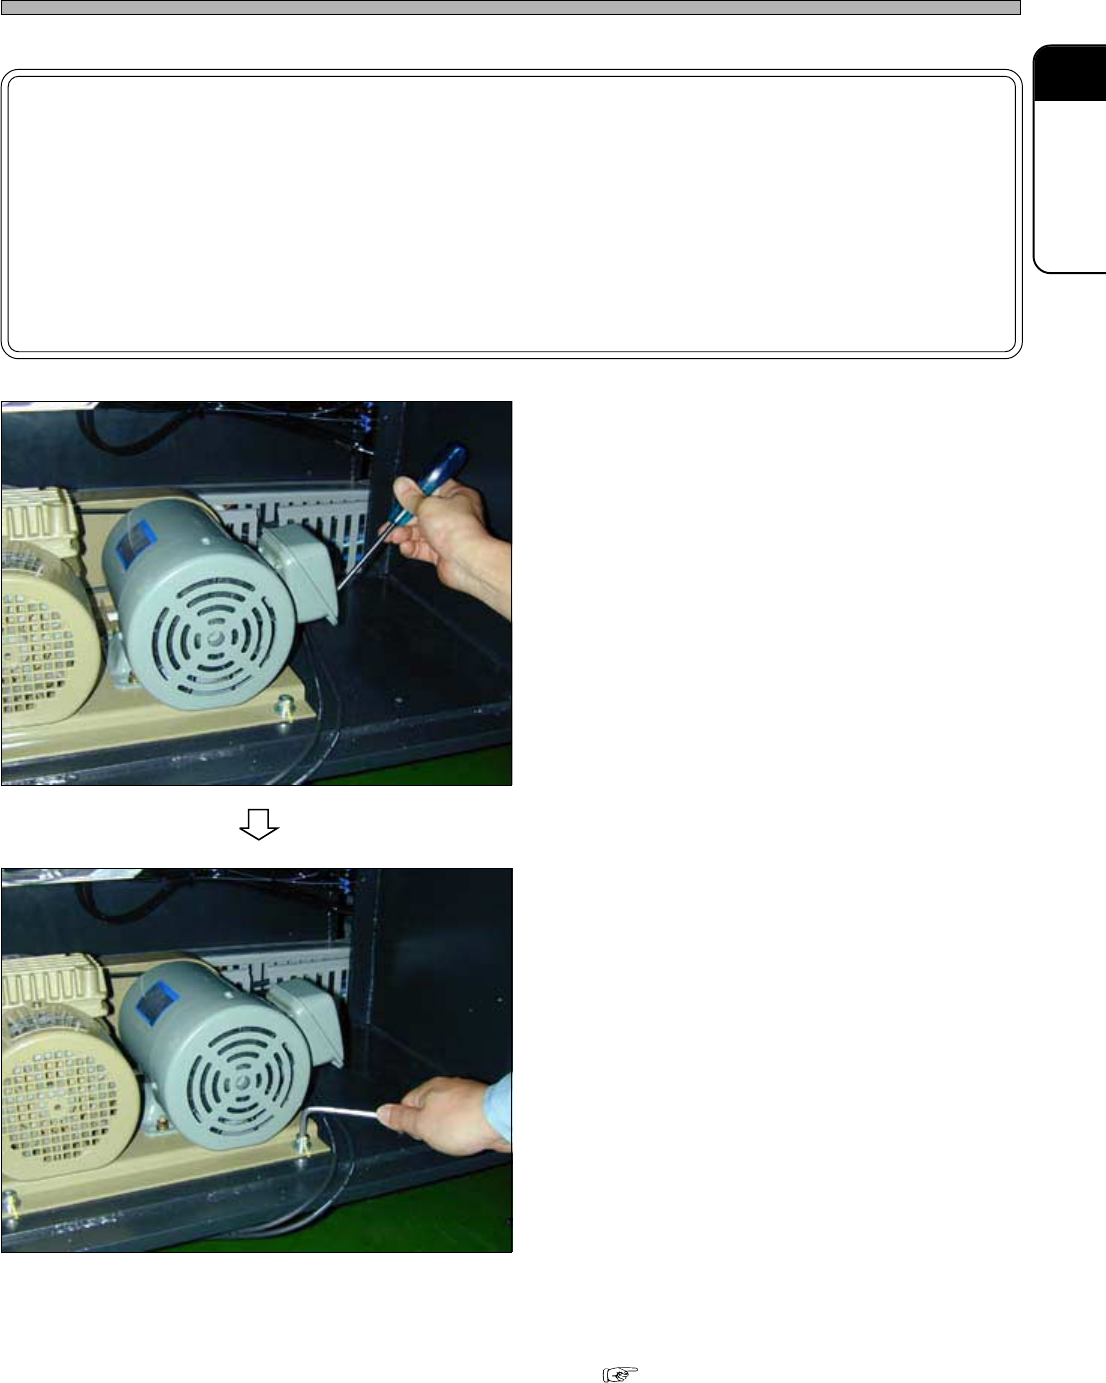
5. Open the distributor.
6. Remove the vacuum pump, and re-
place it with a new one.
7. Connect the tube.
8. Connect the wiring as written down at
step 5.
9. Fix the vacuum pump by the 2 bolts.
10. Set the cover.
Checking the vacuum pressure
“1-5-1 Cleaning the Lubricating the
Transfer Head 2. Checking the vacuum
pressure”
444C-E-MMA01-A09-04
444C-494P
444C-495P
Page 1-84
444C-E-MMA01-A09-04
Check Every 6000 Hours (Once a Year)
1-7-3 Replacing the Indicator
If the bulb of the indicator burns out, you will misunderstand the indiction, eventually proper produc-
tion is hinderd. And regular replacement is required for the immediate response when the trouble
occurs.
1. Replacing the status indicator (3-color indicator)
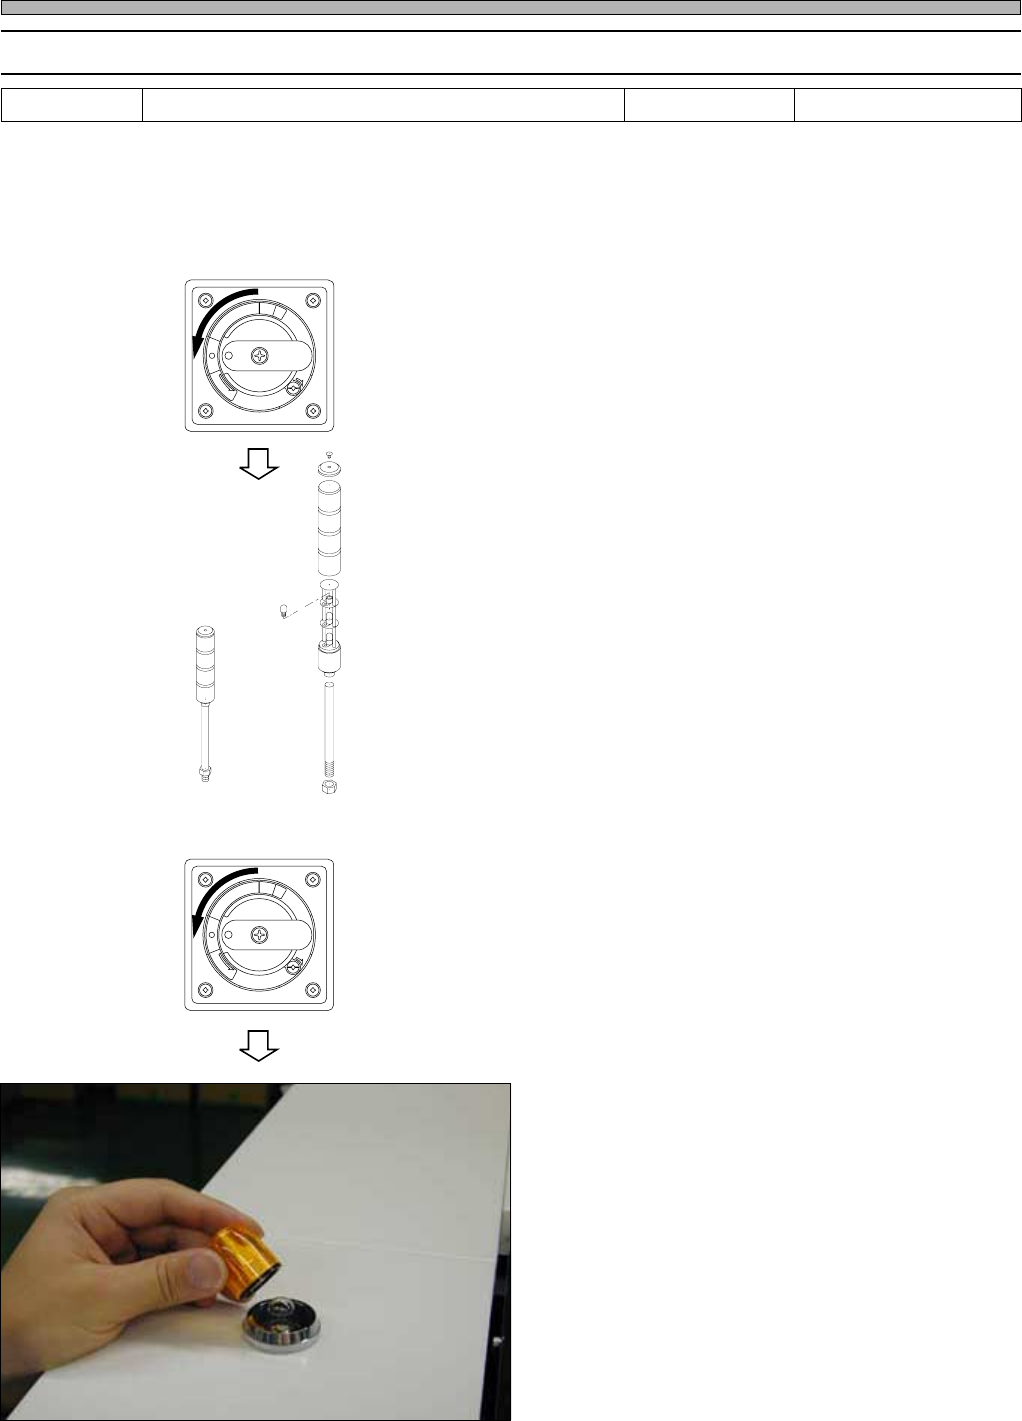
1. Turn OFF the power.
2. Remove the upper bolt of the 3-color
indicator by using the stepladder.
3. Remove the cover in turn from upper,
and remove the inside bulb.
4. Replace the bulb with a new one.
5. Set the cover.
2. Replacing the stage indicator
1. Turn OFF the power.
2. Remove the cover of the indicator.
3. Remove the inside bulb.
4. Replace the bulb with a new one.
5. Set the cover.
Tools Required time 15 minutes
Philips driver
R
E
L
E
A
S
E
T
R
I
P
O
F
F
O
N
R
E
S
E
T
R
E
L
E
A
S
E
T
R
I
P
O
F
F
O
N
R
E
S
E
T
444C-462E
444C-496P