FlexSeam Dispensing System Customer Product Manual.pdf - 第29页
Flexseam Dispensing System 25 Part 1127900_01 E 2019 Nordson Corporation Respond to Alarms Refer to Troubleshooting for a list of alarms and recommended corrective actions. Place the System in Setback Refer to the Flexse…
Flexseam Dispensing System
24
Part 1127900_01
E 2019 Nordson Corporation
Daily Start‐up and Operation (contd)
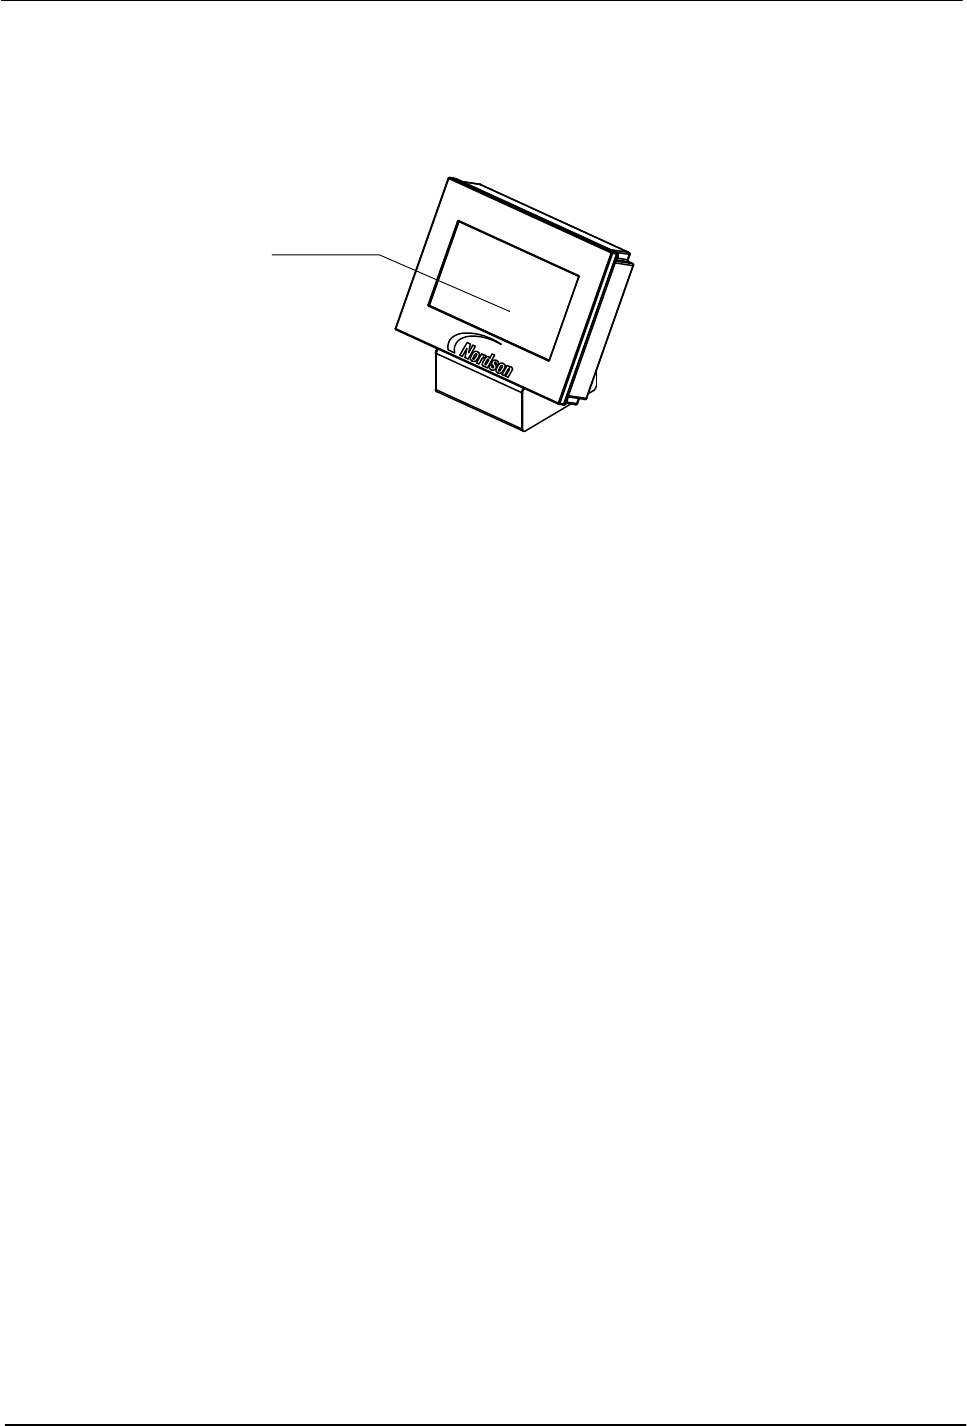
NOTE: On the Flexseam controller, you can find the purge button on the
touch screen.
Purge button
Figure 10 Location of Purge button
7. Flexseam applicator only
When the READY light turns on, place the controller purge switch in the
on position until the remaining material in the flush syringe (used during
shut down) is dispensed.
8. Flexseam applicator only
Load an adhesive syringe in the applicator as follows:
a. Open the air cap.
b. Insert the adhesive syringe into the applicator.
c. Close the air cap.
9. Place the product on the moving plate and press the START button on
the robot handle to run products.

Flexseam Dispensing System
25
Part 1127900_01
E 2019 Nordson Corporation
Respond to Alarms
Refer to Troubleshooting for a list of alarms and recommended corrective
actions.
Place the System in Setback
Refer to the Flexseam controller manuals for more information.
Monitor the System
Refer to the Flexseam controller manuals for more information.
Shutdown
PUR adhesive reacts with moisture in the air therefore exposure of the PUR
adhesive in the system to air must be minimized. The procedures below
represent the best practices for overnight or long‐term (longer than overnight)
shutdown.
Overnight Shutdown
1. Shut down the system and allow the applicator to cool, leaving the
current syringe/cartridge in the applicator. This will retain the seal and
minimize the exposure to air.
2. The next morning, follow the Daily Start-up and Operation procedure
earlier in this section to install a new syringe/cartridge.

Flexseam Dispensing System
26
Part 1127900_01
E 2019 Nordson Corporation
Long‐Term Shutdown
1. Place a large collection pan under the applicator.
WARNING! Risk of burns. When the last drops of adhesive are being
purged, the pressurized air will cause some adhesive spray. Ensure that the
collection pan is large enough to shield the operator from the spray.
2. Place the controller purge switch in the on position until all adhesive is
dispensed from the syringe/cartridge, then place the switch in the off
position.
3. Flexseam applicator only
a. Open the applicator cap, and without putting pressure on the syringe
remove the air cap.
b. Use a pick to remove any hardened adhesive from the syringe.
c. Install the air cap and close the latch.
4. Remove the applicator nozzle and purge again to ensure that all
adhesive is dispensed.
CAUTION! Ensure that the flushing material is compatible with the PUR
adhesive being used. Refer to the SDS for both the adhesive and the flushing
material.
5. Load a flush syringe/cartridge into the applicator.
6. Purge again until a clean flow of flush material is achieved. Leave some
flush material in the syringe/cartridge.
7. Reinstall the nozzle and purge the system again to flush all PUR
adhesive out of the nozzle. Leave some flush material in the
syringe/cartridge.
8. Turn off the air supply.
9. Turn off the controller.
10. Turn off the robot.