FlexSeam Dispensing System Customer Product Manual.pdf - 第31页
Flexseam Dispensing System 27 Part 1127900_01 E 2019 Nordson Corporation Maintenance This section contains a recommended maintenance schedule and procedures. Attempting any other maintenance procedures can result in equi…

Flexseam Dispensing System
26
Part 1127900_01
E 2019 Nordson Corporation
Long‐Term Shutdown
1. Place a large collection pan under the applicator.
WARNING! Risk of burns. When the last drops of adhesive are being
purged, the pressurized air will cause some adhesive spray. Ensure that the
collection pan is large enough to shield the operator from the spray.
2. Place the controller purge switch in the on position until all adhesive is
dispensed from the syringe/cartridge, then place the switch in the off
position.
3. Flexseam applicator only
a. Open the applicator cap, and without putting pressure on the syringe
remove the air cap.
b. Use a pick to remove any hardened adhesive from the syringe.
c. Install the air cap and close the latch.
4. Remove the applicator nozzle and purge again to ensure that all
adhesive is dispensed.
CAUTION! Ensure that the flushing material is compatible with the PUR
adhesive being used. Refer to the SDS for both the adhesive and the flushing
material.
5. Load a flush syringe/cartridge into the applicator.
6. Purge again until a clean flow of flush material is achieved. Leave some
flush material in the syringe/cartridge.
7. Reinstall the nozzle and purge the system again to flush all PUR
adhesive out of the nozzle. Leave some flush material in the
syringe/cartridge.
8. Turn off the air supply.
9. Turn off the controller.
10. Turn off the robot.

Flexseam Dispensing System
27
Part 1127900_01
E 2019 Nordson Corporation
Maintenance
This section contains a recommended maintenance schedule and
procedures. Attempting any other maintenance procedures can result in
equipment damage, improper system operation, or personal injury.
Recommended Maintenance Schedule
Table 4 provides recommended maintenance activities and a schedule for
performing those activities. Base how often you perform maintenance on
your operating conditions.
Table 4 Recommended Maintenance
Component Activity Interval Procedure
Robot and
applicator
Inspect for
external damage
Daily When damaged parts pose a risk to
the operational safety of the unit
and/or safety of personnel, switch off
the system and have the damaged
parts replaced by qualified personnel.
Use only original Nordson spare parts.
Clean the exterior Daily Remove adhesive residue only with a
cleaning agent recommended by the
adhesive supplier. Heat with an air
heater if necessary.
Remove dust, flakes, etc. with a
vacuum cleaner or a soft cloth.
Do not damage or remove warning
labels. Replace any damaged or
removed warning labels.
Replace the air
supply desiccant
tube
When all material inside
the tube has turned pink
Relieve system pressure (refer to
System Pressure Relief in this section)
and replace the used desiccant tube,
ensuring that all fittings are secure.
Refer to Parts for the replacement
desiccant tube part number.
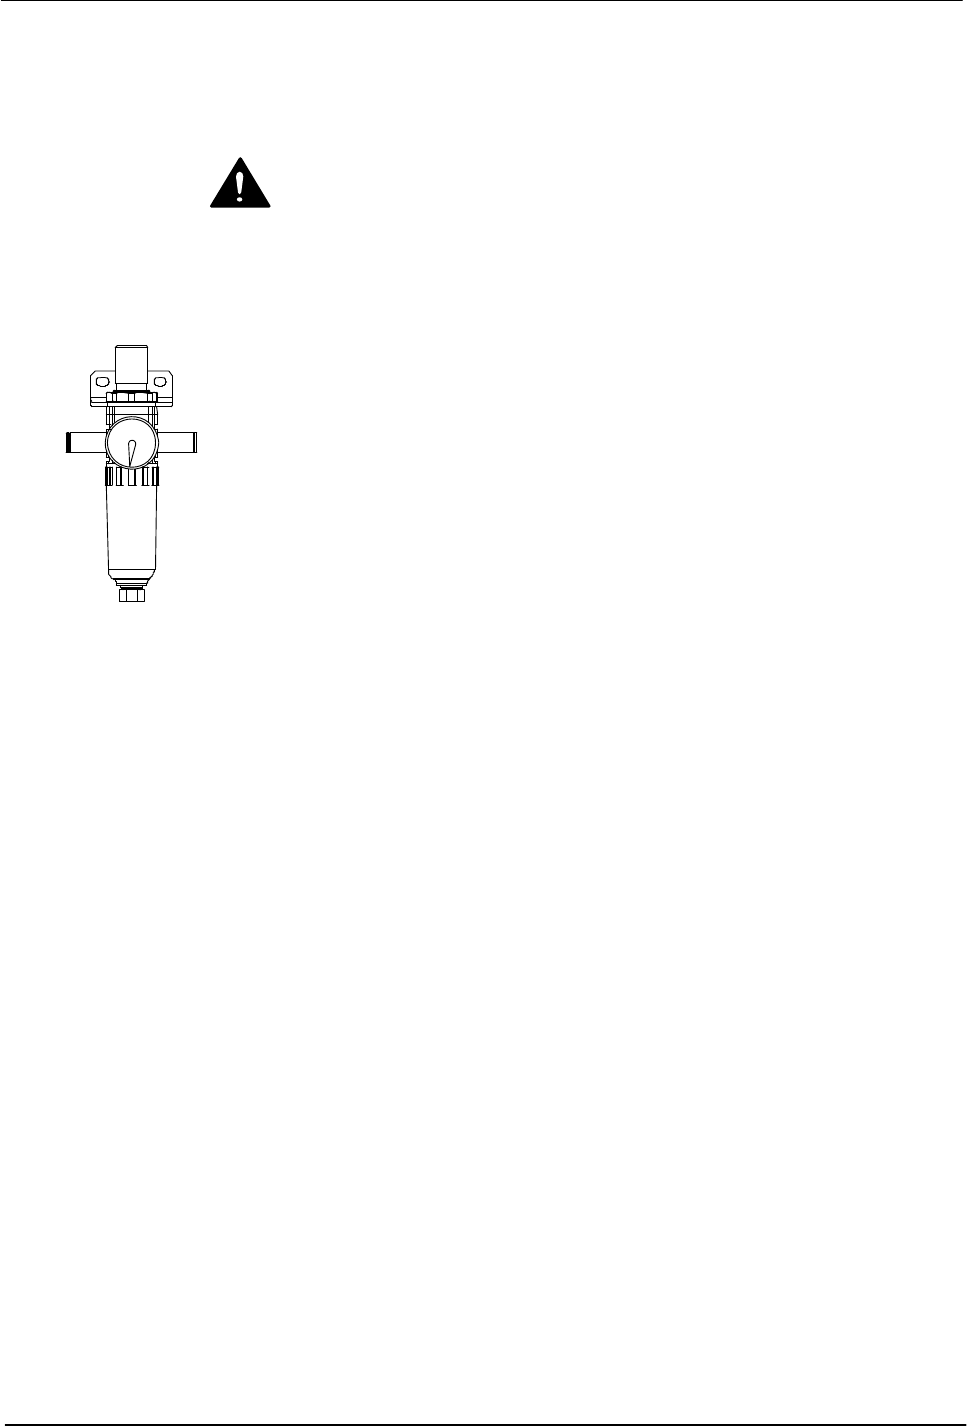
Air pressure regulator
Flexseam Dispensing System
28
Part 1127900_01
E 2019 Nordson Corporation
System Pressure Relief
System pressure must be relieved before you can safely proceed with many
troubleshooting and service‐related activities. Follow this procedure
whenever you need to relieve system pressure.
WARNING! Risk of burns. Failure to relieve system pressure can cause hot
material to spray from a connecting point. Relieve system pressure before
loosening or removing a hose, module, or any other part of a hot melt system.
Wear heat‐protective clothing, safety goggles (ANSI Z87.1 or equivalent),
and safety gloves.
1. Shut off the main air supply or set the air pressure regulator to zero (0).
2. Momentarily activate the purge switch on the controller.
3. When the service activity is completed, restore the system to normal
operation.