00193687-03.pdf - 第33页
Installations- und Konfigurationsanleitung SIPLAC E Explorer 3 Installation des SIPLACE Explorer Ausgabe 02/2005 DE 3.2 Installationsvorgang Java 2 SD K 1.4 33 → Es werden alle ausgewählten Installa tionsoptionen nachein…
3 Installation des SIPLACE Explorer Installations- und Konfigurationsanleitung SIPLACE Explorer
3.2 Installationsvorgang Java 2 SDK 1.4 Ausgabe 02/2005 DE
32
→ Um die Auswahl des Zielordners zu bestätigen, klicken Sie im Dialogfenster Custom Setup
(Benutzerdefinierte Installation) die Schaltfläche Next (Weiter) an.
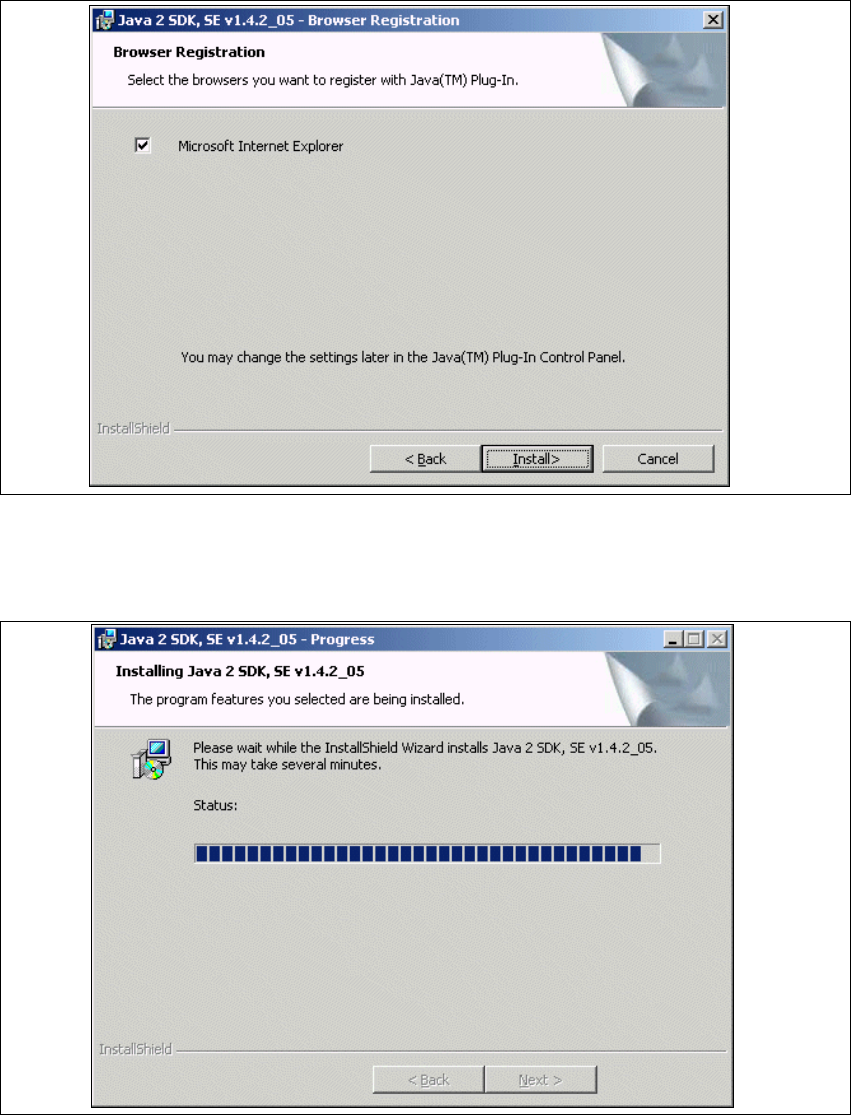
→ Das Dialogfenster Browser Registration (Browser-Anmeldung) wird angezeigt. Wählen Sie
hier den Standard-Browser für die Anwendung aus.
3
Abb. 3 - 10 Java 2 SDK Setup - Dialogfenster 'Browser Registration' (Browser-Anmeldung)
→ Wählen Sie den Browser aus, indem Sie das entsprechende Ankreuzfeld aktivieren.
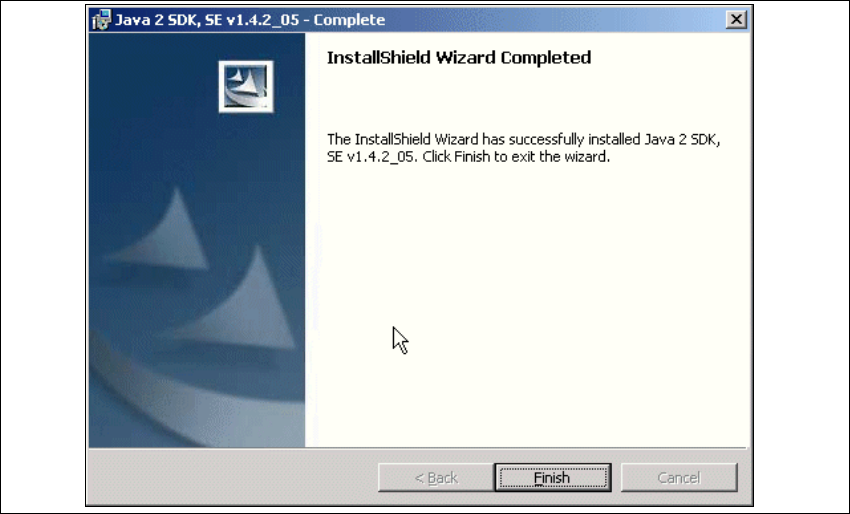
→ Klicken Sie Install (Installieren), der eigentliche Installationsvorgang von Java 2 SDK beginnt.
3
Abb. 3 - 11 Java 2 SDK Setup - Installation
Installations- und Konfigurationsanleitung SIPLACE Explorer 3 Installation des SIPLACE Explorer
Ausgabe 02/2005 DE 3.2 Installationsvorgang Java 2 SDK 1.4
33
→ Es werden alle ausgewählten Installationsoptionen nacheinander installiert.
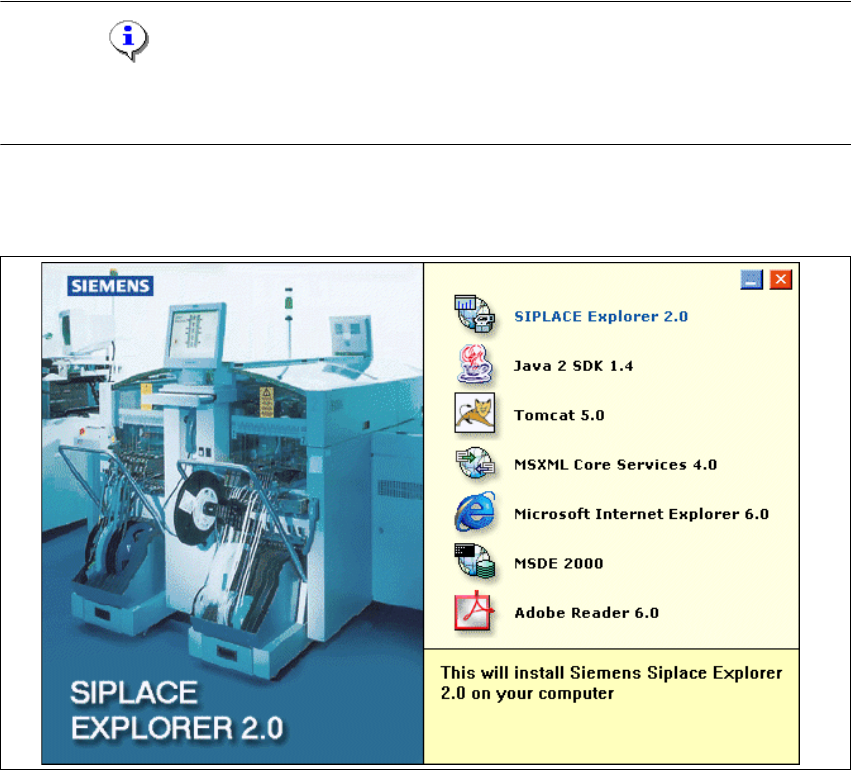
→ Wenn die Installation beendet ist, erscheint nachfolgendes Dialogfenster.
3
Abb. 3 - 12 Java 2 SDK Setup - Installation beendet
→ Klicken Sie auf Finish.
3 Installation des SIPLACE Explorer Installations- und Konfigurationsanleitung SIPLACE Explorer
3.3 Installationsvorgang SIPLACE Explorer 2.0 Ausgabe 02/2005 DE
34
3.3 Installationsvorgang SIPLACE Explorer 2.0
HINWEIS
Sie müssen über Windows 2000 Administrator-Rechte verfügen, um die Installation ausführen zu
können. 3
→ Legen Sie die SIPLACE Explorer CD in Ihr CD-Rom-Laufwerk ein. Es erscheint der Start
Screen.
3
Abb. 3 - 13 SIPLACE Explorer setup - Start Screen
→ Wählen Sie SIPLACE Explorer 2.0 aus.