Cognex_Scanner_HS-60_HF_X-_D_S_F -05.pdf - 第50页
2 Assembly instructions Special design Cognex Scanner SI PLACE HS-60 / HF-series / X-ser ies / D-series / S / F 06/2008 Edition 52 o Now the settings can be checked in the view “R esult Display” by clicking the “T rigger…
2 Assembly instructions Special design Cognex Scanner SIPLACE HS-60 / HF-series / X-series / D-series / S / F
06/2008 Edition
51
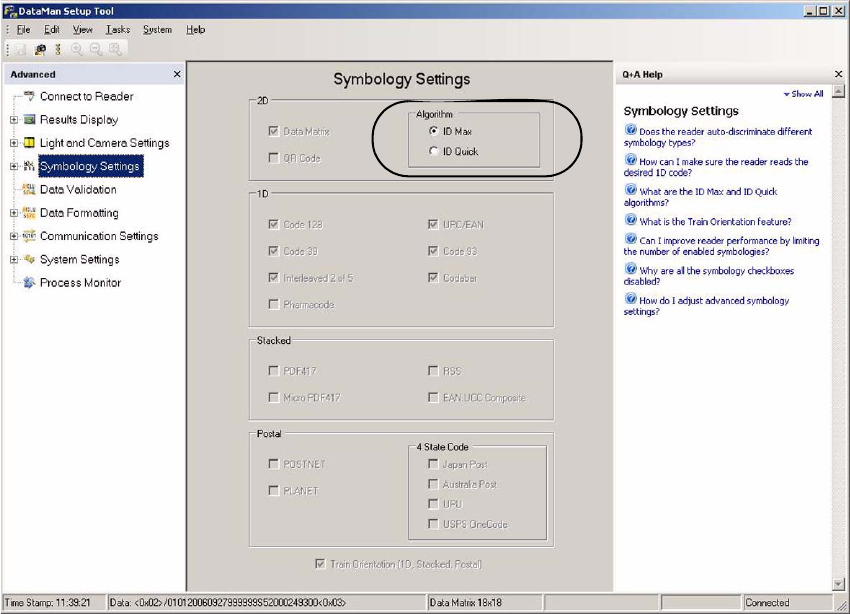
o In the view “Symbology Settings” the algorithm can be changed between “ID Max” and “ID
Quick”.
2
2
2
2
2
2
2 Assembly instructions Special design Cognex Scanner SIPLACE HS-60 / HF-series / X-series / D-series / S / F
06/2008 Edition
52
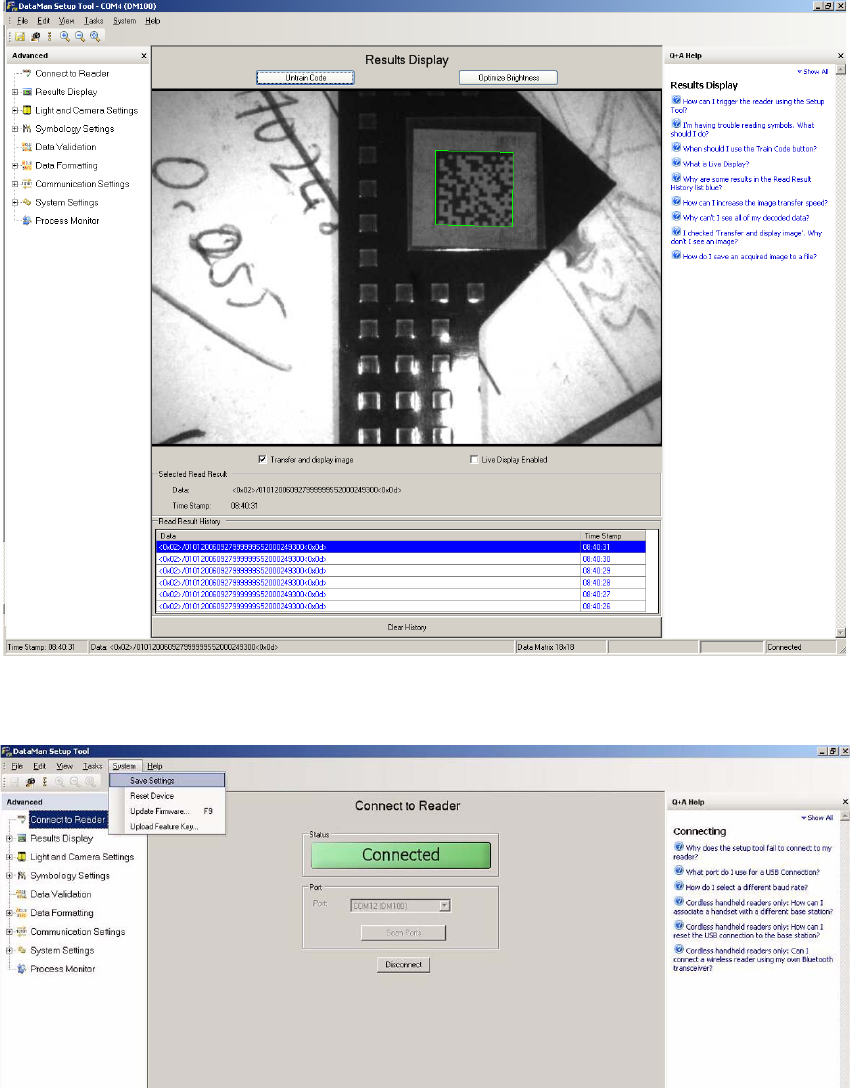
o Now the settings can be checked in the view “Result Display” by clicking the “Trigger” symbol
on the top left. The scanner takes up to 22 pictures and shows them above and below.
2
o Save the settings permanently to the scanner under “System” => “Save Settings”.
2
2
o For further information please see the help function, which can be displayed on the right side.
2 Assembly instructions Special design Cognex Scanner SIPLACE HS-60 / HF-series / X-series / D-series / S / F
06/2008 Edition
53
2.9 Software configuration
2.9.1 Activation in SITEST
o Start SITEST.
o Choose “Settings” ==> “Machine configuration”.
o Choose the barcode mode for the relevant conveyor line.
o Confirm the choice.
o Restart the machine.
2.9.2 Activation in SIPLACE Pro
o Start SIPLACE Pro and choose in the relevant station and line the PCB barcode and position
of the barcode scanner.
o Start the Line Control GUI and activate the barcode mode under “Settings”.
2
2.10 Abstract of the Dataman 100 specification
see next page 2
2
2
2
2
2
2
2
2
2
2