Nordson_EFD_OptiSure_Operating_Manual.pdf - 第69页
OptiSure Automated Optical Inspection 69 www.nordsonefd.com info@nordsonefd.com +1-401-431-7000 Sales and service of Nordson EFD dispensing systems are available worldwide. Using the Laser to Measur e and Recor d Profile…
OptiSure Automated Optical Inspection
68 www.nordsonefd.com info@nordsonefd.com +1-401-431-7000 Sales and service of Nordson EFD dispensing systems are available worldwide.
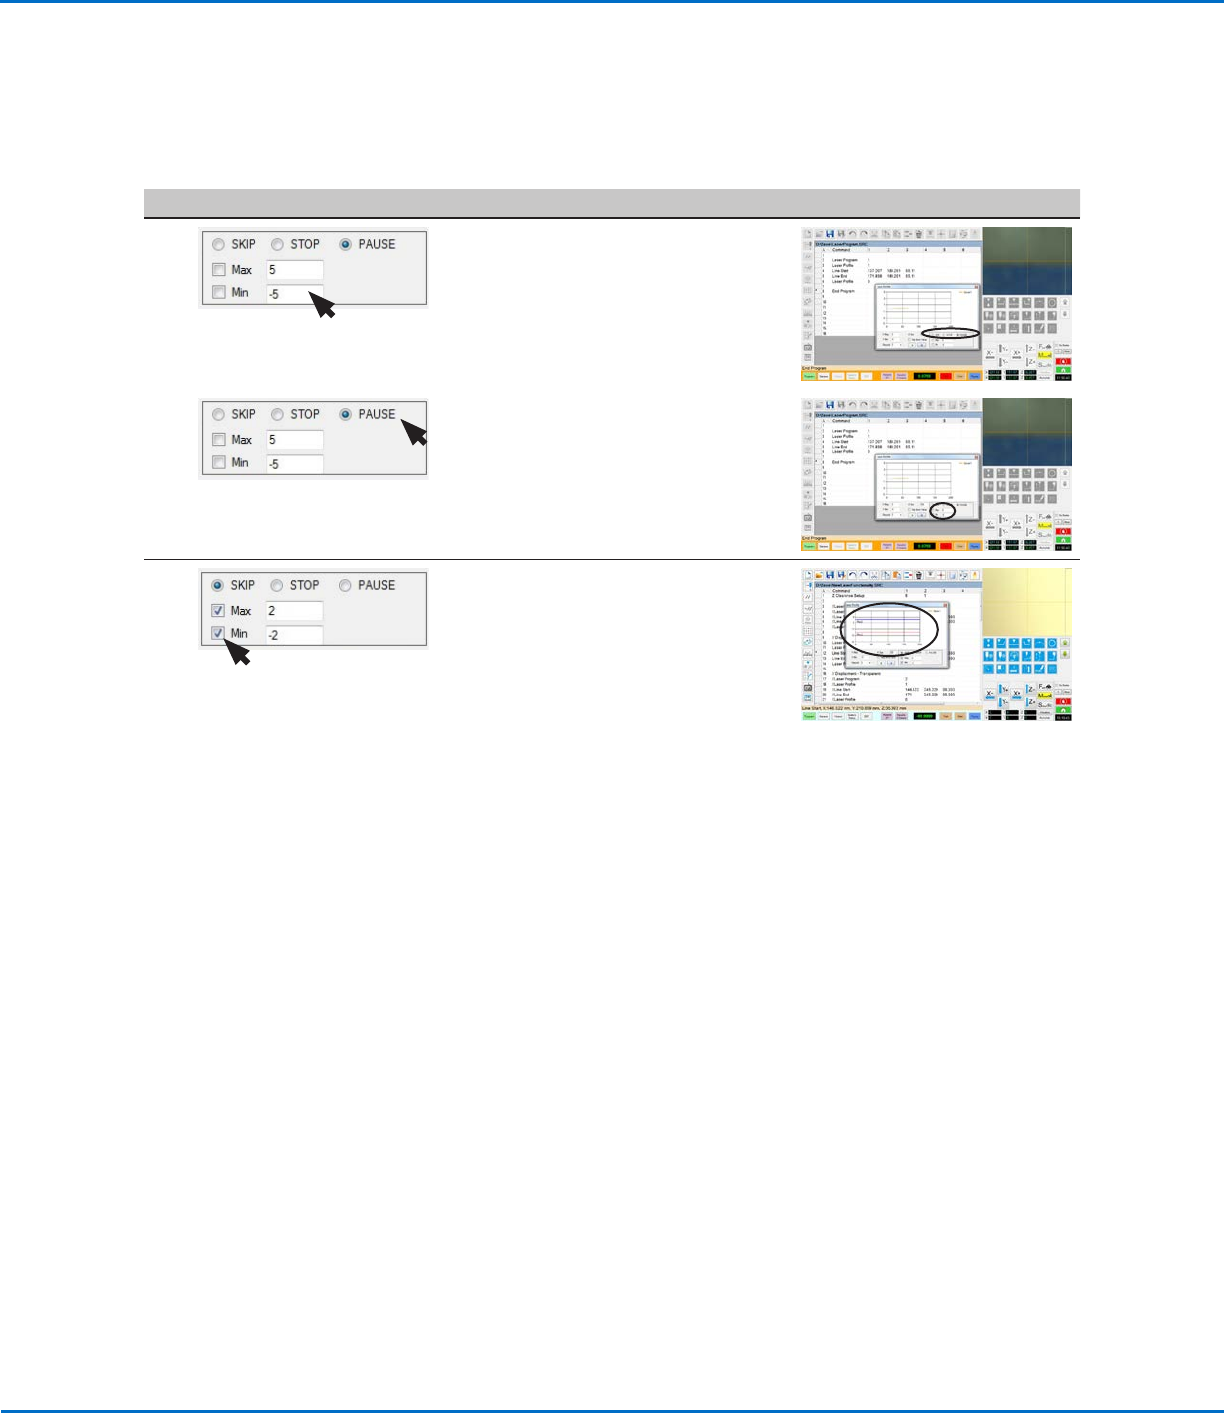
# Click Step Reference Image
2
• Enter values for MAX and MIN.
These are the values the laser will use
to determine whether a measurement
is within the desired threshold.
3 • Select the alert option you want
to receive when a measurement is
outside the specified Max and Min
values. Refer to “System Responses
for Laser Threshold Measurement
Checks” on page69 for an
explanation of each.
4 • Enable the threshold check by
selecting the Max and / or Min
checkboxes.
When a Max and / or Min threshold
check is enabled, the system adds
blue and red threshold lines to
the graph and immediately begins
checking laser measurements against
the entered Max and Min values:
- If a measurement is within the Max
and Min values, the measurement
PASSES regardless of the selected
alert. No action is required.
- If a measurement is not within the
Max and Min values, the system
takes the action specified by the
selected alert option. Refer to
“System Responses for Laser
Threshold Measurement Checks”
on page69 for the user action to
take.
Using the Laser to Measure and Record Profiles
(continued)
To Check Laser Measurements Against Threshold Values (continued)
OptiSure Automated Optical Inspection
69www.nordsonefd.com info@nordsonefd.com +1-401-431-7000 Sales and service of Nordson EFD dispensing systems are available worldwide.
Using the Laser to Measure and Record Profiles
(continued)
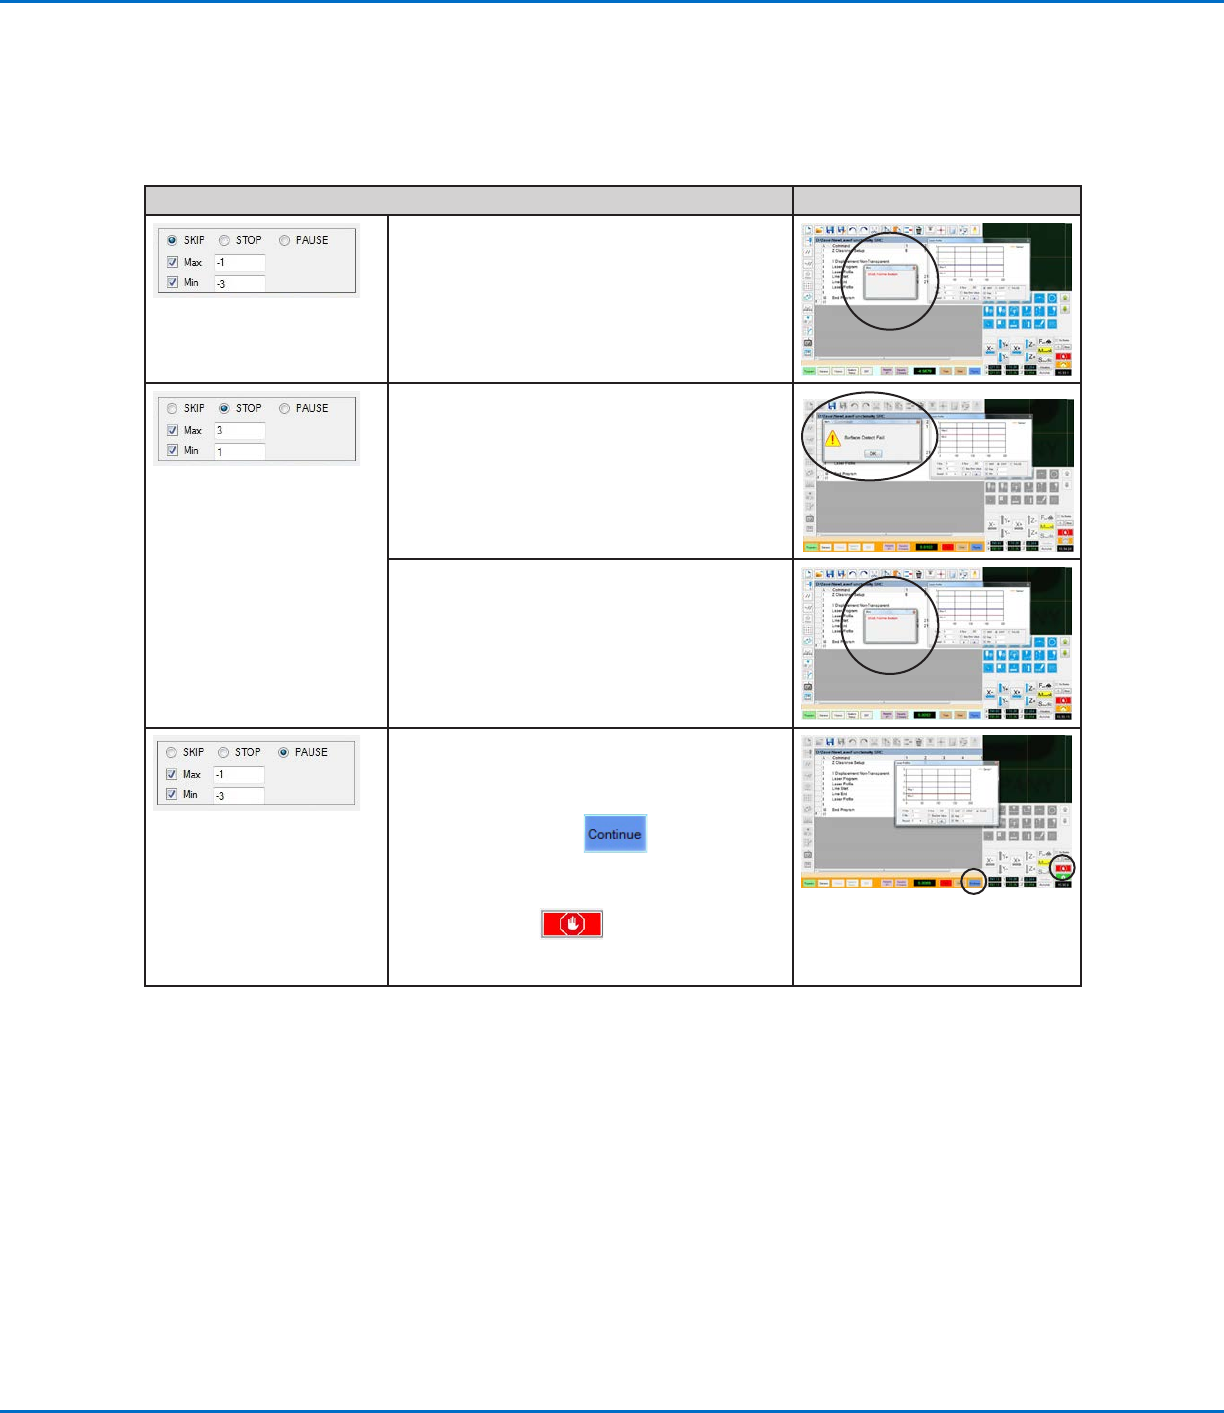
System Responses for Laser Threshold Measurement Checks
Action Reference Image
When SKIP is selected:
• If a measurement is outside a Max or Min
value, the program stops running after the
laser measurement is done and then prompts
to go to the HOME position. When this
occurs, click HOME.
When STOP is selected:
• If a measurement is below the Min value,
the program stops running and the system
generates a Surface Detect Fail warning.
When this occurs, click OK and then click
HOME.
• If a measured value is above the Max value,
the program stops running and the system
prompts to go to the HOME position. When
this occurs, click HOME.
When PAUSE is selected:
If a measurement is outside a Max or Min value,
the program stops running:
• Select CONTINUE to continue
running the program.
OR
• Select STOP to stop the program,
then click HOME to return the robot to the
HOME position.
OptiSure Automated Optical Inspection
70 www.nordsonefd.com info@nordsonefd.com +1-401-431-7000 Sales and service of Nordson EFD dispensing systems are available worldwide.
OptiSureAOI Kit Part Numbers
Nordson EFD’s OptiSure Automated Optical Inspection (AOI) software is available within the current DispenseMotion
software as an optional add-on. The AOI feature inspects fluid deposit widths and diameters with exceptional
certainty and determines if dispense requirements have been met. When paired with the OptiSureAOI confocal
laser, the AOI feature provides three-dimensional (3D) deposit verification by measuring the height, width, and
diameter of a fluid deposit and comparing it to a 3D image of a desired deposit to determine true volume accuracy.
The OptiSureAOI feature also includes advanced functions for augmenting mark images to make them easier for
the system find.
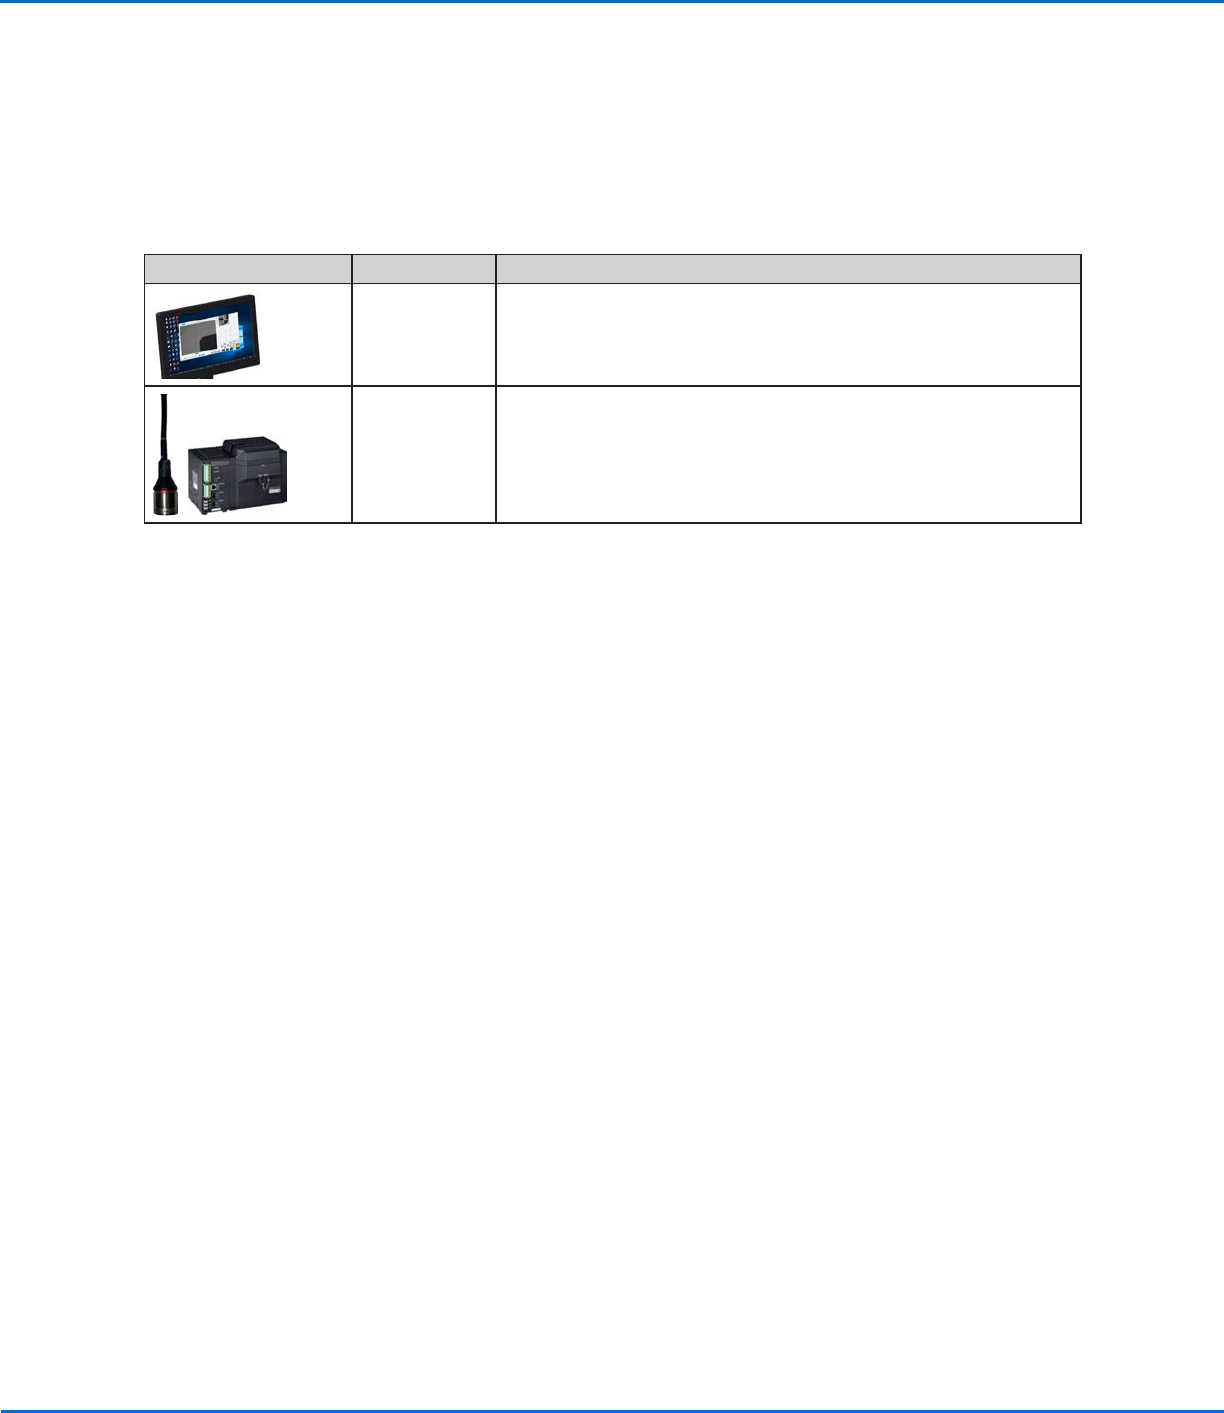
Item Part # Description
7365229 Software key, OptiSure Automated Optical Inspection (AOI)
7364992
Laser C accessory kit (includes the confocal laser and laser controller)
NOTES:
• For use only with the OptiSure AOI add-on
• Includes the OptiSure AOI software key
• Takes the place of Laser A or Laser B