Nordson_EFD_OptiSure_Operating_Manual.pdf - 第9页
OptiSure Automated Optical Inspection 9 www.nordsonefd.com info@nordsonefd.com +1-401-431-7000 Sales and service of Nordson EFD dispensing systems are available worldwide. Setting Up the System to Save Images To ensure f…
OptiSure Automated Optical Inspection
8 www.nordsonefd.com info@nordsonefd.com +1-401-431-7000 Sales and service of Nordson EFD dispensing systems are available worldwide.
Add the Script File to the DispenseMotion Controller
NOTE: The main.bas script file is not required for all OptiSureAOI functions, but Nordson EFD recommends adding
it to the DispenseMotion controller as a best practice.
#
Click Step Reference Image
1
• If you have not already done so, contact
your Nordson EFD representative to obtain
the main.bas script file.
• Place the main.bas file on a USB drive.
• Insert the USB drive into an empty USB
port on the back of the DispenseMotion
controller.
NOTE: On most controllers, USB-3 is an
unused USB port.
2 • Switch ON the DispenseMotion controller.
NOTE: Do not open the DispenseMotion
software at this time.
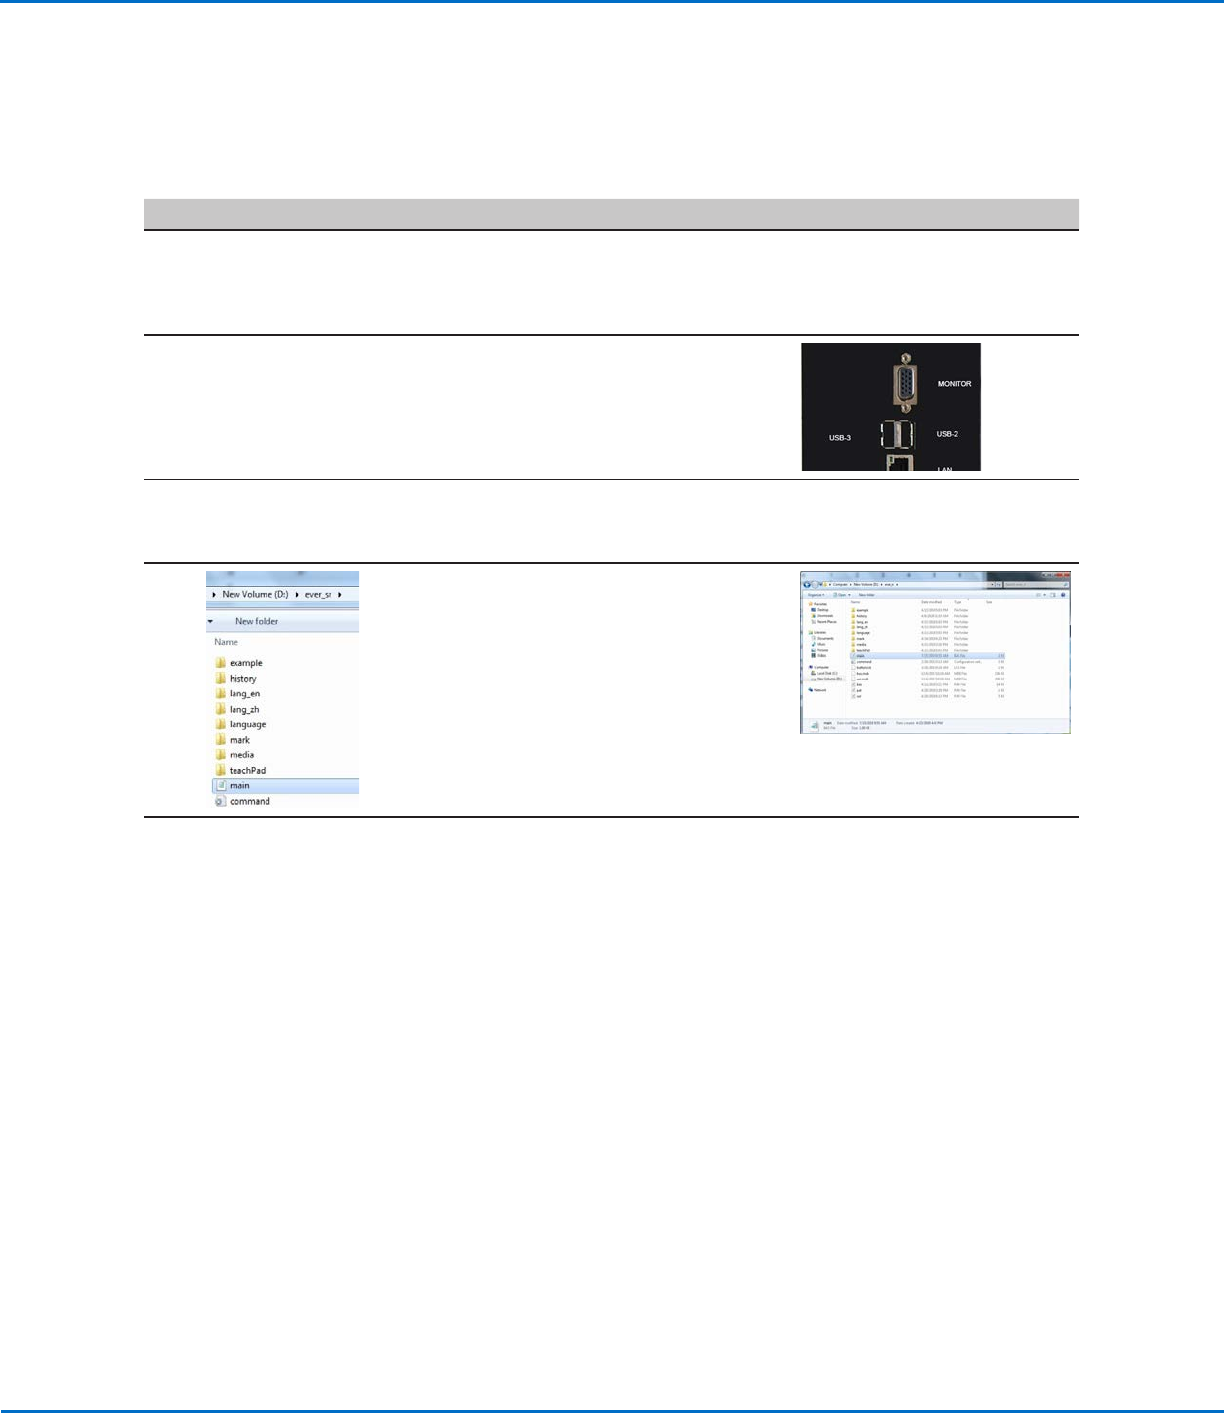
3
• Using the file explorer application, navigate
to the USB drive and copy the main.bas
file.
• Navigate to the D:\ever_sr directory and
paste the main.bas file into the directory.
4 • Close the file explorer application.
The OptiSureAOI add-on is now unlocked
and ready for use. Refer to the remaining
sections of this manual for detailed
procedures for using the OptiSureAOI
features.
• If you also installed the confocal laser,
continue to “Setting Up the Confocal
Laser” on page10.
Enabling the OptiSureAOI Feature (continued)
OptiSure Automated Optical Inspection
9www.nordsonefd.com info@nordsonefd.com +1-401-431-7000 Sales and service of Nordson EFD dispensing systems are available worldwide.
Setting Up the System to Save Images
To ensure full functionality of all OptiSureAOI features, set up the system to automatically save any captured
images.
# Click Step Reference Image
1
>
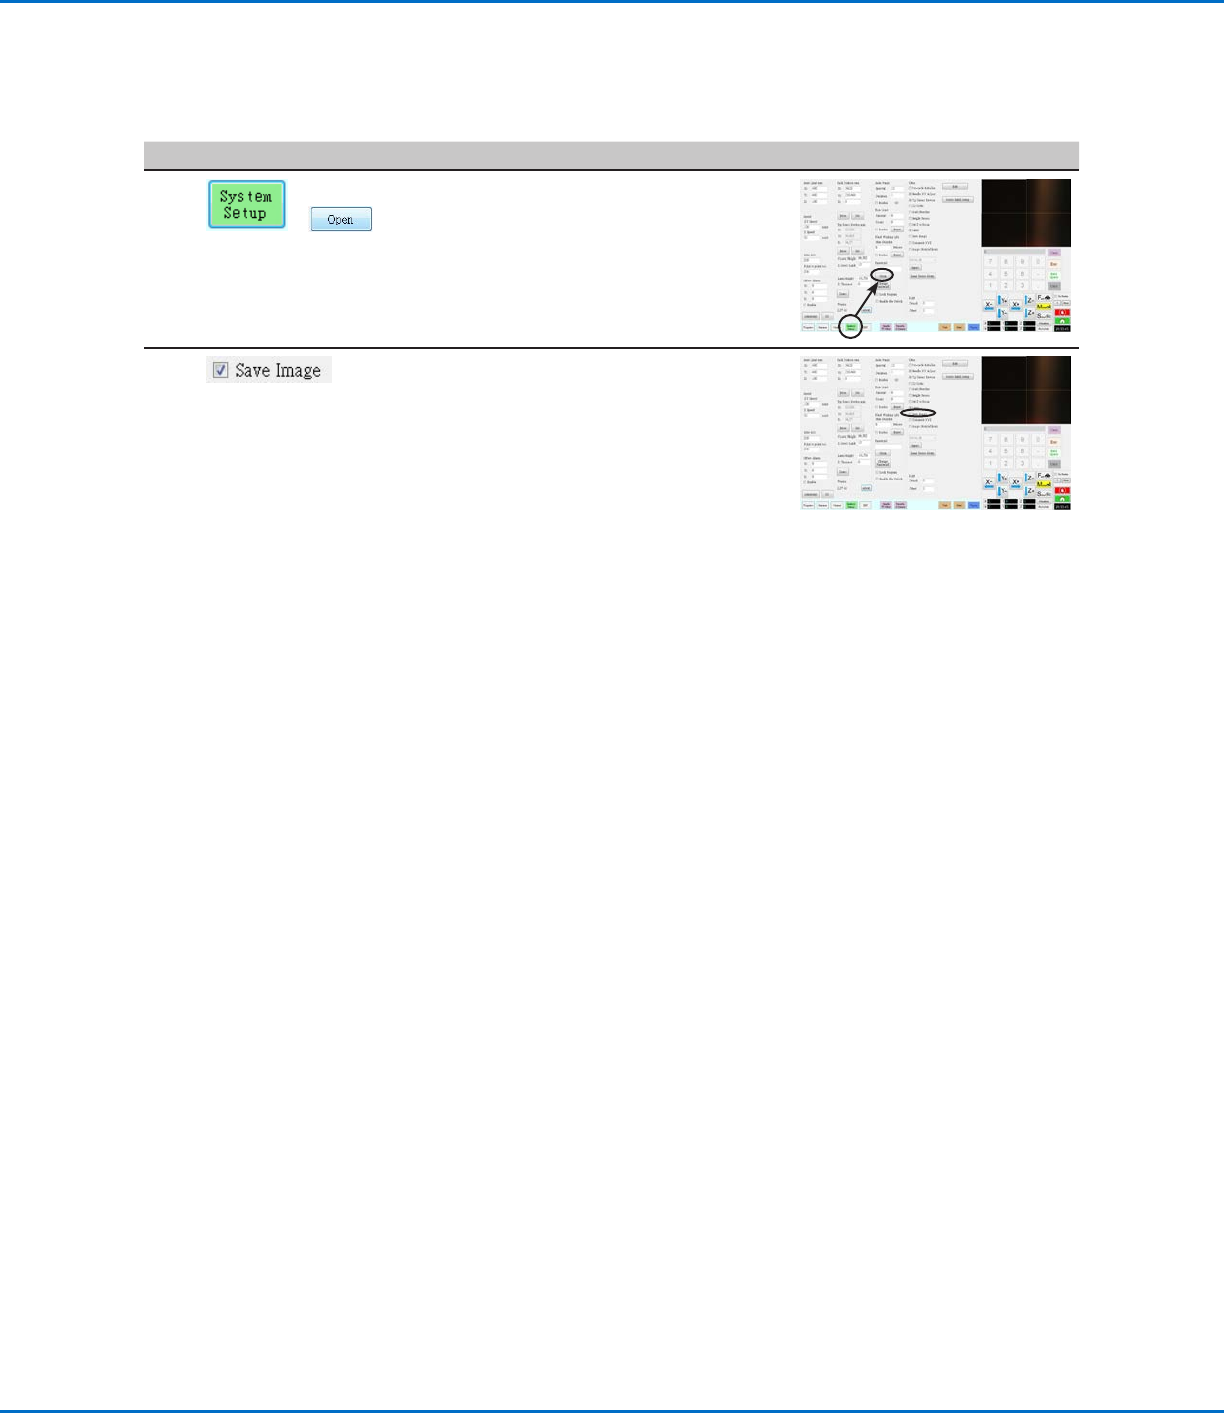
• Click SYSTEM SETUP > OPEN.
2 • Under OTHER, select the SAVE
IMAGE checkbox.
The change is automatically saved.
OptiSure Automated Optical Inspection
10 www.nordsonefd.com info@nordsonefd.com +1-401-431-7000 Sales and service of Nordson EFD dispensing systems are available worldwide.
Setting Up the Confocal Laser
If you installed the confocal laser (Laser C), follow this procedure to ensure that the laser is properly selected and
set up in the system.
NOTE: The confocal laser can be installed only on PROPlus / PRO systems.
PREREQUISITES
If purchased, the optional confocal laser is installed in accordance with the installation instructions.
The DispenseMotion software is open.
# Click Step Reference Image
1
> >
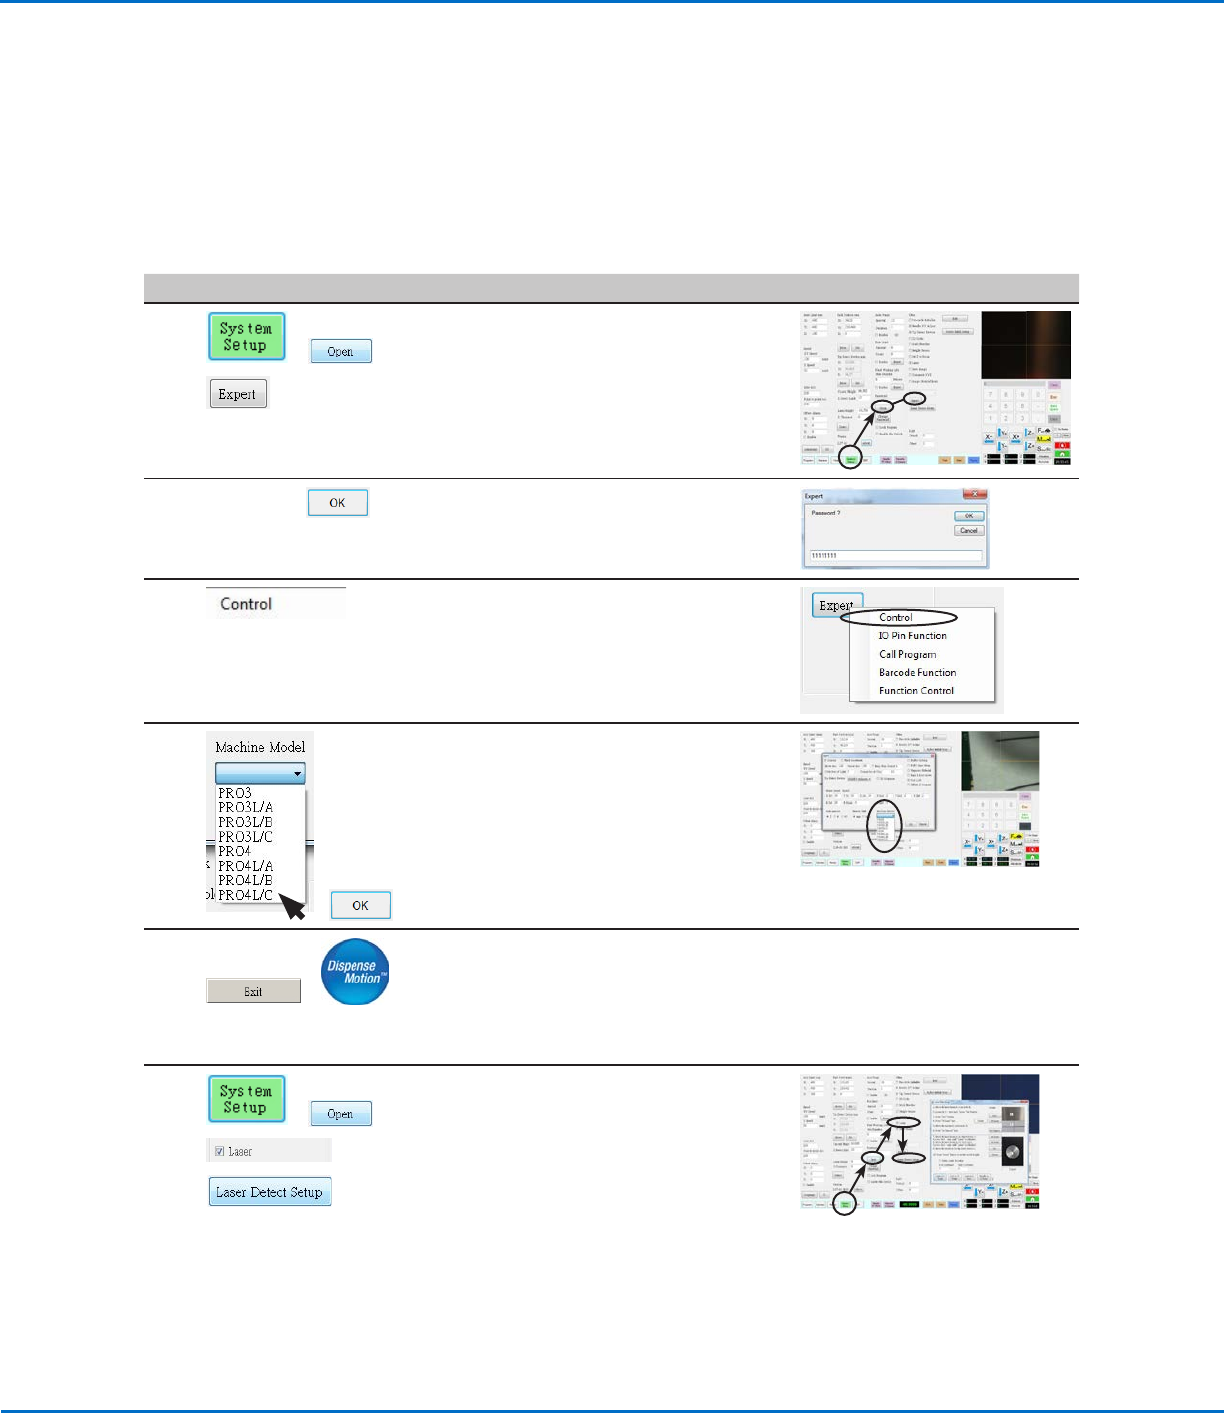
• Click SYSTEM SETUP > OPEN >
EXPERT.
2
11111111 >
• Enter 11111111, then click OK.
3 • Click CONTROL.
4
>
• Select the applicable Laser C model from
the Machine Model drop-down menu.
• Click OK to save.
5
>
• Click EXIT to close the software.
• Switch off the robot.
• Re-open the DispenseMotion software
and switch on the robot for the change to
take effect.
6
> >
>
• Click SYSTEM SETUP > OPEN.
• Under Other, ensure that LASER is
checked.
• Click LASER DETECT SETUP and follow
the steps in the Laser Detect Setup
window.
NOTE: If you want to use the centering feature for the most precise laser
calibration, complete steps 1-3 of the wizard and then skip to “Using the
Center Button for LaserC Setup” below to complete laser setup.
• Close the window after you have completed all the steps.