00195397-01_Installation Manual Setup Center 2.3.pdf - 第60页
Installation Software Installation Setup Center 60 Installation Manual SIPLACE Setup Center 2.3 X Click Next to continue. Step 6 Traceability X Here you can choose wh ether the Traceab ility Data should be created. X Fur…
Installation
Setup Center Software Installation
Installation Manual SIPLACE Setup Center 2.3
59
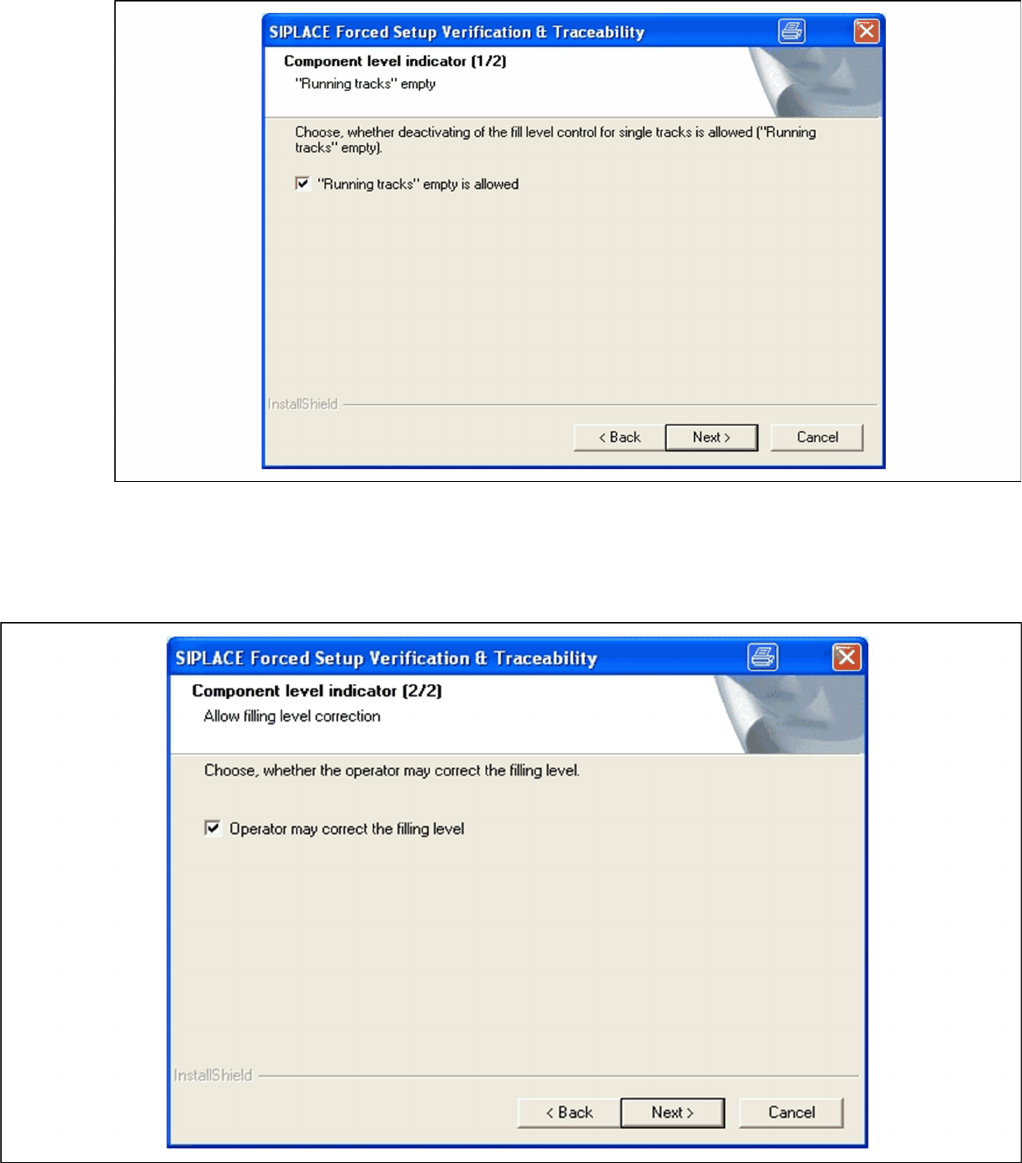
Setup 4b Fill Level Control (2)
X If the filling level correction should be allowed, activate the checkbox Operator may correct the
filling level. After that the operator may correct the filling level.
X Click Next to continue.
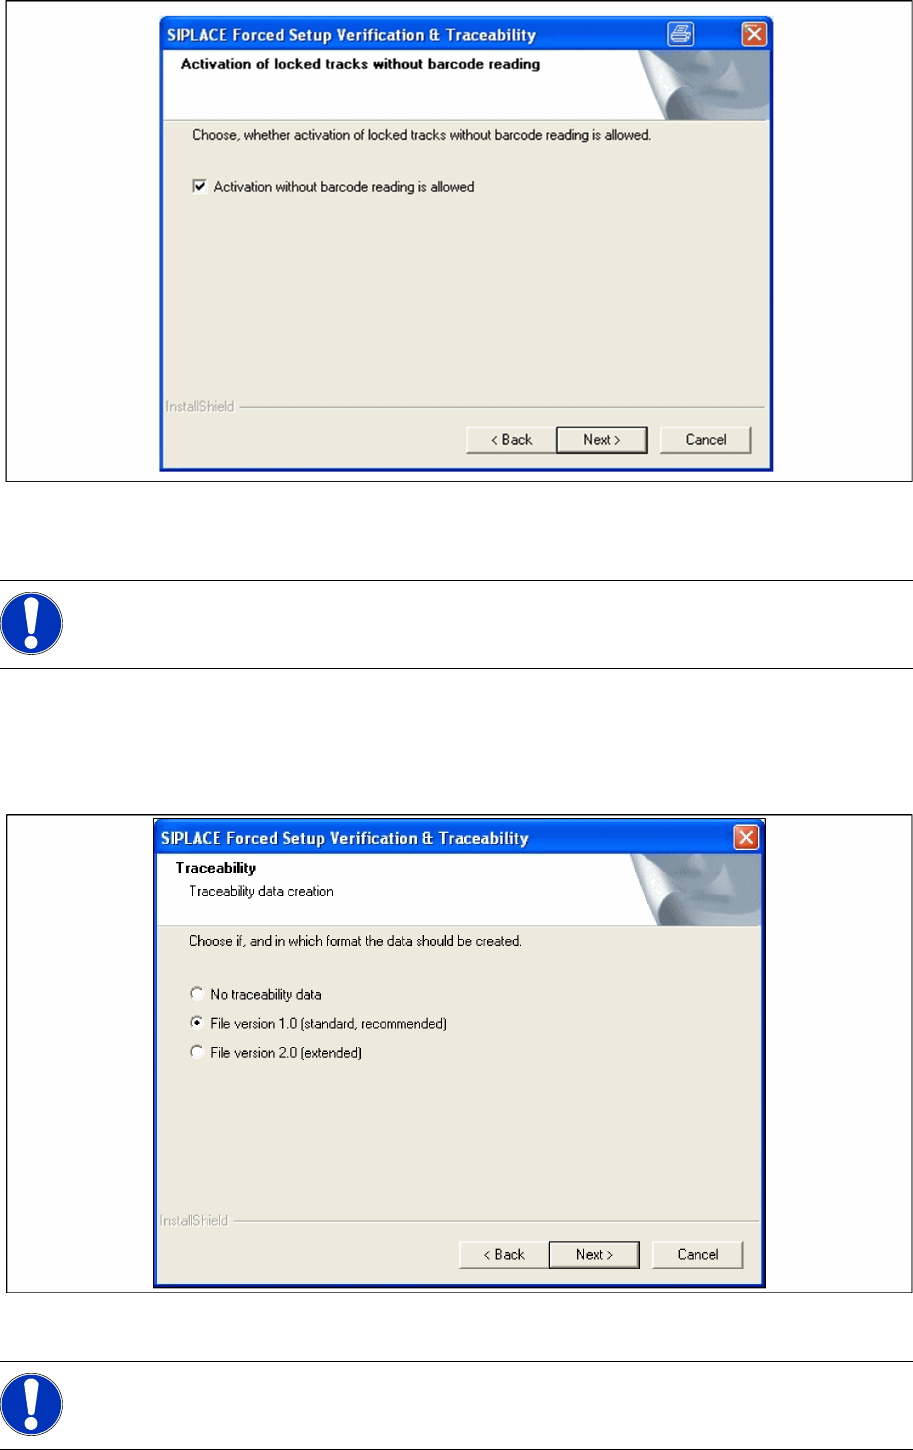
Step 5 Activation of locked tracks
X Choose Activation without barcode reading, you can activate the locked tracks on the machine
GUI, by clicking on the button chosen track in the overview of the empty feeders.
X If the checkbox is not selected, you can activate the locked tracks only by scanning the barcode of
packaging unit again.
Installation
Software Installation Setup Center
60 Installation Manual SIPLACE Setup Center 2.3
X Click Next to continue.
Step 6 Traceability
X Here you can choose whether the Traceability Data should be created.
X Furthermore you can select the File version 1.0 for standard TRC file or the File version 2.0 for
extended TRC file.
X Click Next to continue. Wait until the next dialog box appears. It can be take a few minutes.
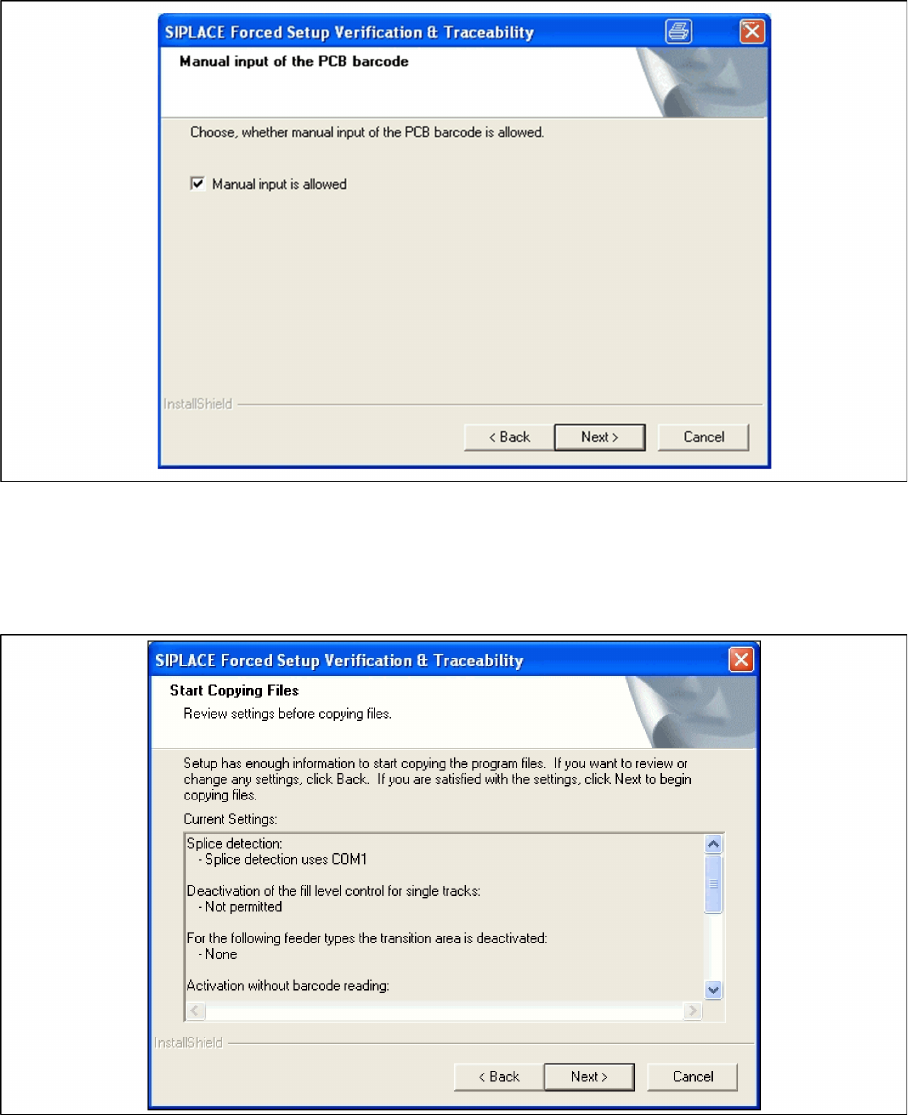
Step 7 Manual input of the PCB barcode
NOTE:
Traceability settings can only be changed, if the Tractability Option is installed at the station.
NOTE:
Traceability settings can only be changed, if the Tractability Option at the station is installed.
Installation
Setup Center Software Installation
Installation Manual SIPLACE Setup Center 2.3
61
X If this checkbox is selected, the PCB barcode can be entered manually, in case that it was not
accepted from a barcode reader.
X Click Next to continue.
Step 8 Overview of the settings
X Here you will see the overview of the settings.
X Click Back to review or change the settings.
X Click Next to continue the installation.
Step 9 Finishing the installation
X Click Finish to end the installation.