Maintenance Manual.pdf - 第49页
RL131 MAINTENANCE MANUAL 2.7 Precautions R elated to Charging Unit DA8MEC-10-080- A0 2.7-2
RL131
MAINTENANCE MANUAL
2.7 Precautions Related to Charging Unit
DA8MEC-10-080-A0
2.7-1
2.7. Precautions Related to Charging Unit
DA8MEC-10-080-A0
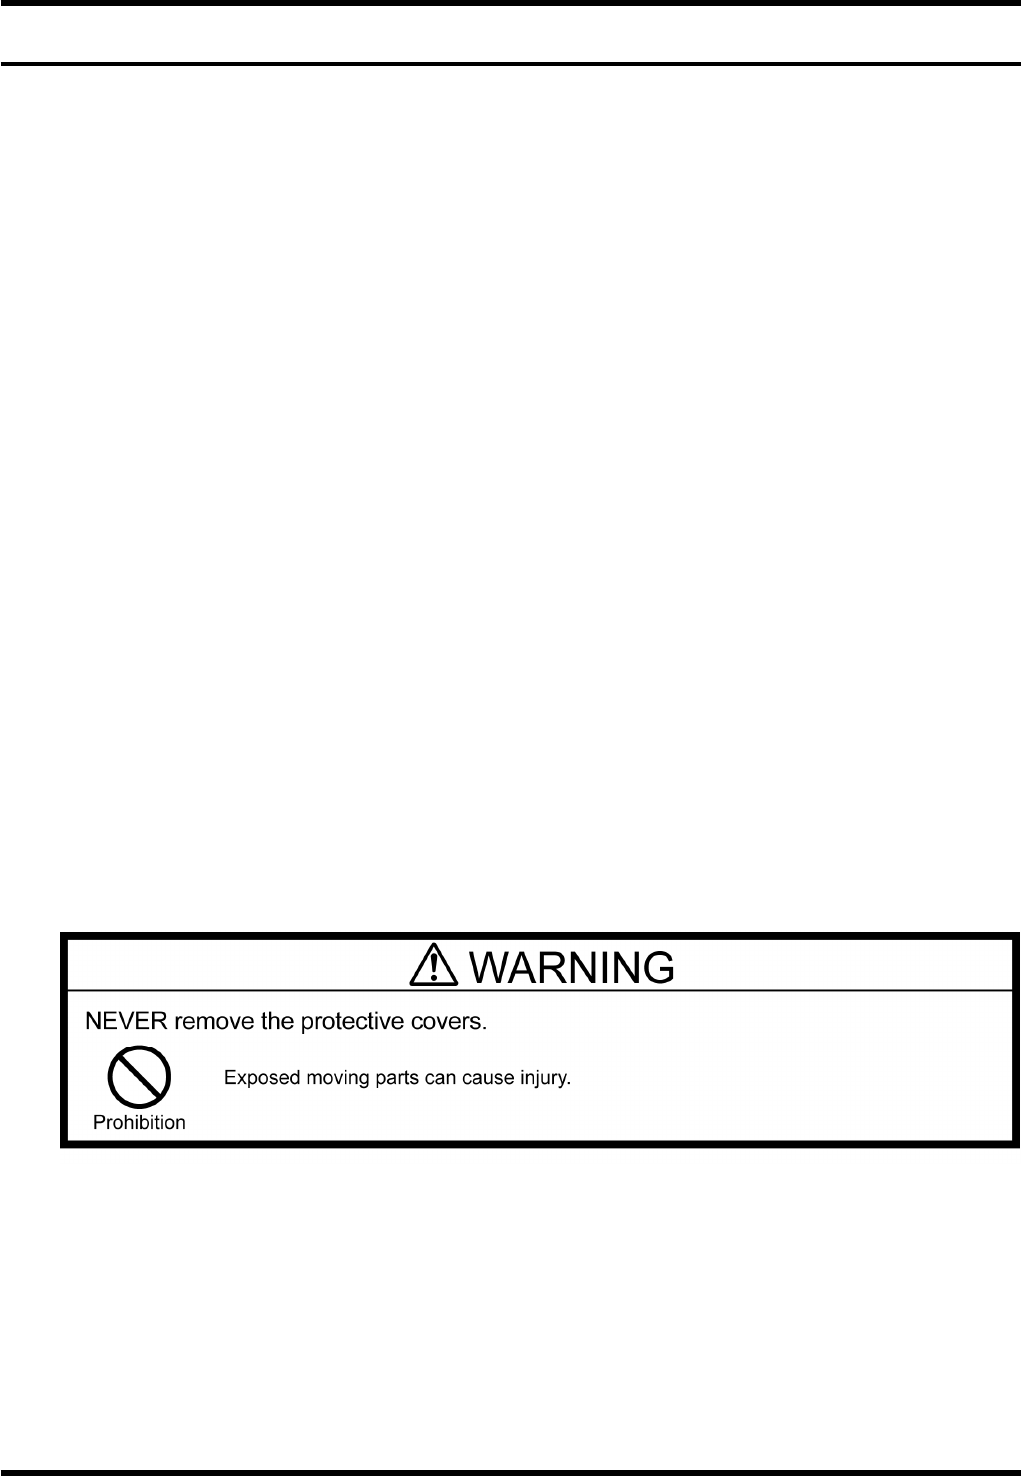
2.7.1 Units Accompanied by Hazardous Situation
A critical volume of electricity is fed to the following parts in the interior and periphery of the machine.
Interior
Z axis AC servomotor driver: (200V AC)
Head axis AC servomotor driver: (200V AC)
X-Y axis AC servomotor driver: (200V AC)
qH, qA, qU axis AC servomotor driver: (200V AC)
P, C axis AC servomotor driver: (200V AC)
Switching power supply: (200V AC)
Main switch: (200 / 220 / 380 / 400 / 420 / 480V AC)
Transformer: (Input: 200 / 220 / 380 / 400 / 420 / 480V AC
Output: 100 / 200V AC)
Vacuum pump: (200V AC)
Noise filter: (200 / 220 / 380 / 400 / 420 / 480V AC)
Breaker: (100 / 200V AC)
Contactor: (200V AC)
Main controller: (200V AC)
Instantaneous stop detection board: (200V AC)

RL131
MAINTENANCE MANUAL
2.7 Precautions Related to Charging Unit
DA8MEC-10-080-A0
2.7-2

RL131
MAINTENANCE MANUAL
2.8 Precautions at Service Interruption
DA8MEC-10-090-A0
2.8-1
2.8. Precautions at Service Interruption
DA8MEC-10-090-A0
2.8.1 Automatic Operation after Service Interruption
If the service has been interrupted during automatic operation, turn the main switch OFF to prevent
malfunction after power is recovered.
Operating Procedures
1.
1. Turn ON the main switch.
2. Set the <SERVO> switch in the OFF position.
3. Remove PC boards from the X-Y table, right rail or left rail.
4. Turn OFF the head brake switch and turn the H axis using the handwheel to adjust the angle of the cycle
timer at the machine origin (0° - 10°).
=REMARKS=
At this point, check that the position of the T axis is correct.
When the T axis is slanted, adjust the position of the T axis by hand before rotating the H axis using
the handwheel.
5. Close all safety covers (front, safety covers).
6. Set the <SERVO> switch in the ON position.
7. Reset the safety stop.
Press <ENABLING> + <START>.
8. Return the axes to their origins.
Press [Origin return] of [Machine adjustment].
9. Select [Production].
Press [Production].
10. Start production.
Press <ENABLING> + <START>.