00191017-01.pdf - 第554页
17.4 Set-Up Generation User ’s Manual Line Computer UNIX 17.4.3 Manual Set-Up Adjustment Software V ersion 403.xx Edition 06/97 17 - 56 17.4.3 Manual Set-Up Adjustment The pac kaging f orm for componen t Comp6 is to be c…
User’s Manual Line Computer UNIX 17.4 Set-Up Generation
Software Version 403.xx Edition 06/97 17.4.2 Automatic Set-Up Generation
17 - 55
To start Optimization for a lot file, proceed as follows:
1. In the Optimization Dialog activate the
Read in directory
icon .
The new lot file is listed.
2. Activate the Start icon .
3. Click on the
Examples.lose
lot file.
Optimization of the lot file is started. The Info Box indicates the progress and the phases of the process,
as well as production time and the changeover time of the set-ups being calculated.
Upon the successful optimization, the status of the lot file is indicated as
optimized
. The set-up name
here:
Examples01.ar
is automatically assigned to the optimized set-up.
If errors are encountered during Optimization, the optimization run is aborted and the status of the lot file
is indicated as
faulty
. In the case of an error, proceed as follows:
— Activate the Select icon .
— Click on the faulty job.
— Click on the
View error file
option on the
SERVICES
menu.
The File display containing the error file is opened.
— Correct the errors displayed.
— Click on the
Quit
option on the
FILE
menu.
File display is closed.
— Optimization is re-started.
To check the producibility of a lot file:
4. Activate the Select icon .
5. Click on the
Examples.lose
lot file.
6. Click on the
Producibility check
option on the
SERVICES
menu.
The producibility check is started. Upon the successful check, the status of the jobs is indicated as
R (=ready)
.
To obtain a printout of the optimized set-up, proceed as follows:
7. Click on the
Examples.lose
lot file.
8. Click on one of the jobs of this lot file.
9. Click on the
Display set-up
option on the
SERVICES
menu.
The Set-Up Modification Generator is opened.
10. In the Set-Up Modification Generator activate the
Set-up modification instructions
button.
The set-up changeover instructions are displayed.
11. On the
FILE
menu click on the
Print
command, then
Print Line
.
The set-up is printed out for all stations.
12. Click on the
Quit
option on the
FILE
menu.
The Set-Up Modification Generator is closed.
13. After optimization has been successfully completed, click on the
Quit
option on the
FILE
menu.
The Optimization Dialog is closed.
17.4 Set-Up Generation User’s Manual Line Computer UNIX
17.4.3 Manual Set-Up Adjustment Software Version 403.xx Edition 06/97
17 - 56
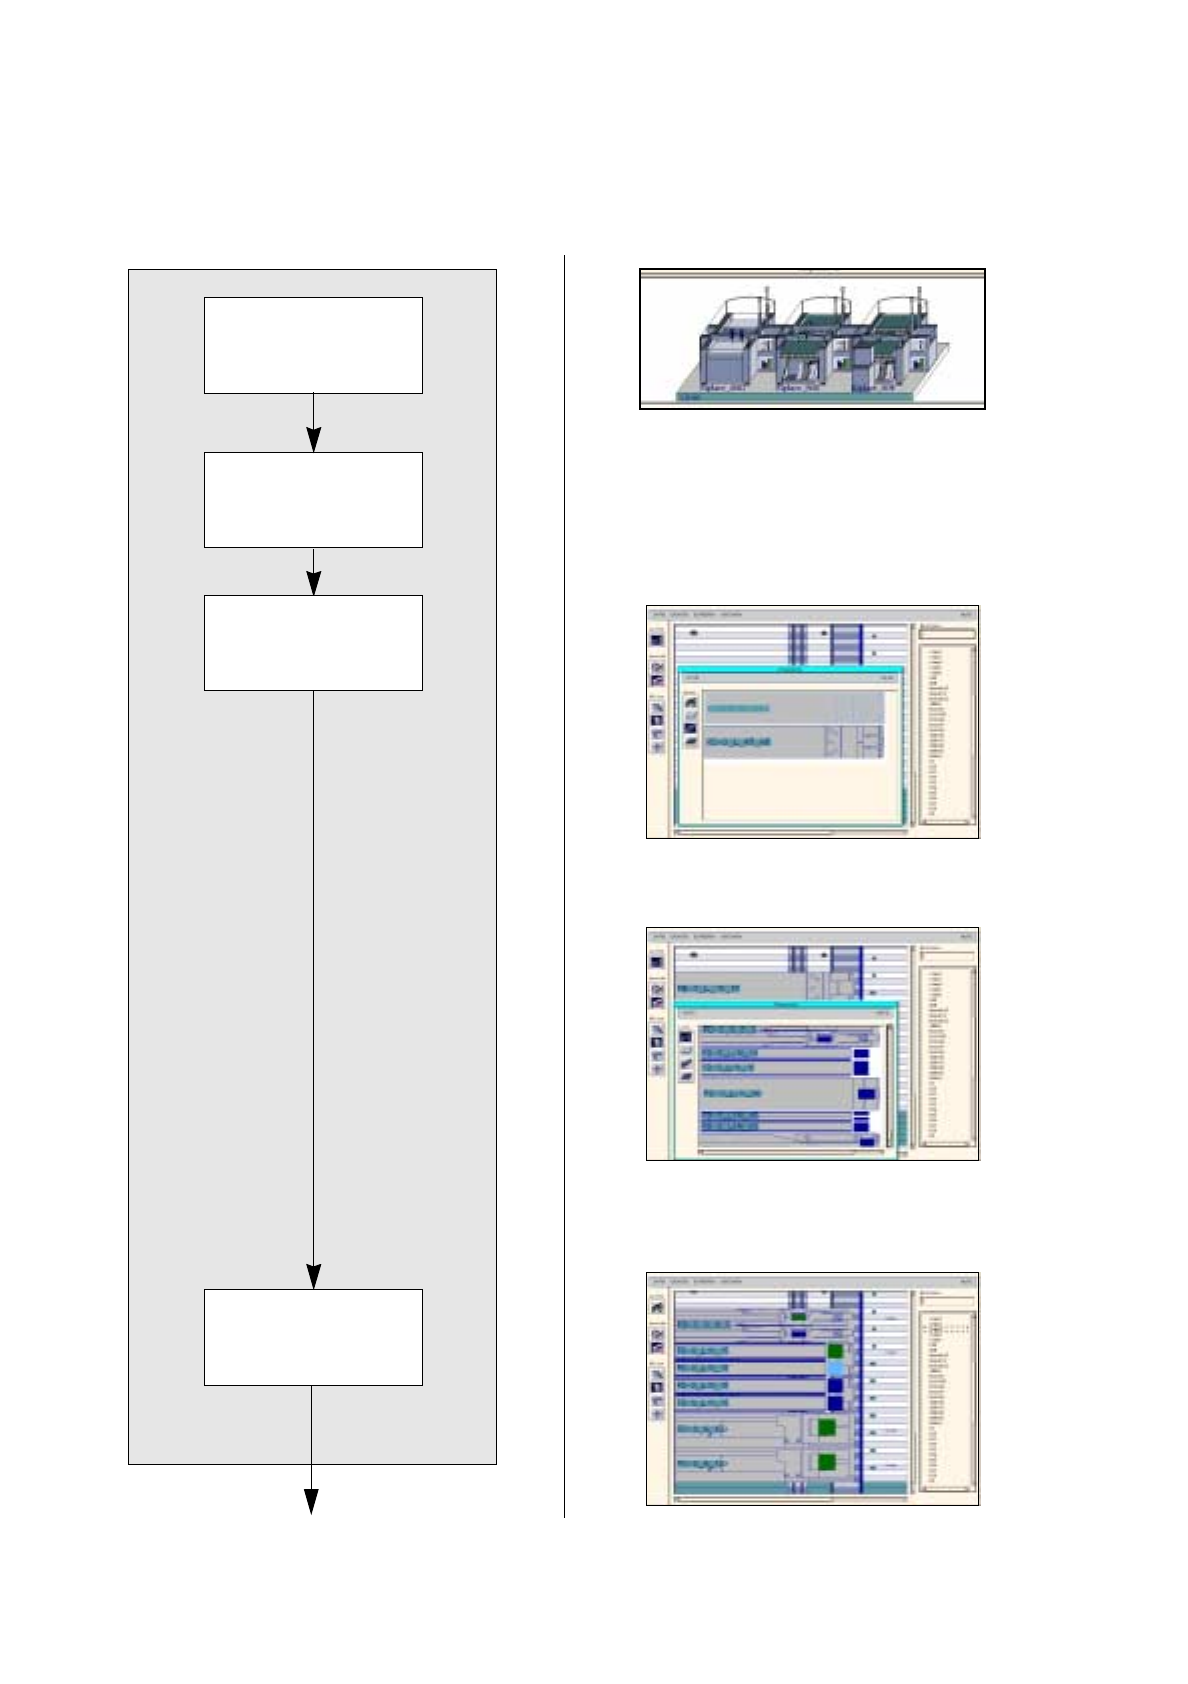
17.4.3 Manual Set-Up Adjustment
The packaging form for component Comp6 is to be changed: it is supplied in stick magazines. Comp5 is addi-
tionally supplied in waffle-pack trays. The set up is adapted manually.
Opening Set-up Edi-
tor/Feeder Part Editor
continued on page 17-58
Deleting feeders
Allocating feeder to a
track
Setting up feeders
Allocating component
to a feeder
User’s Manual Line Computer UNIX 17.4 Set-Up Generation
Software Version 403.xx Edition 06/97 17.4.3 Manual Set-Up Adjustment
17 - 57
To open the Set-Up Editor/Feeder Part Editor, proceed as follows:
1. On the desktop click on the feeder part of the respective station, here:
right feeder part of Siplace_80S
.
The file selection window for set-up selection is opened.
2. Click on the set-up, here:
Examples01.ar
and click on the
OK
button.
The Set-Up Editor/Feeder Part Editor for this feeder part is opened.
To delete a feeder, proceed as follows:
3. Activate the Delete icon .
4. Click on the feeder that is to be deleted, here:
FD~S_G_12
on track
97
.
A dialog box appears.
5. In the dialog box click on the
OK
button.
The feeder is deleted, the dialog box is closed.
6. If required, delete other feeders analogously, here:
FD~S_G_12
on track 103
.
To allocate a feeder to a track, (here: linear feeders with module), proceed as follows:
7. Activate the Create icon .
8. Click on the
°Feeder list
option on the
SERVICES
menu.
The feeder list is opened.
9. Activate the Module icon .
A listing of all modules is displayed.
10. Click on a module, here:
MD~S_L_10_15
.
11. Click on a track, here:
track
97.
The module is set up on the track.
12. Set up the same module on track 103 analogously.
13. Click on the
°Feeder list
option on the
SERVICES
menu.
The feeder list is opened.
14. On the Feeder list activate the Feeder icon .
A listing of all feeders is displayed.
15. Click on a feeder, here:
FD~S_LIN_15
.
16. Click on an area of one of the modules.
The feeder is set up in this area.
17. Click on the
°Feeder list
option on the
SERVICES
menu.
The feeder list is opened.
18. Click on a feeder, here:
FD~S_LIN_15
.
19. Click on the other area on the module.
The feeder is set up in this area, the feeder list is closed.
20. Set up the second module analogously.
To allocate a component to a feeder, proceed as follows:
21. Click on the component in the component list, here:
Comp6
.
22. Click on the compartment (division) of a feeder.
The component Comp6 is allocated to the compartment and the component name is displayed on the
right hand side.
23. Allocate components to the other compartments of the feeder analogously.