00191017-01.pdf - 第559页
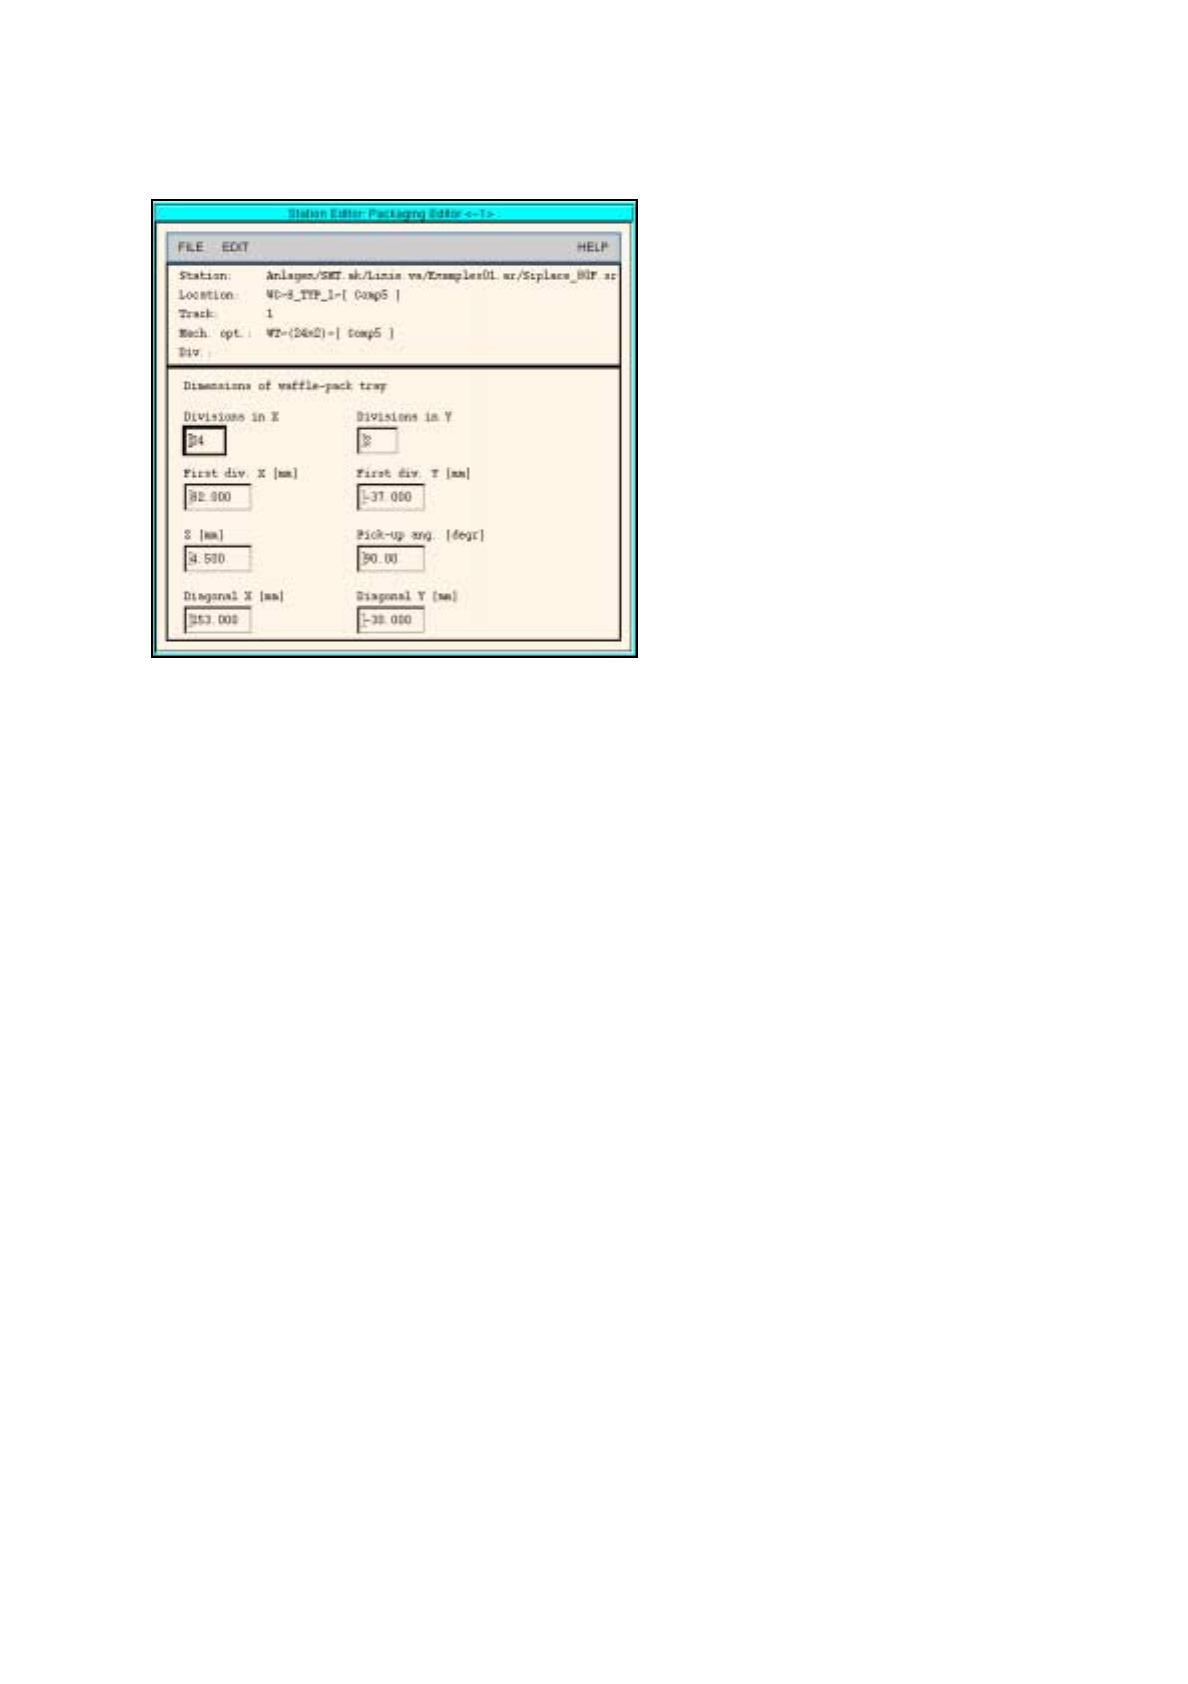
User ’s Manual Line Computer UNIX 17.4 Set-Up Generation Software V ers ion 403.xx Edition 06/97 17.4.3 Manual Set-Up Adjustment 17 - 6 1 Fig. 17.4.1 Definition of a Waffle-Pack Tray 47. Click on the Quit option o n the …
17.4 Set-Up Generation User’s Manual Line Computer UNIX
17.4.3 Manual Set-Up Adjustment Software Version 403.xx Edition 06/97
17 - 60
FILE
Save
FILE
Quit
Saving set-up
Allocating a compo-
nent to a waffle-pack
tray
Adjusting conveyor
width
continued from page 17-58
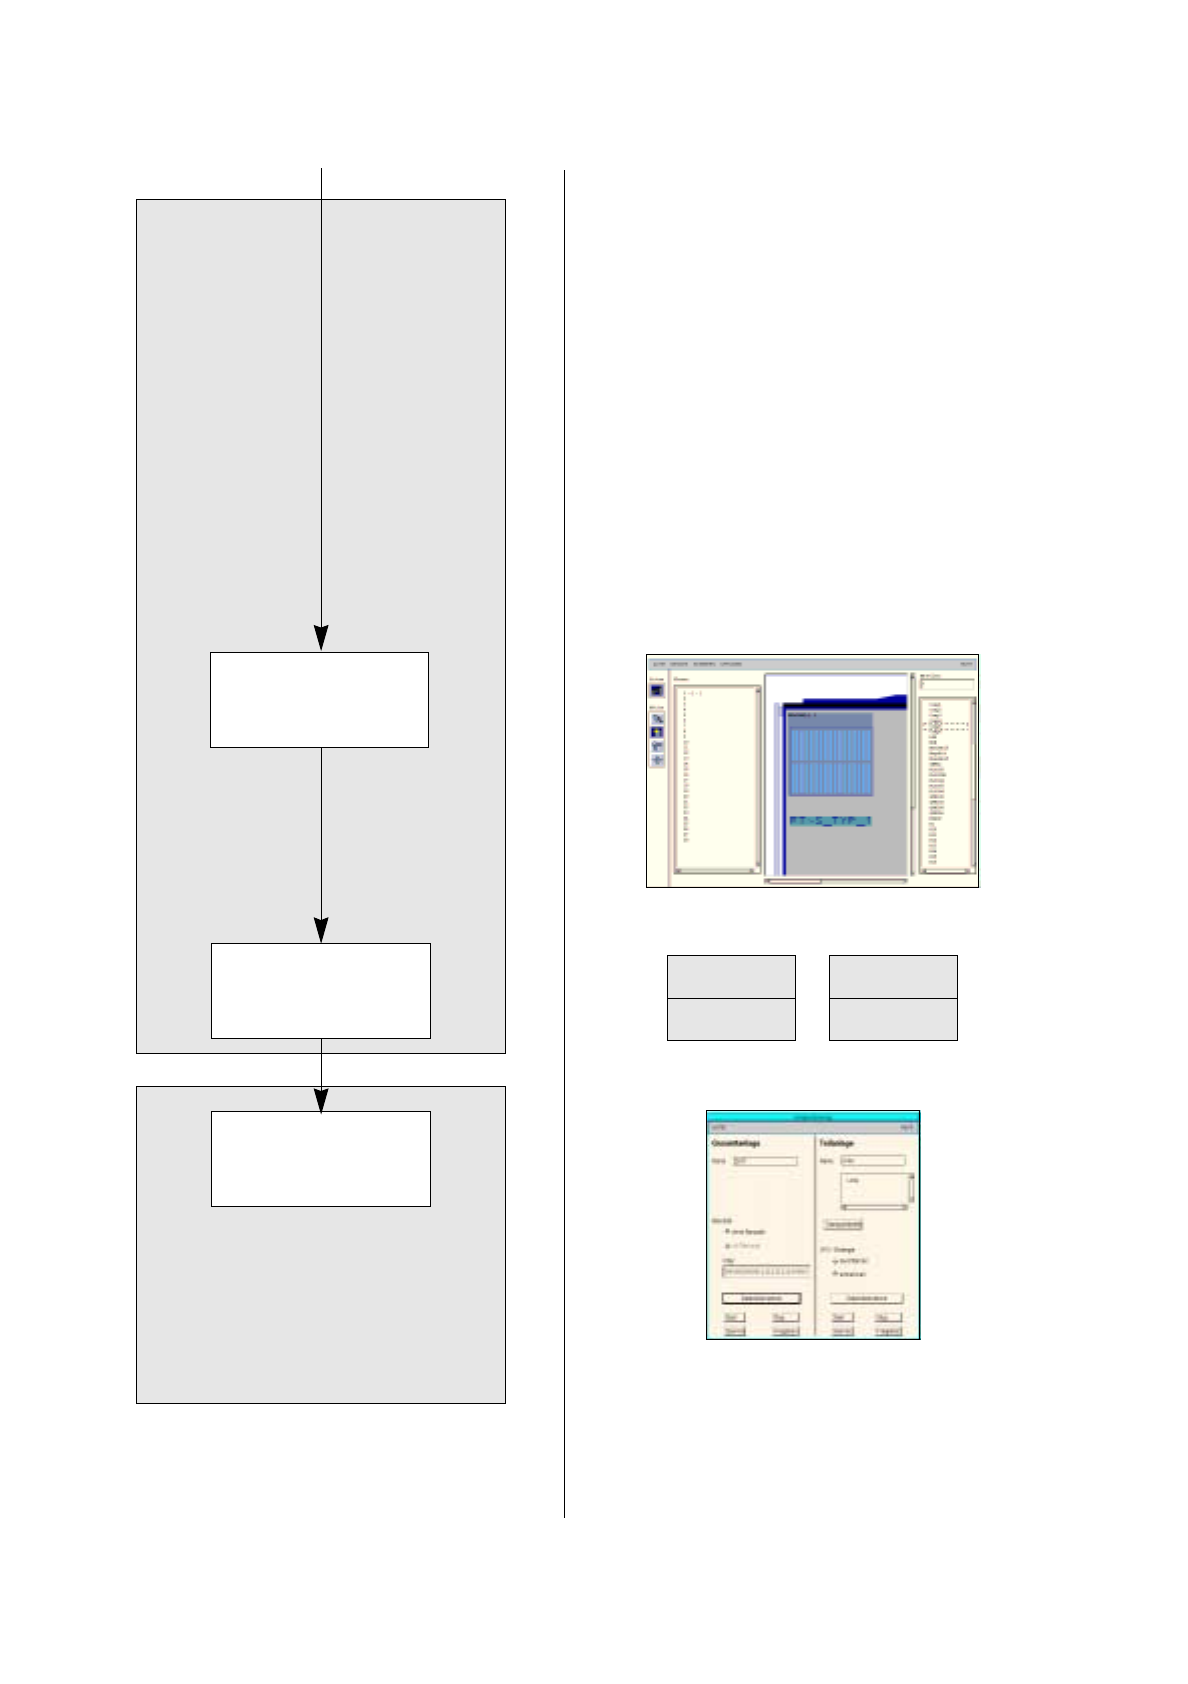
Setting up waffle-pack trays
User’s Manual Line Computer UNIX 17.4 Set-Up Generation
Software Version 403.xx Edition 06/97 17.4.3 Manual Set-Up Adjustment
17 - 61
Fig. 17.4.1 Definition of a Waffle-Pack Tray
47. Click on the
Quit
option on the
FILE
menu.
The Packaging Editor is closed. The pick-up area of the waffle-pack tray is displayed together with the
indicated spacing.
To allocate a component to a waffle-pack tray, proceed as follows:
48. On the component list click on the component, here:
Comp5
.
49. Click on the blue pick-up area of the waffle-pack tray.
The component is allocated to the compartments of the waffle-pack tray.
To save the set-up, proceed as follows:
50. Click on the
Save
option on the
FILE
menu.
The created set-up is saved.
51. Click on the
Quit
option on the
FILE
menu.
The Set-Up Editor/WPC Editor is closed.
To adjust the conveyor width (if not already done), proceed as follows:
52. On the desktop click on the
Line control
option on the
SERVICES
menu.
The Line control window is opened.
53. Click on the
Conveyor width
button.
A dialog box is opened.
54. Activate the
Width adj. upon cluster change
button.
With this function, the conveyor width is adjusted automatically upon the next cluster change.
55. Click on the
OK
button.
The dialog box is closed.
56. Click on the
Quit
option on the
FILE
menu.
The Line control window is closed.
17.5 Line Control User’s Manual Line Computer UNIX
17.4.3 Manual Set-Up Adjustment Software Version 403.xx Edition 06/97
17 - 62
17.5 Line Control
The three PCBs can now be produced using the created set-up.
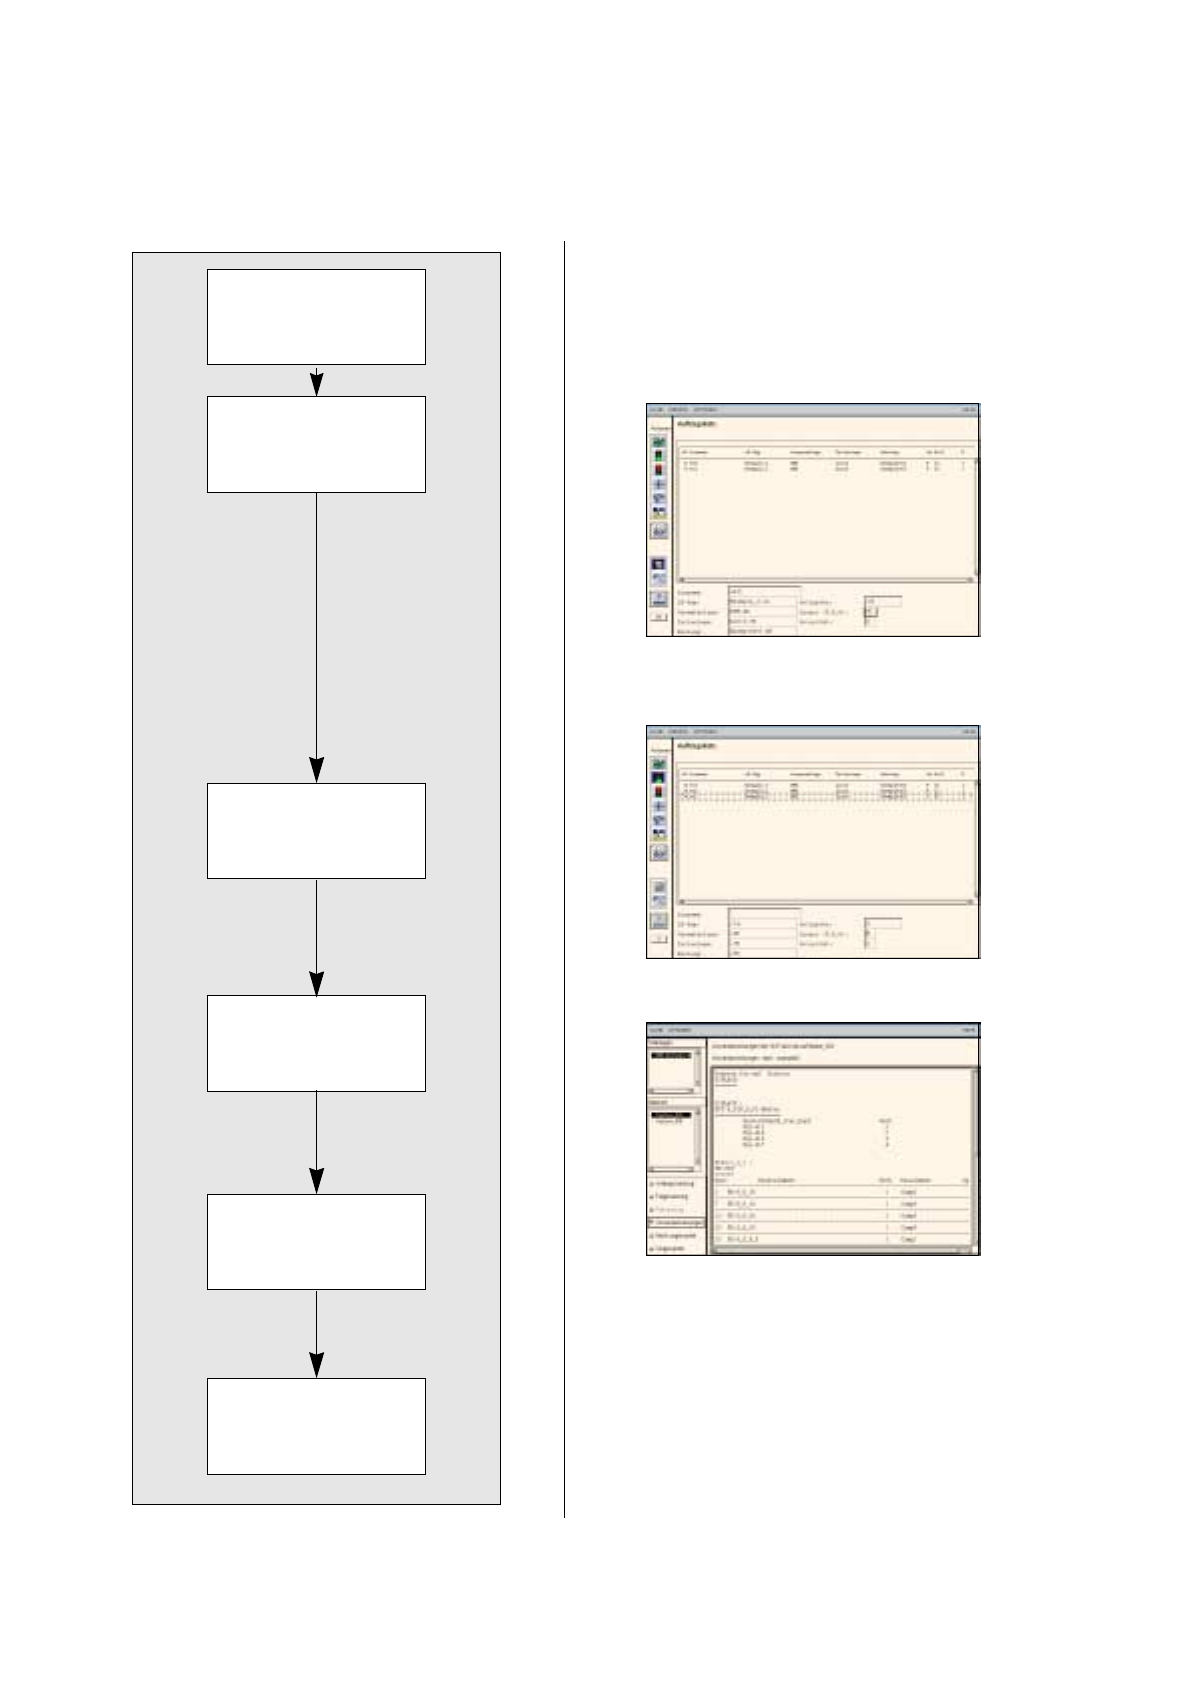
Opening Job Control
Scheduling a job
Displaying and printing
set-up changeover in-
structions
Changing the set-up of
stations and confirming
set-up changeover
Inserting jobs in the job
list
The placement of the
scheduled jobs is
started.