Horizon UserManualV6.pdf - 第35页
7. Close the two outer toggle levers. 8. Load the stencil to the machine, ensuring the correct orientation of the stencil. 9. Close the front printhead cover. Software Version 6 User Manual 1.19 MACHINE PROGRAMMING STAGE…
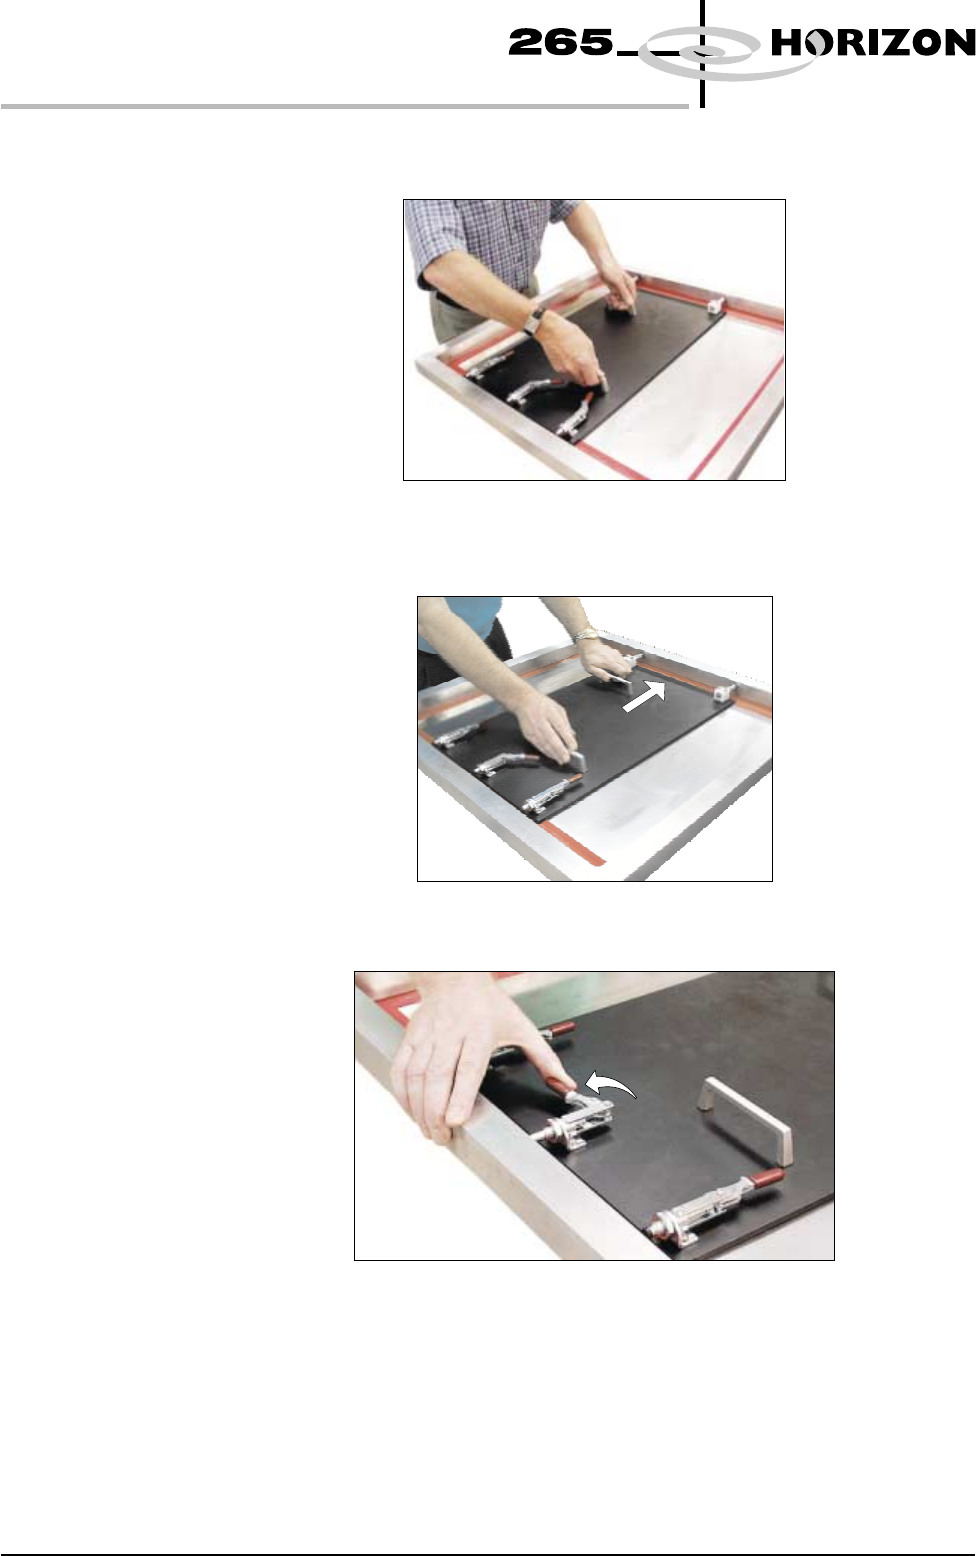
4. Using the appropriate stencil for the product file loaded, position the
FormFlex setup plate centrally over the stencil image.
5. Ensure the spring loaded plungers are in contact with the left side of the
stencil frame.
6. Close the central toggle lever.
1.18 User Manual Software Version 6
MACHINE PROGRAMMING
STAGE 4C
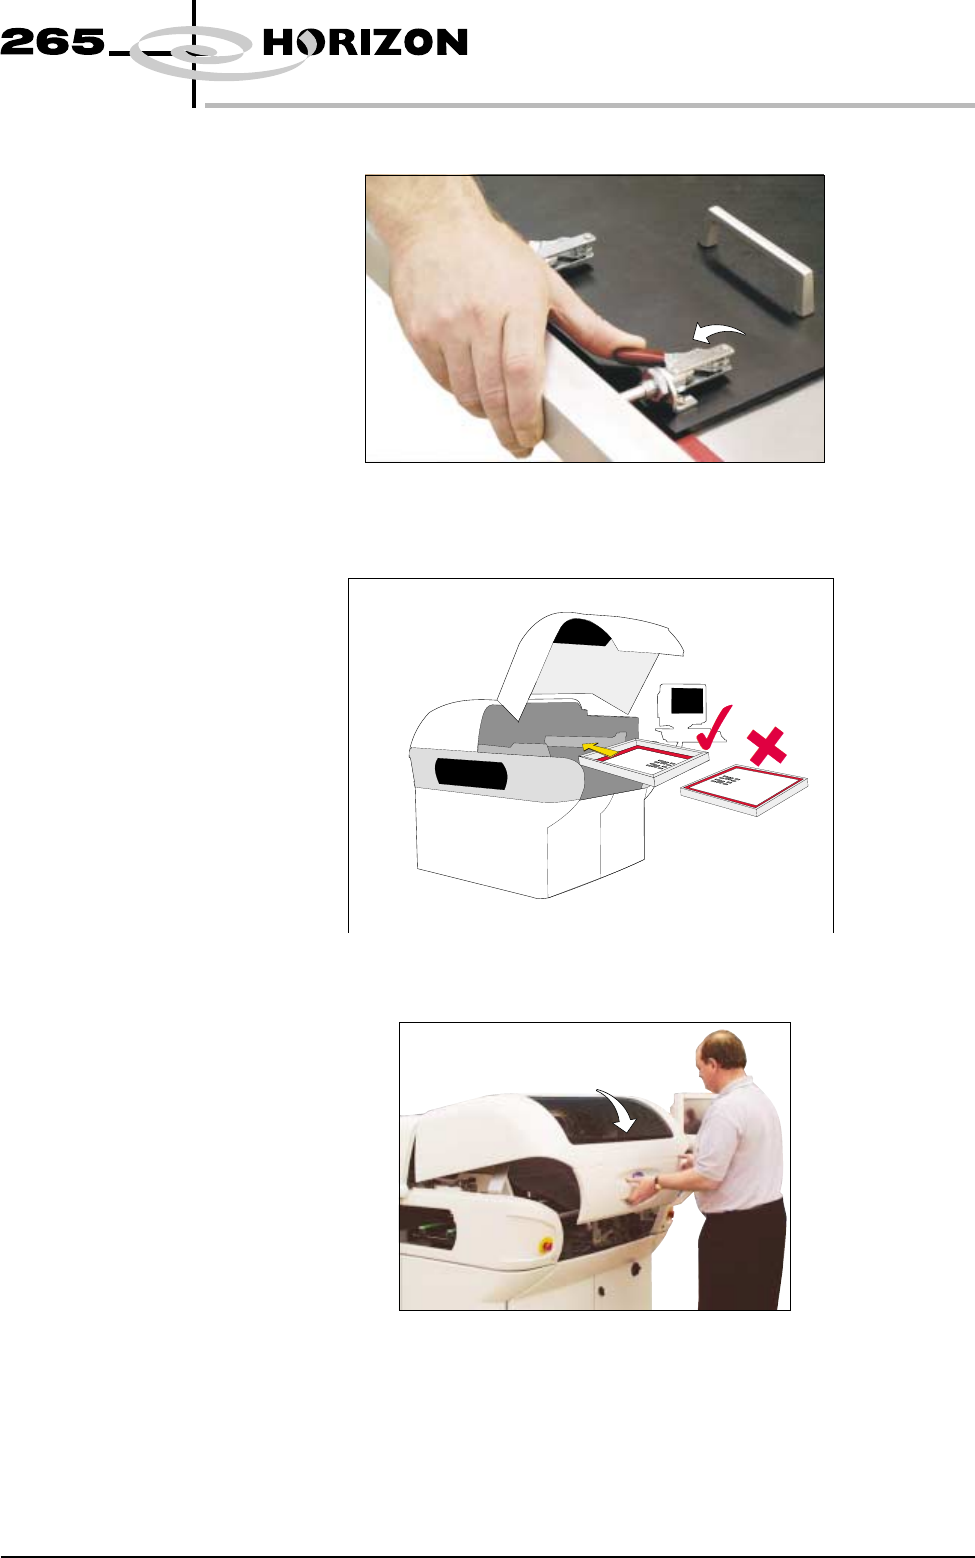
7. Close the two outer toggle levers.
8. Load the stencil to the machine, ensuring the correct orientation of the
stencil.
9. Close the front printhead cover.
Software Version 6 User Manual 1.19
MACHINE PROGRAMMING
STAGE 4C
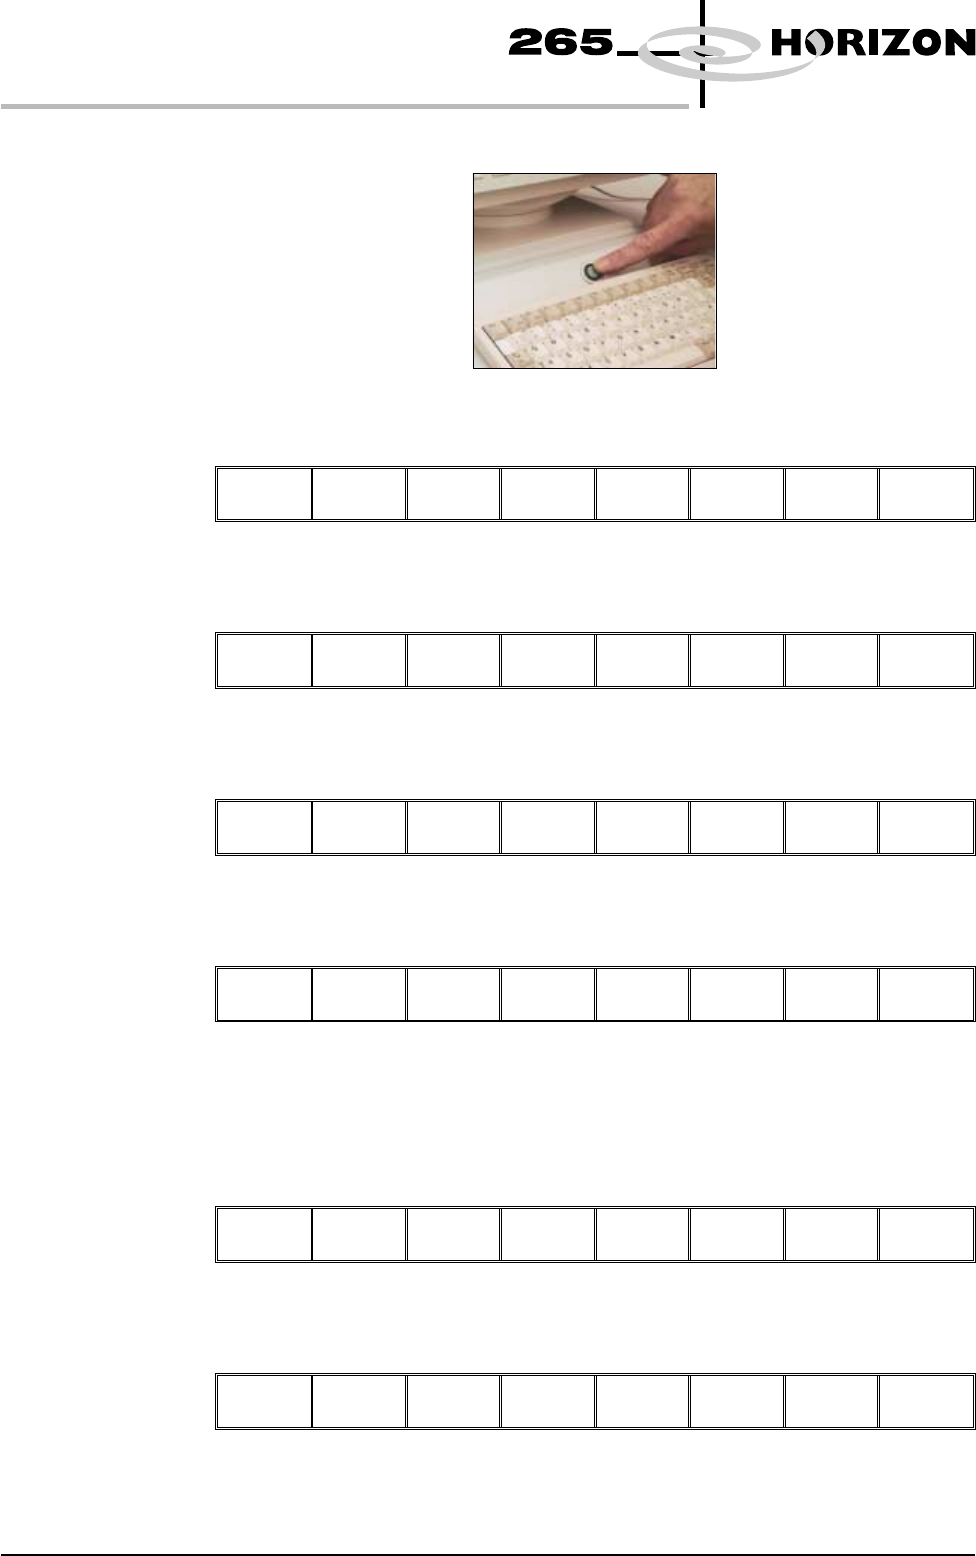
10. Press the System button.
11. Select Change Screen (F5).
Mode Load
Data
Edit
Data
Setup
Squeegee
Change
Screen
Change
Tooling
Change
Language
Exit
12. Select Mode (F1) until Step is displayed in the printer status window.
Mode
Load
Data
Edit
Data
Setup
Squeegee
Change
Screen
Change
Tooling
Change
Language
Exit
13. Select Exit (F8).
Mode Load
Data
Edit
Data
Setup
Squeegee
Change
Screen
Change
Tooling
Change
Language
Exit
14. Select Run (F1).
Run
Head Paste
Load
Clean
Screen
Adjust Setup Monitor Maint.
15. Place a board on the conveyor.
16. Select Auto Board (F1).
Auto
Board
Manual
Board
Knead
Paste
Exit
17. Select Step (F1) until the board is raised to Print Height.
Step
Head Single Exit
1.20 User Manual Software Version 6
MACHINE PROGRAMMING
STAGE 4C