Horizon UserManualV6.pdf - 第356页
10. Press the System button. 11. Select Exit (F8). Exit 12. Select Yes (F1). Yes Remove Cover The message ‘The ProFlow unit will be placed in the REAR envelope’ is displayed. 13. If the ProFlow unit is required to be pla…
4. Select Load Cassette (F4).
Change
ProFlow
Load
Cassette
Exit
The message ‘Has the ProFlow unit’s base cover been removed?’ is
displayed.
5. If the ProFlow unit’s base cover is still fitted continue with Step 6. If the
ProFlow unit’s base cover has been removed go to Step 12.
6. Select Remove Cover (F8).
Yes
Remove
Cover
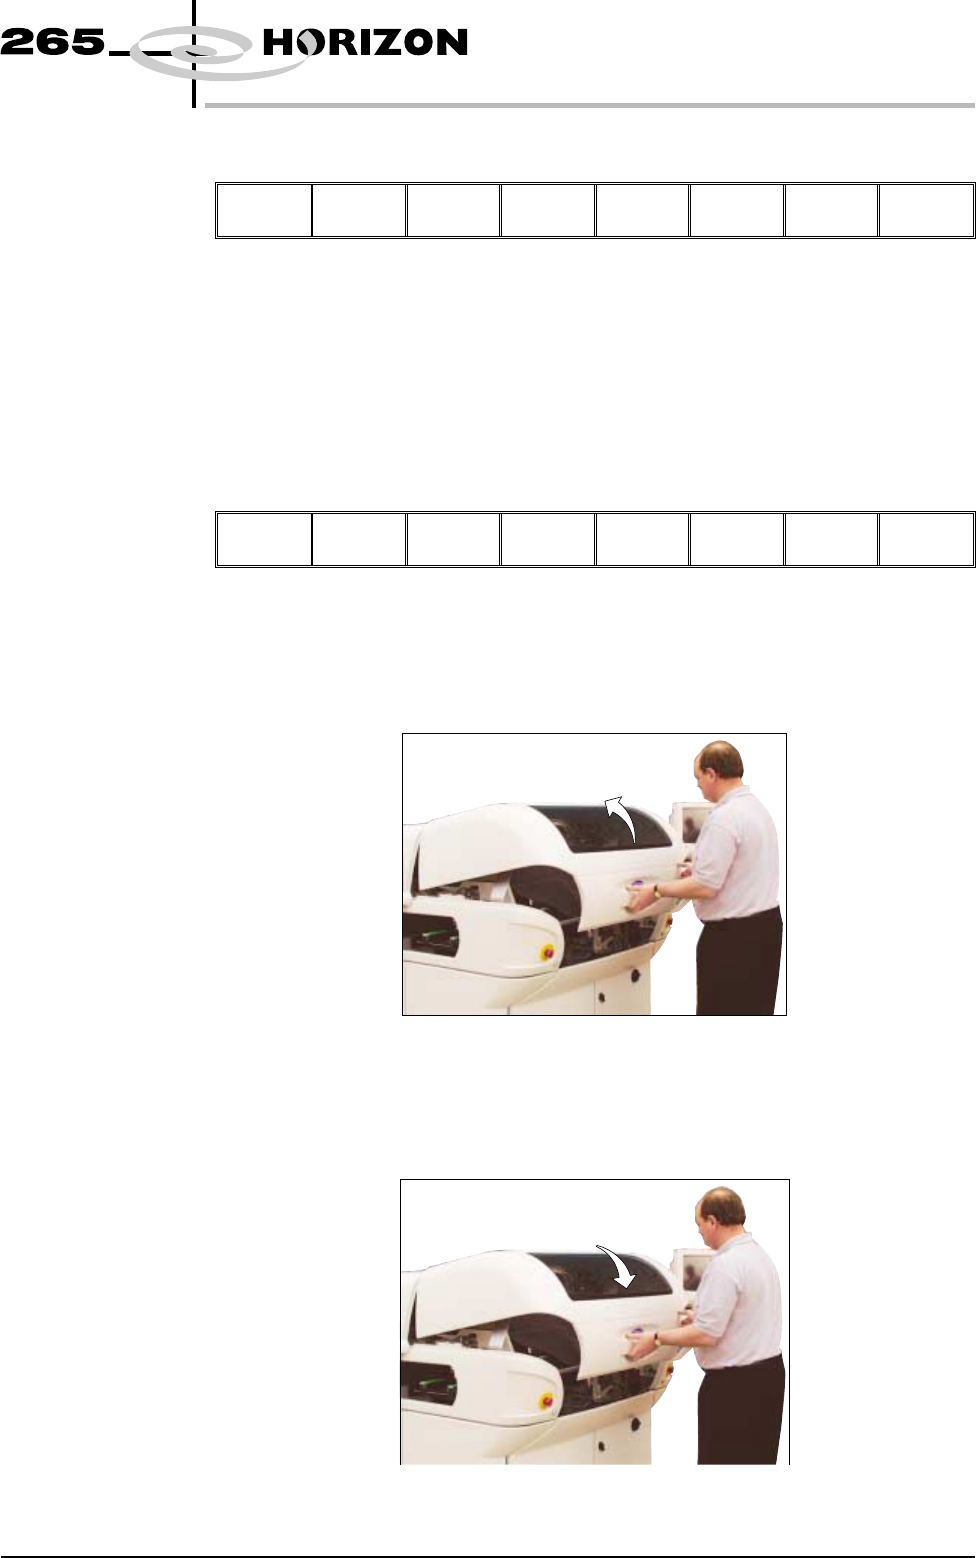
The message ‘Open the printer cover and remove the ProFlow unit’s
base cover’ is displayed.
7. Open the front printhead cover.
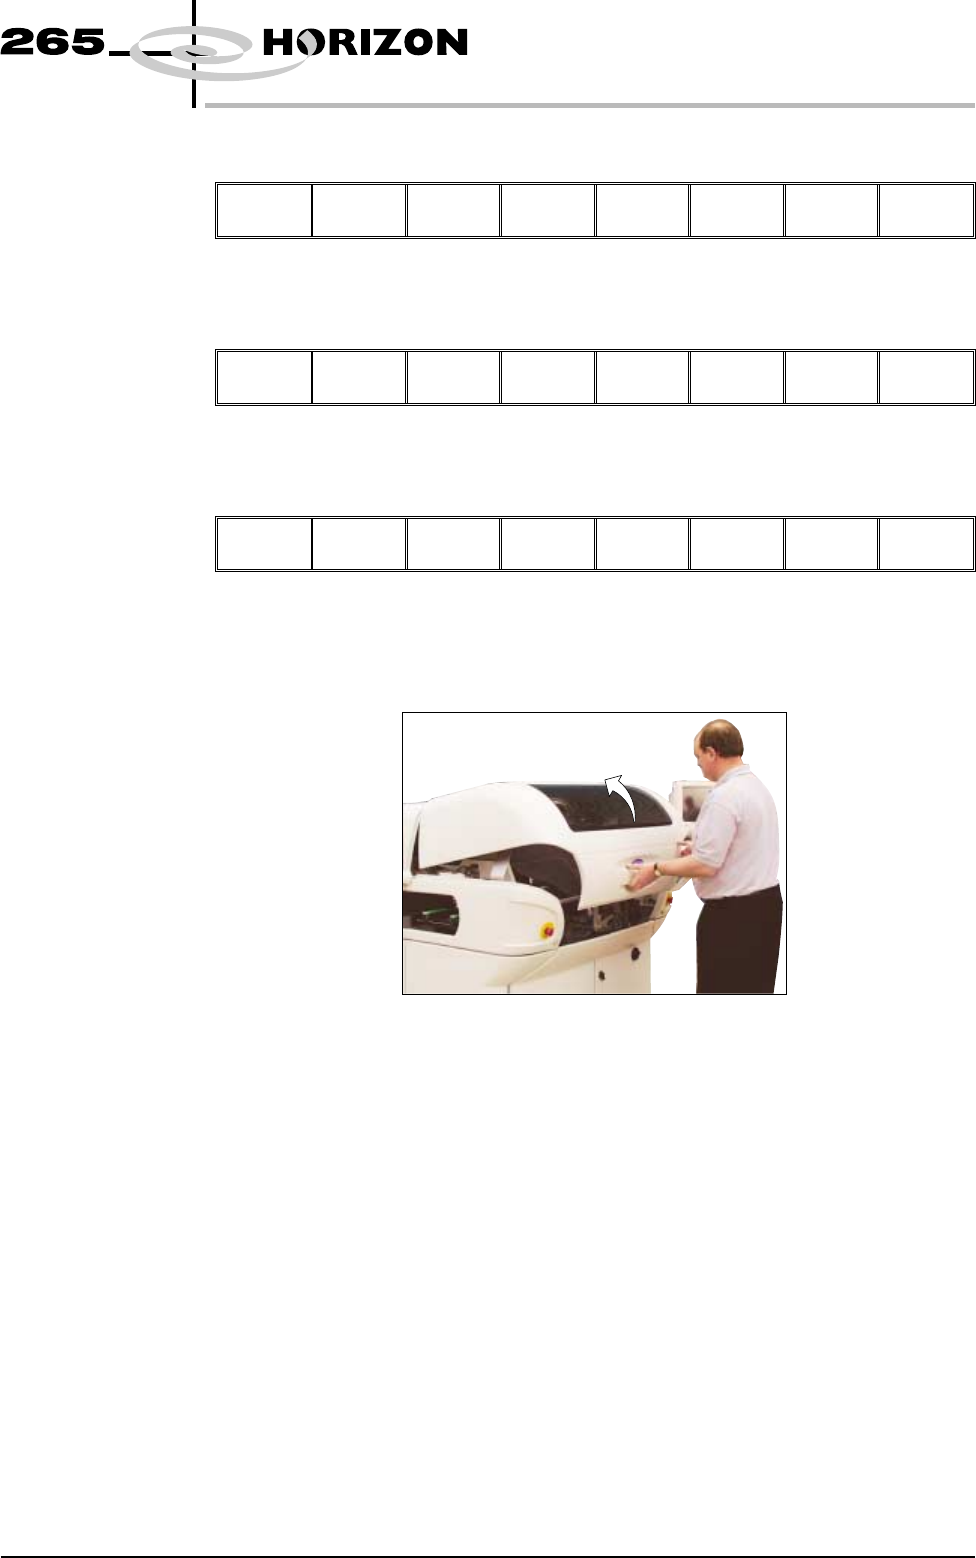
8. Remove the ProFlow unit’s base cover.
9. Close the front printhead cover.
Software Version 6 User Manual 9.55
CONSUMABLE REPLENISHMENTS
PROFLOW

10. Press the System button.
11. Select Exit (F8).
Exit
12. Select Yes (F1).
Yes
Remove
Cover
The message ‘The ProFlow unit will be placed in the REAR envelope’ is
displayed.
13. If the ProFlow unit is required to be placed in another envelope continue with
Step 14. If the ProFlow unit is required to be placed in the machine preferred
envelope go to Step 18.
14. Select Select Another (F8).
Proceed
Select
Another
The following window is displayed:
15. Use the Next or Previous keys (F4 or F5) to highlight Front.
Use
Next Previous
Exit
9.56 User Manual Software Version 6
CONSUMABLE REPLENISHMENTS
PROFLOW
Preferred Envelope
REAR
FRONT
16. Select Use (F1).
Use
Next Previous Exit
17. Select Exit (F8).
Use Next Previous
Exit
18. Select Proceed (F1).
Proceed
Select
Another
The ProFlow unit is placed in contact with the screen.
19. Open the front printhead cover.
Software Version 6 User Manual 9.57
CONSUMABLE REPLENISHMENTS
PROFLOW