User Manual SIPLACE Head Care Station -.pdf - 第68页
5 Working with the HCS 5.2 Head verification process 68 User Manual SIPLACE Head Care Station 10/2017 5.2.6.3 Starting the head verification The Progress tab shows the previously selected measurements and the status of t…
5 Working with the HCS
5.2 Head verification process
User Manual SIPLACE Head Care Station 10/2017 67
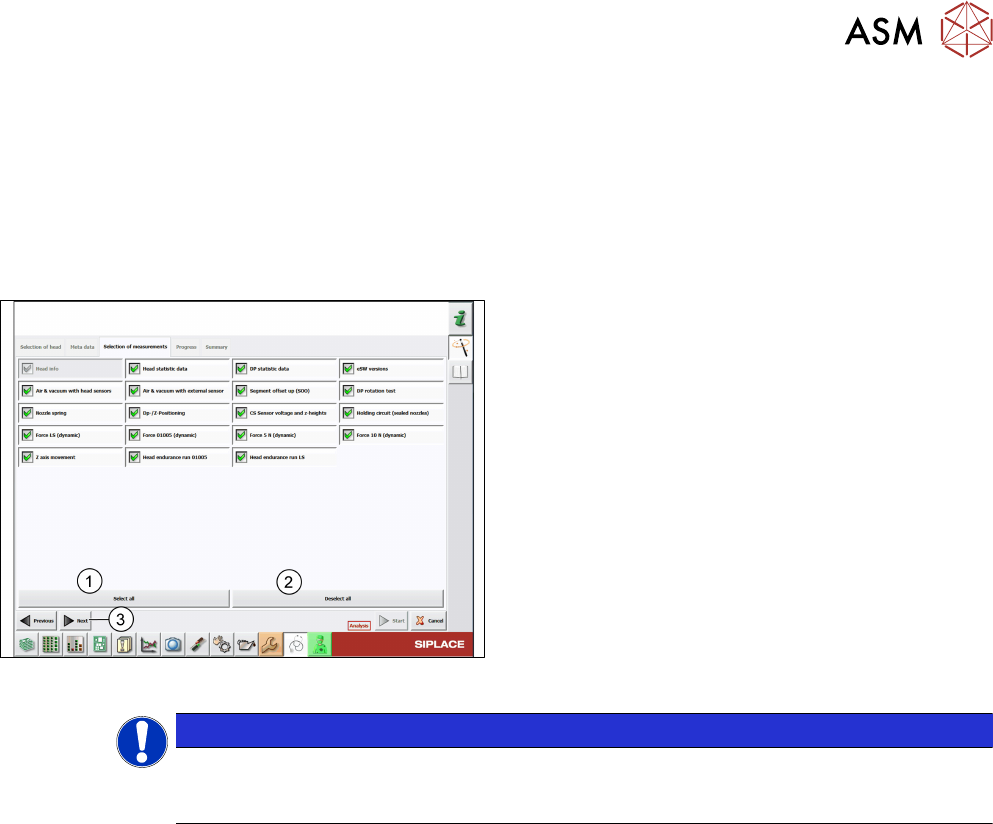
5.2.6.2 Selection of measurements
The Selection of measurements tab shows all tests available for the selected head type. The
number of tests depends on the head to be verified.
Whether the tests are selectable depends on the Test mode used:
●
In the Automatic mode, all tests are preselected without further options.
●
In the Analysis mode, all tests are preselected with the option to manually configure the test
setup.
Fig.75: Selection of measurements tab – Analysis mode
► Manually select and/or deselect tests. You can
also click the Select all(1) button to select all
tests at once or click the Deselect all(2) button
to deselect all tests at once.
► Click Next(3).
NOTICE
To gain a reliable overview about the head condition it is recommended to run a full
head verification including all tests available. The order in which the tests will be per-
formed is line-wise starting from the top left test to the bottom right test.
5 Working with the HCS
5.2 Head verification process
68 User Manual SIPLACE Head Care Station 10/2017
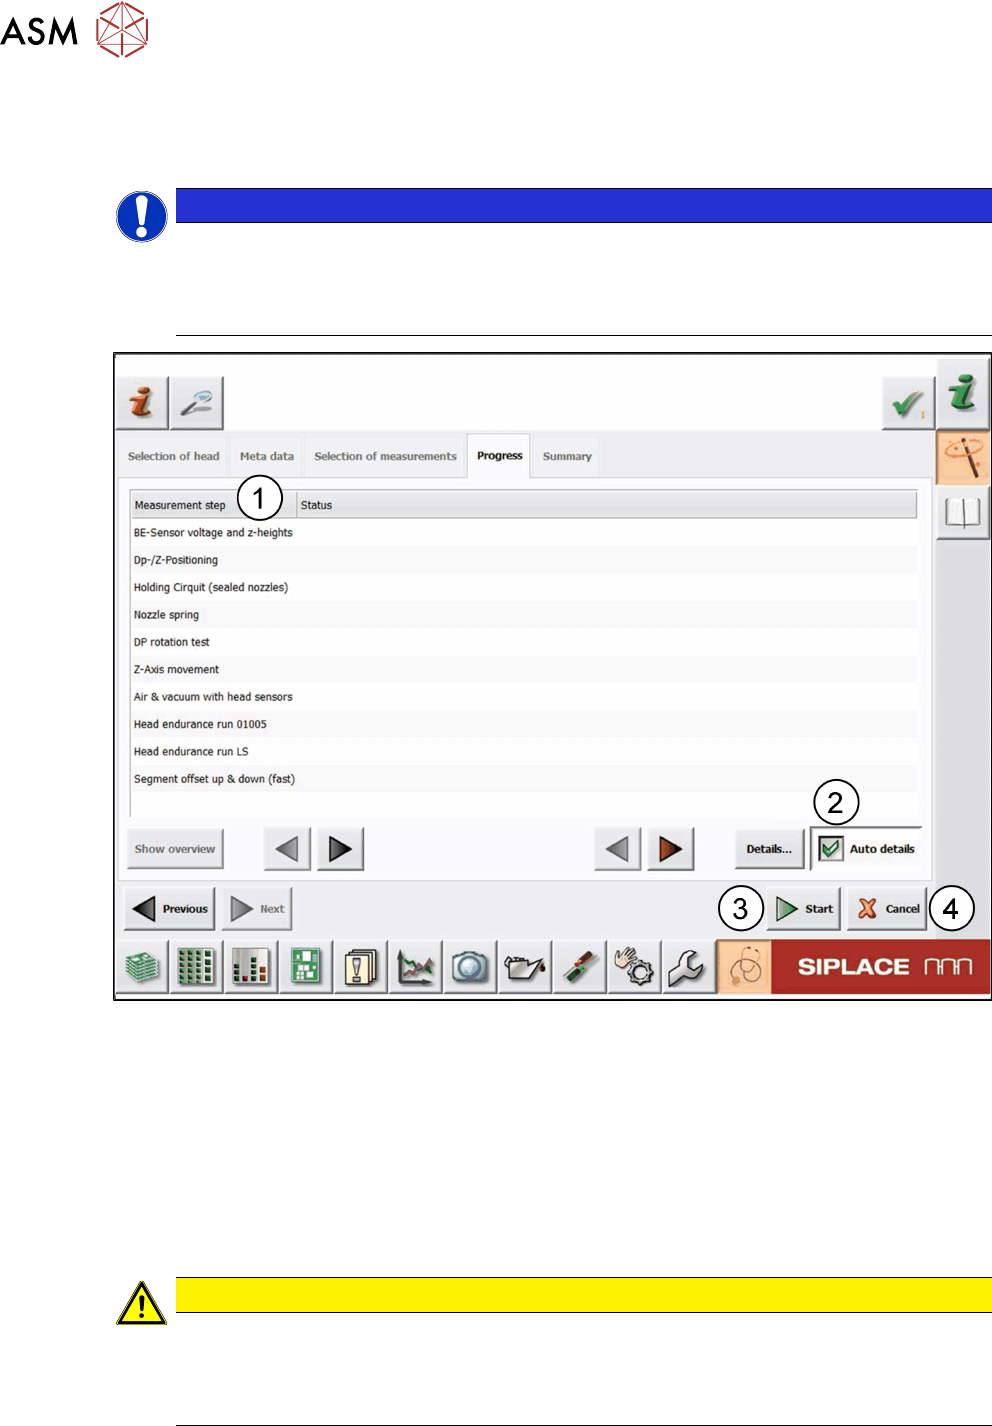
5.2.6.3 Starting the head verification
The Progress tab shows the previously selected measurements and the status of the individual
tests and the overall test sequence.
NOTICE
Previous settings still available
All previous settings are still available and can be changed any time before the head verific-
ation has been started.
► Click the Previous button to return to the previous page.
Fig.76: Progress tab
► Before you start the verification process, it is recommended to enable the Auto details op-
tion(2) so that the detailed test result is automatically displayed whenever new measurement
values are available.
► Click the Start button(3).
ð The head verification process is started.
ð The test status of the ongoing verification is displayed in the Status column for each test
from top to bottom. See 5.2.6.5 "Measurement progress" [}70].
ð When all tests are finished, the Summary tab is displayed.
CAUTION
Loss of verification data
Clicking the Cancel button(4) aborts the whole test and looses all previous settings. The
verification process then needs to be started from the beginning.
► Only click Cancel if you are sure to discard all results.

5 Working with the HCS
5.2 Head verification process
User Manual SIPLACE Head Care Station 10/2017 69
5.2.6.4 Inserting tools
The first test of the head verification process starts with the endurance test unit.
DANGER
Danger of crushing!
► Do not reach in the area between the tool and the z-axis.
► Insert the endurance test unit(3) in the tool
area.
► Make sure that the tool is correctly aligned
to the stopper(1) and the end stop with
sensors(2).
► Clamp the tool by means of the tool clamp-
ing piece(4).
► When the tool is inserted, close the door and press the Start button on top of the HCS.
ð The door is now locked and the verification process can be continued.
See also
2 3.1.1.1 "Tool area" [}35]