Workcell-Installation-Guidelines-Troubleshooting-Maintenance-REV-F.pdf - 第18页
Workcell Installation and General Guidelines Revision F / Janu ary 2021 Page 18 of 59 Install the Teach Pe ndant 1. Find the teach p endant and c onnect the end into the 15 pin connector on the front of the workcell . 2.…
Workcell Installation and General Guidelines
Revision F / January 2021
Page 17 of 59
Inspection
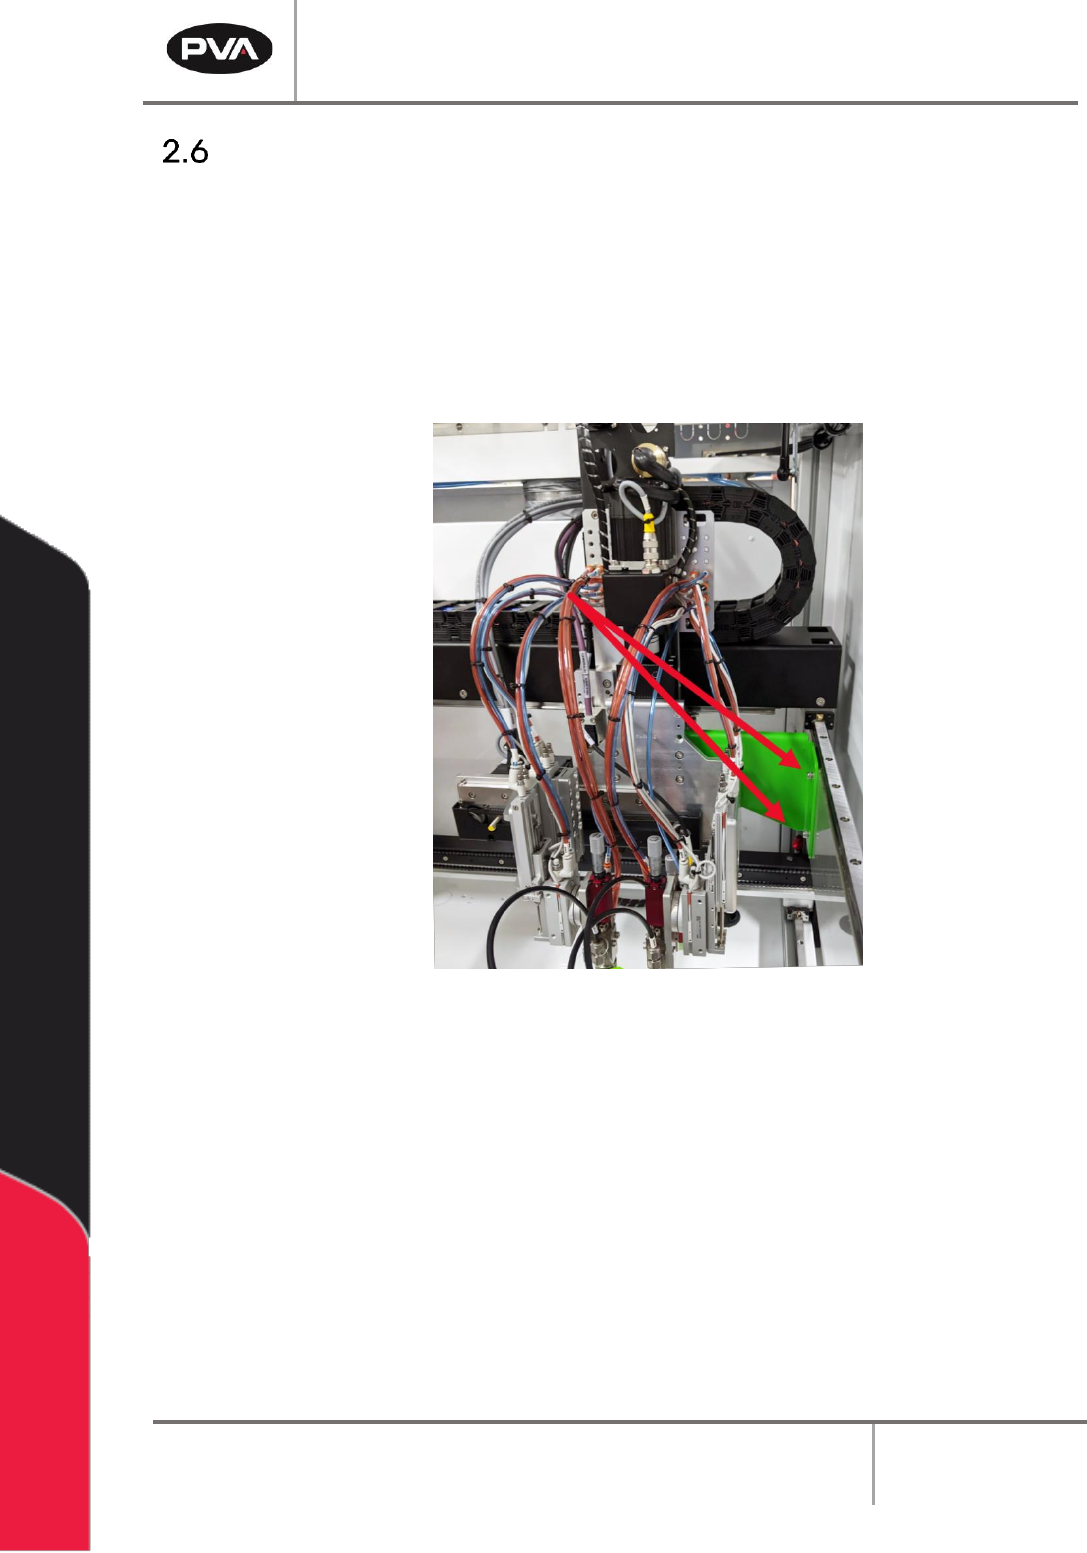
1. Open the doors and remove all straps, tie wraps, and sponges around the dispense
heads and gantry.
NOTE: In order to prevent any movement during the shipping process, many
workcells are equipped with green shipping brackets inside the machine. The
placement of these brackets will vary by workcell. The shipping brackets must be
removed before continuing the inspection.
Figure 7: Shipping Bracket
2. Fully examine the workcell for damage, loose fasteners, etc.
3. Use your hands to move the X and Y-axis slide to the center of the work area.
4. Examine all tubing connections, gauges, and regulators.
5. Open the electrical enclosure and visually inspect connectors and components for
signs of vibration during shipping. Close the door, the machine should not operate
with the doors open.
6. Make sure all cables and connections are fully and correctly installed.
Workcell Installation and General Guidelines
Revision F / January 2021
Page 18 of 59
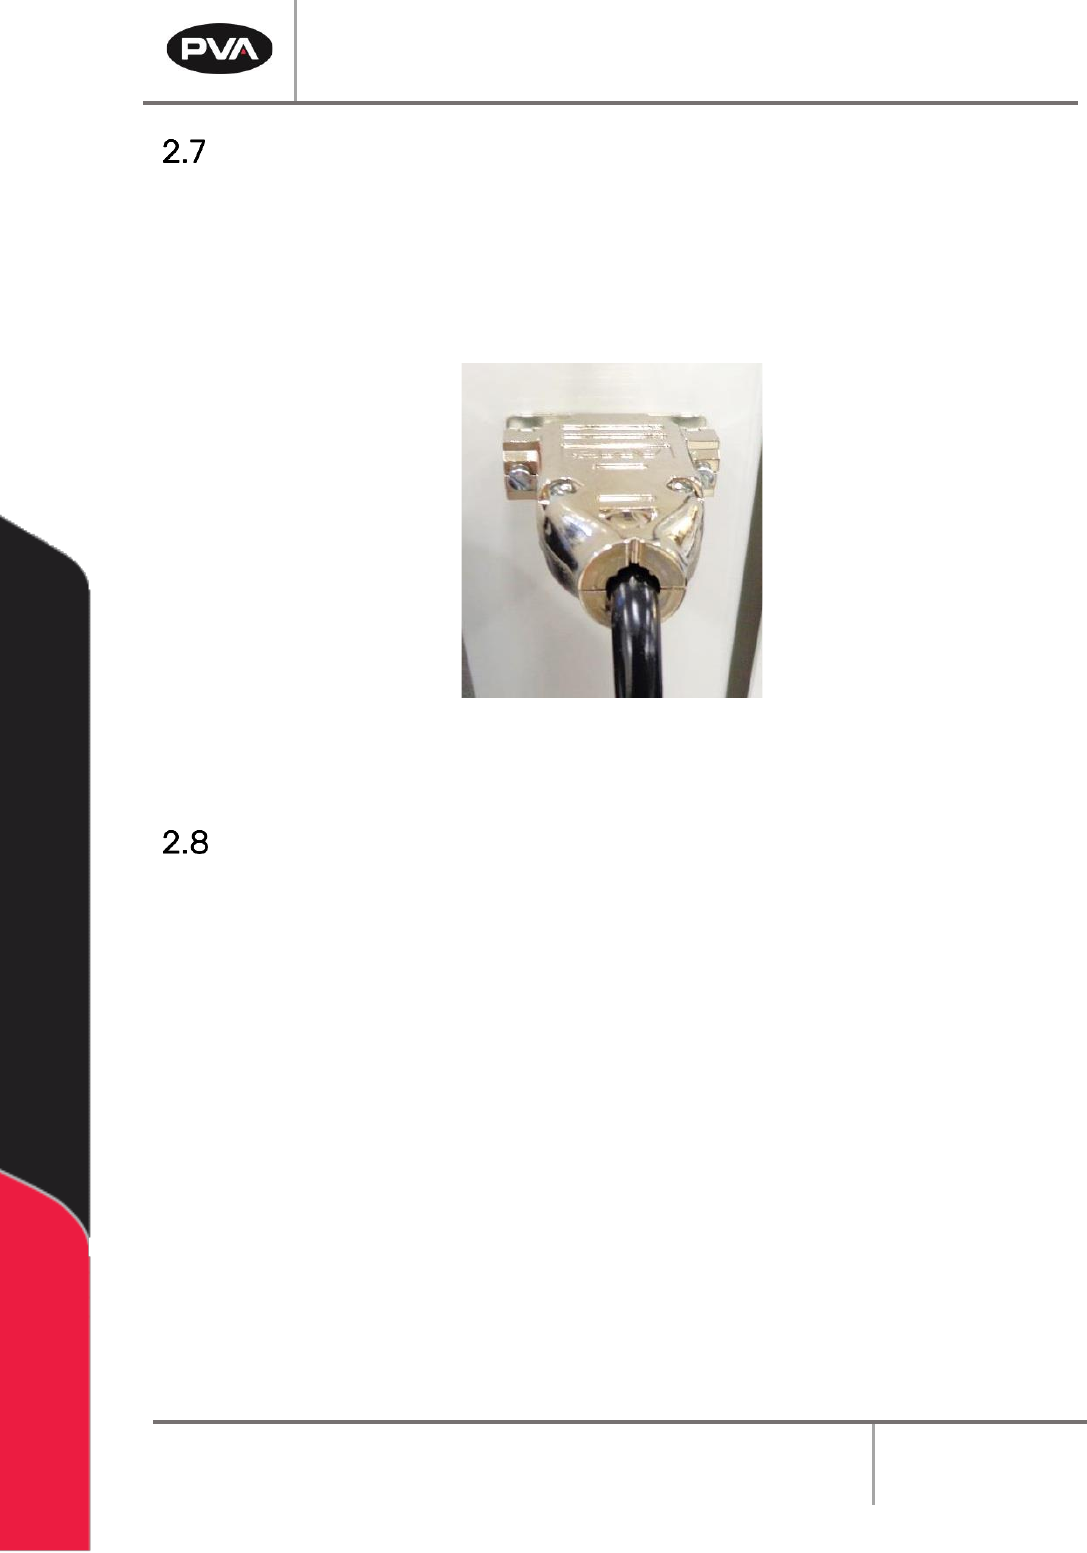
Install the Teach Pendant
1. Find the teach pendant and connect the end into the 15 pin connector on the front
of the workcell.
2. Use a small flat head screwdriver to tighten the two screws on the teach pendant
connector into the threads on the workcell.
Figure 8: Teach Pendant Connection
Connect the Computer and Flow Monitor
1. Find the cords to connect the computer. Do the steps recommended by the PC
manufacturer to connect the computer. Make sure the computer is correctly
grounded.
2. Make sure the flow monitor is correctly connected and prime the flow monitor. Refer
to the flow monitor manual for instructions on how to prime the flow monitor.
Workcell Installation and General Guidelines
Revision F / January 2021
Page 19 of 59
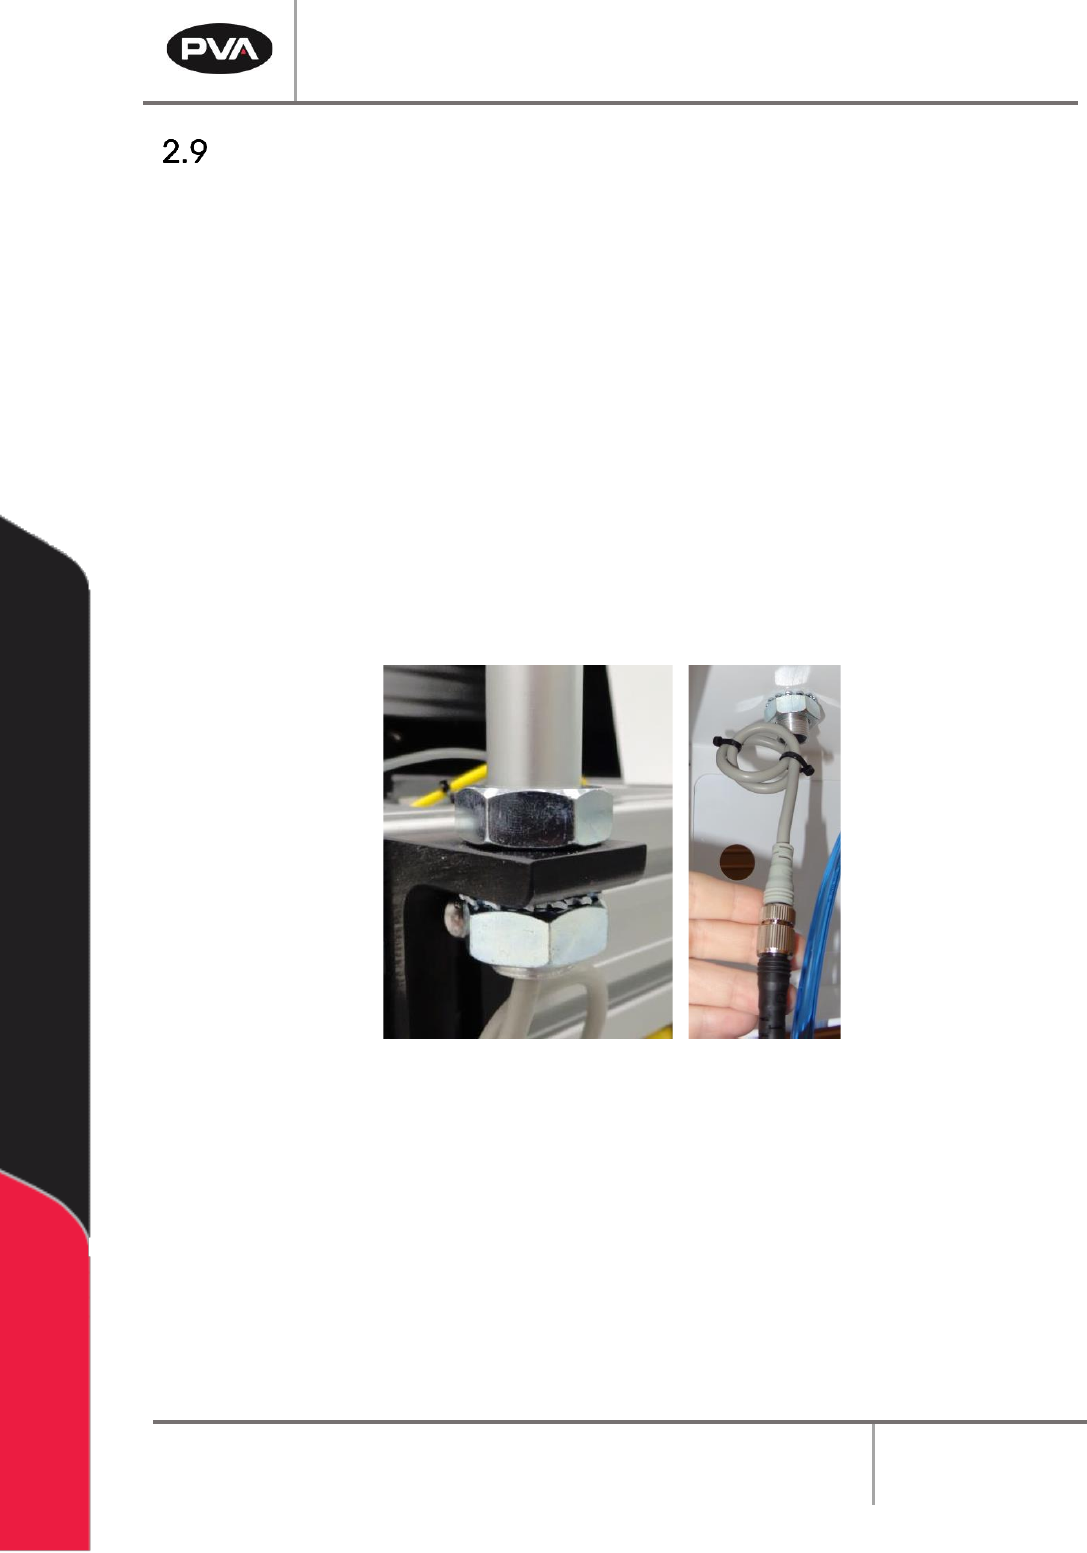
Install Light Tower
1. Find the light tower on the top rear of the workcell.
2. Remove all packaging and material from the light tower, this includes: wrapping
paper, bubble pack, and tape.
3. Find the light tower connection on the top of the workcell.
4. There will be a nut on the top of the workcell and a lock nut and washer inside the
workcell. Remove the bottom lock nut and washer.
5. Align the mast to the extrusion. The power cord should go through the hole down
inside the workcell.
6. Tighten the lock nut to the bottom of the light tower mast. Use an adjustable
wrench as necessary to tighten.
7. Connect the two ends of the light tower cables.
Figure 9: Light Tower Connection