00196433-02_AI_Vakuumpumpe_X-Serie_70XDE+EN.pdf - 第115页
Assembly instructions: Vacuum pump for SIPLACE X-series 04/2009 Edition 115 : Unscrew the three raised screws and remove th e “V acuum unit, holding circuit C&P20 “. 2 Before inserting the or ifice ring, make sure th…
Assembly instructions: Vacuum pump for SIPLACE X-series
04/2009 Edition
114
: Loosen the fixing screw on the silencer.
: Carefully lever out the silencer.
2
Be careful not to damage the DP drives. 2
2
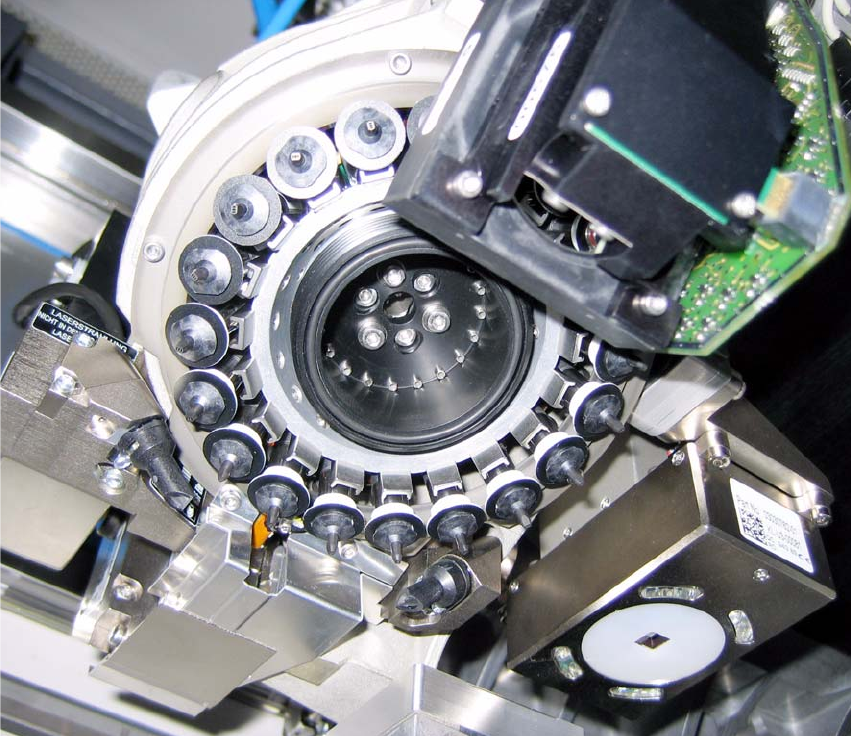
Fig. 2.9 - 3 C&P20 with holding circuit vacuum unit (03005122-)
2
2
2
2
2
2
2
Assembly instructions: Vacuum pump for SIPLACE X-series
04/2009 Edition
115
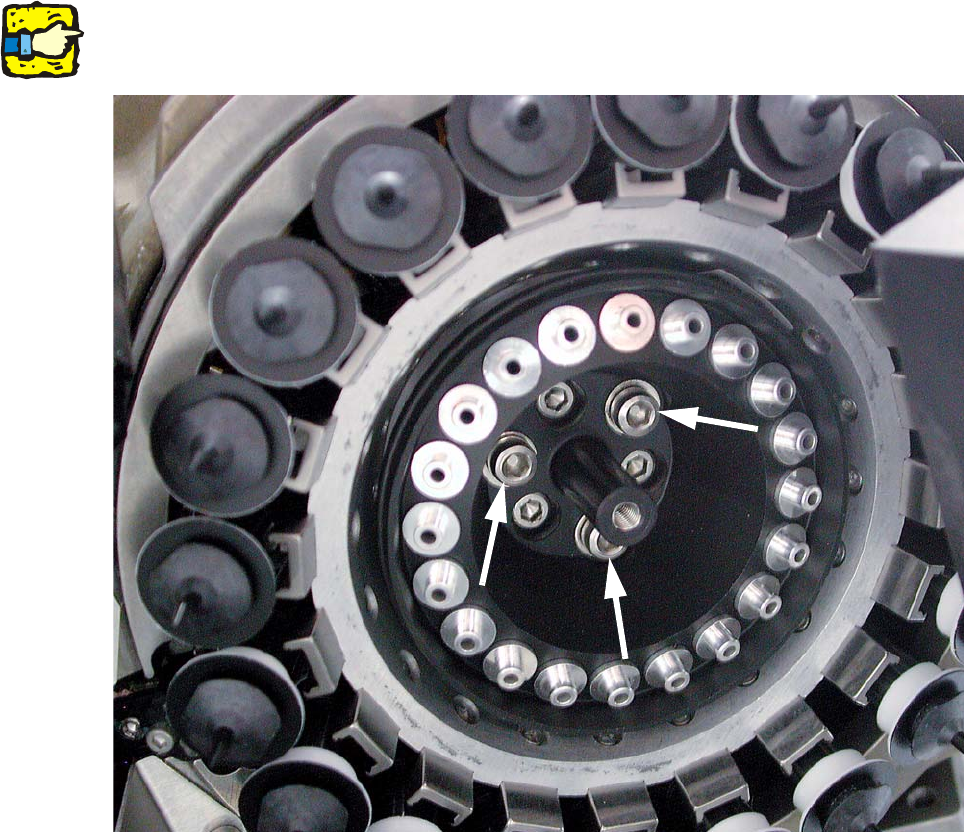
: Unscrew the three raised screws and remove the “Vacuum unit, holding circuit C&P20“.
2
Before inserting the orifice ring, make sure that the sealing disk (03046345-) is oriented correctly
on the “Orifice ring C&P20” (03046344-). 2
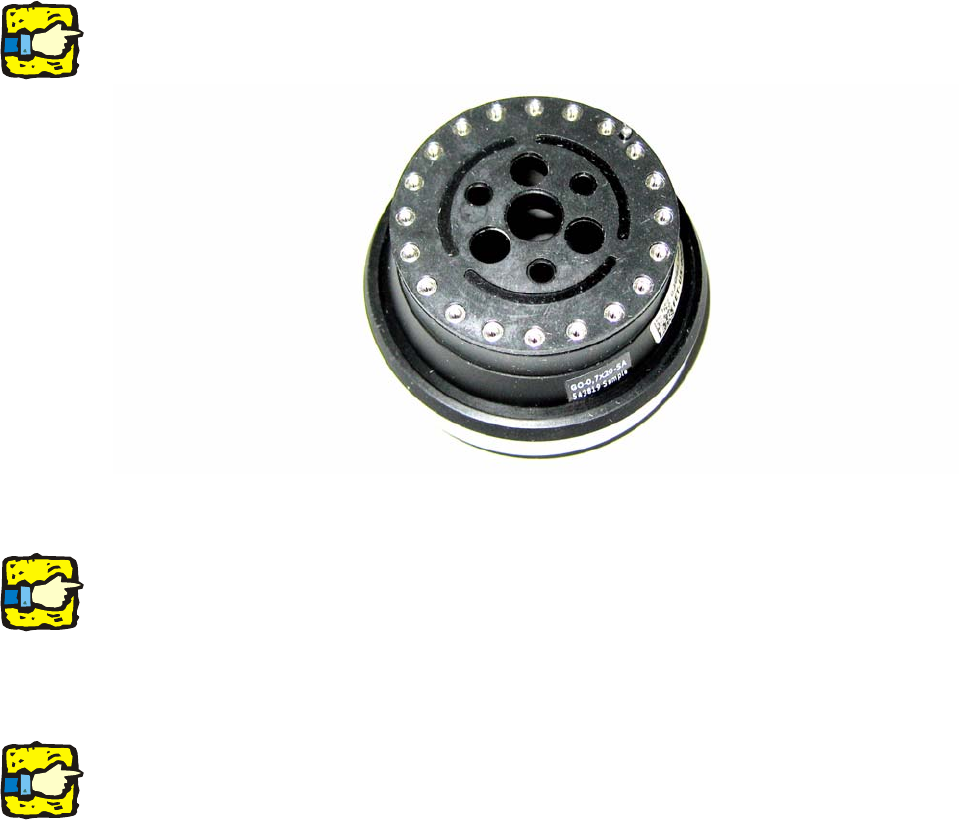
Fig. 2.9 - 4 Orifice ring C&P20 with sealing disk
2
When you insert the new “Orifice ring C&P20”, make sure that the pin extends into the relevant
hole on the star mount. The orifice ring should stick in place its own. 2
2
: Carefully hold the star (as you tighten the screws) in place on the star mount in the vicinity of
the segment guides.
2
Be careful not to damage the nontransparent switching disks and nozzles. 2
2
2
2
2
2
2
2
2
2
2
2
Assembly instructions: Vacuum pump for SIPLACE X-series
04/2009 Edition
116
: Now screw the orifice ring tight all around the edge using the “DIN 912-M3 x10” screws. Make
sure that it is not tilted at all.
: Check that the “O-ring 42x2 NBR70” is placed correctly in the
groove of the orifice ring.
Fig. 2.9 - 5 C&P20 with orifice ring C&P 20 (03046344-)