00196433-02_AI_Vakuumpumpe_X-Serie_70XDE+EN.pdf - 第86页
Assembly instructions: Vacuum pump for SIPLACE X-se ries 04/2009 Edition 86 : Fix the vacuum tubes “V acuum connection 1 + 2” as shown in Fig. 2.8 - 13 using the clamp (03032860-), one M3x30 mm screw and a washer . Fig. …
Assembly instructions: Vacuum pump for SIPLACE X-series
04/2009 Edition
85
: Attach the vacuum hoses to the two vacuum tubes “Vacuum connection 1 + 2” as shown in Fig.
2.8 - 12.
: Push the two tubes into the “Distrib
utor, placement head vacuum” ( Fig. 2.8 - 12).
Fig. 2.8 - 13 Swan neck inserted and fixed in place
2
2
2
2
2
2
2
2
2
Assembly instructions: Vacuum pump for SIPLACE X-series
04/2009 Edition
86
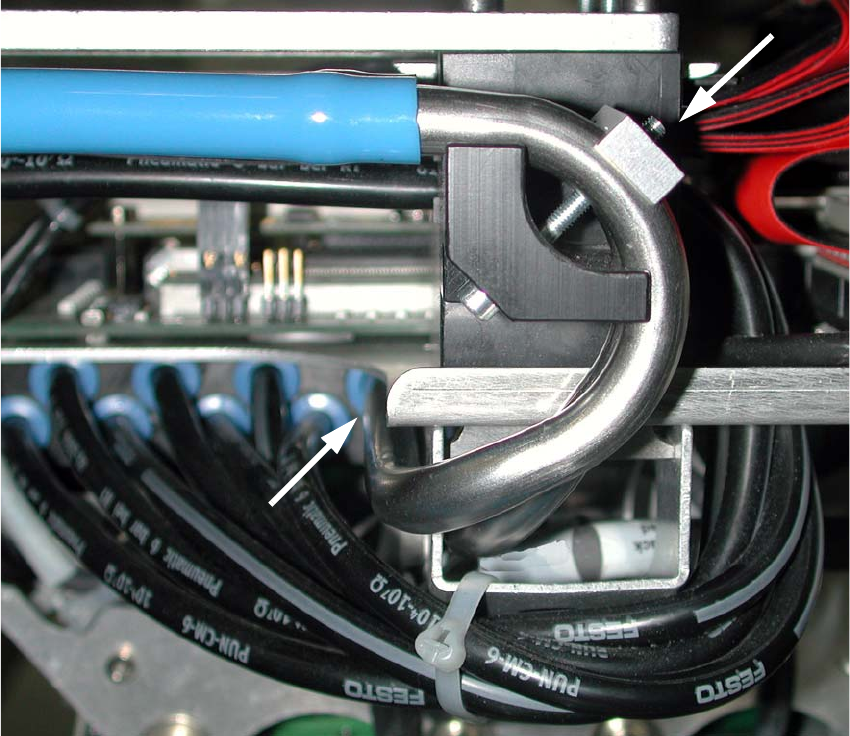
: Fix the vacuum tubes “Vacuum connection 1 + 2” as shown in Fig. 2.8 - 13 using the clamp
(03032860-), one M3x30 mm screw and a washer.
Fig. 2.8 - 14 Running the vacuum hose, gantry 1+3
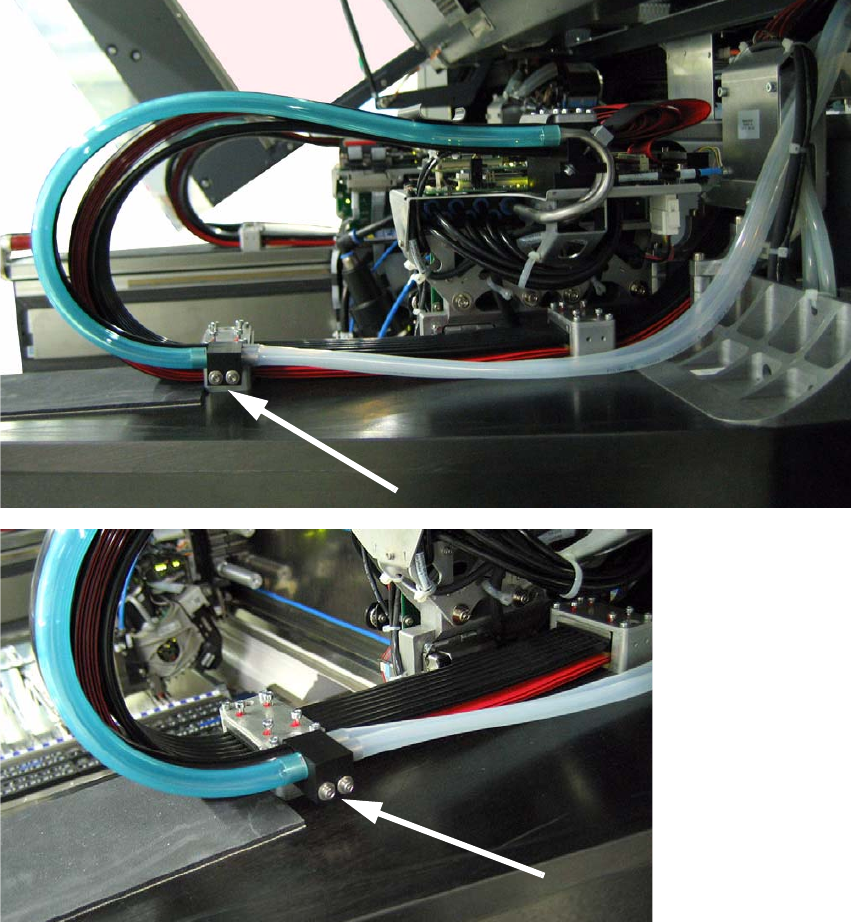
: Fix the “Duo hose connection” (03038107-) using M3x16 mm screws (see Fig. 2.8 - 14).
: Run the two “Duo hoses” (two-color) parallel to the existing cable and hose carrier.
2
2
2
Assembly instructions: Vacuum pump for SIPLACE X-series
04/2009 Edition
87
: Fix the hoses (two-color) to the “Duo hose connection”.
Fig. 2.8 - 15 Running the vacuum hose, gantry 1+3
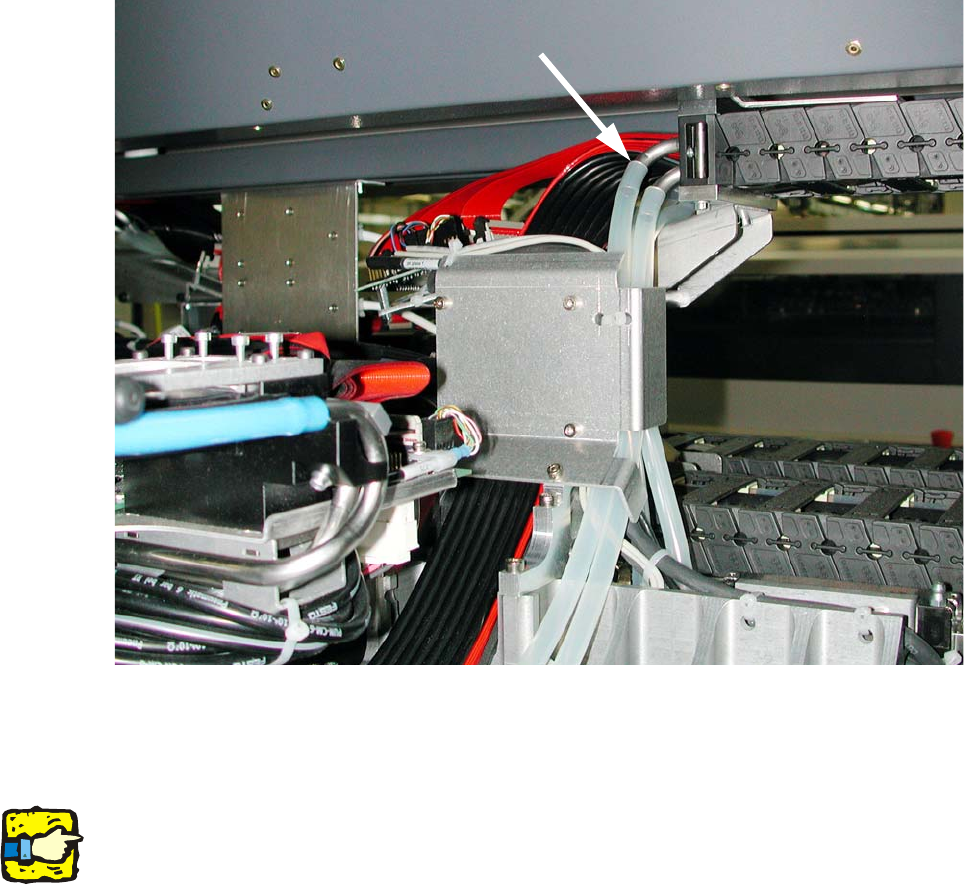
: Run the hoses (transparent) under the guide plate and up
(see Fig. 2.8 - 15).
2
As there are different variants of the gantry cable and hose carrier, there may be differences here.
If necessary, use cable ties to fix the hoses to the ex
isting cables (see Fig. 2.8 - 8).
Be careful NOT to reduce the ho
se cross-sections with the cable ties. 2
2
2
2
2
2
2
2
2