00196433-02_AI_Vakuumpumpe_X-Serie_70XDE+EN.pdf - 第119页
Assembly instructions: Vacuum pump for SIPLACE X-series 04/2009 Edition 119 Fig. 2.10 - 2 Connections on the C&P12 with compressed air operation (initial state) 2 : Replace the old vacuum gener ator with the “V acuum…
Assembly instructions: Vacuum pump for SIPLACE X-series
04/2009 Edition
118
2.10 Converting the C&P 6/12
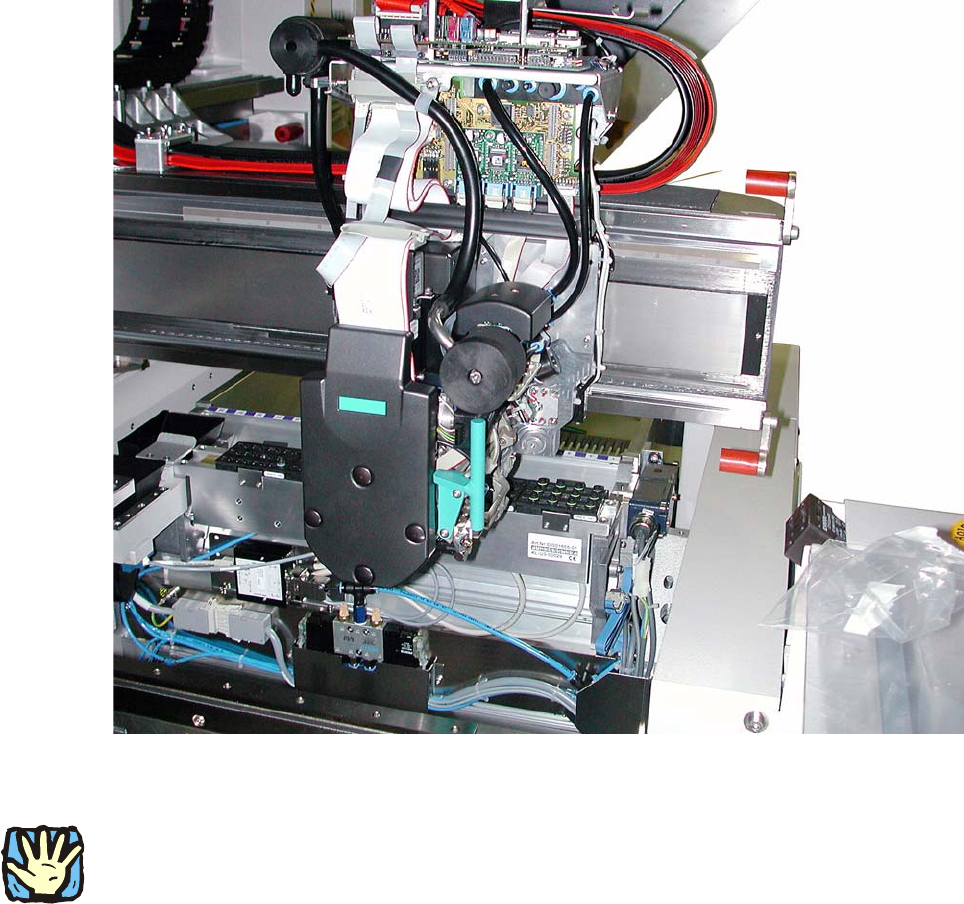
Fig. 2.10 - 1 C&P12 with compressed air (initial state)
2
2
BEFORE starting any work, shut down the operating system correctly, then switch the machine
OFF at the main power switch and disconnect from the main power supply. In addition, the com-
pressed air supply must be switched off at the compressed a
ir unit's main valve in the machine
base and vented by actuating the needle valve on the compressed air unit.
2
Assembly instructions: Vacuum pump for SIPLACE X-series
04/2009 Edition
119
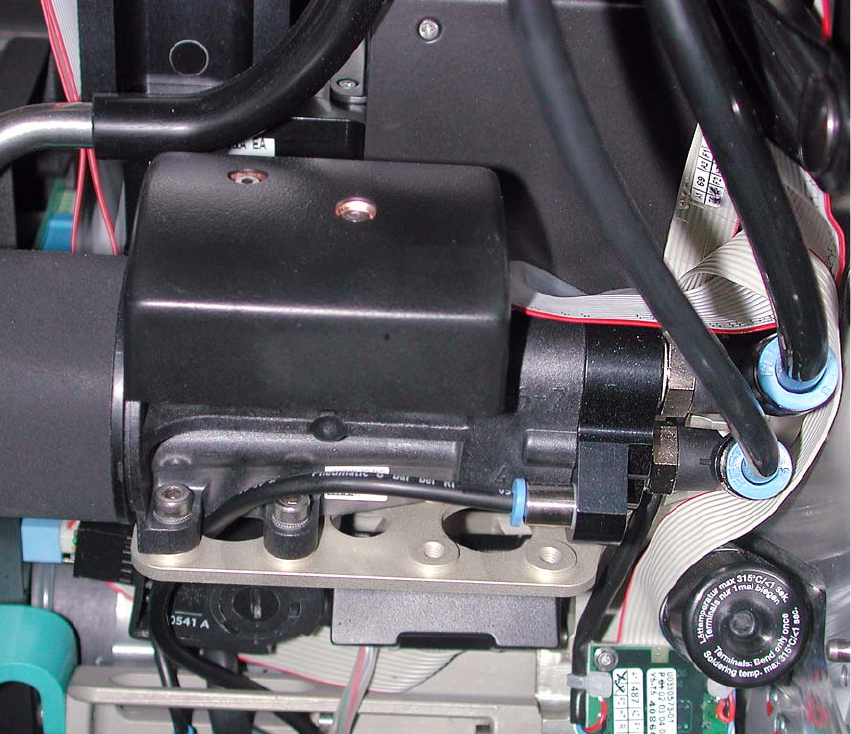
Fig. 2.10 - 2 Connections on the C&P12 with compressed air operation (initial state)
2
: Replace the old vacuum generator with the “Vacuum generator for vacuum pump DLM2”
(03012076-)
2
2

Assembly instructions: Vacuum pump for SIPLACE X-series
04/2009 Edition
120
2.11 Final tasks
2.11.1 Conditions for switching on
2
Before switching on, run the following checks to prevent any risk of injury or serious damage: 2
Before switching on the compressed air again, make sure that 2
– all hose connections / joints are assigned correctly
(and that there is no compressed air in any of the vacuum hoses).
– all the requirements for switching on the vacuum pump and the connected placement machine
as
listed in the user manual
are fulfilled.
– the vacuum pump is always switched on before the placement machine.
2
: Open the compressed air stop valve.
: Push the pneumatic unit into the placement machine.
: Close all the doors.
: Switch on at the main power switch.