STM1-S_SDV_Maintenance(Eng_Ver1).pdf - 第33页
ST M1-S M ain ten an ce Ha nd bo ok 3-4 Chap ter 3 Daily Inspe ction Multi -Func tional Placer Cleaning feeder and feeder base Daily Inspection Cleaning the feeder and feeder base can prevent feeder installation error an…
STM1-S Maintenance Handbook
3-3
Chapter 3
Daily Inspection
Multi-Functional Placer
Checking and cleaning the nozzle
Caution
Wipe the cleaning liquid on the nozzle using a clean cloth, ensuring
none remains on the nozzle.
When foreign materials remain on the nozzle continuously, contact
our C/S company (STS) or local agent to solve the problem.
Use the ultrasonic cleaning machine, the clean case the Nozzle, you
will be able to improve the cleaning of the nozzle.
Step 9.
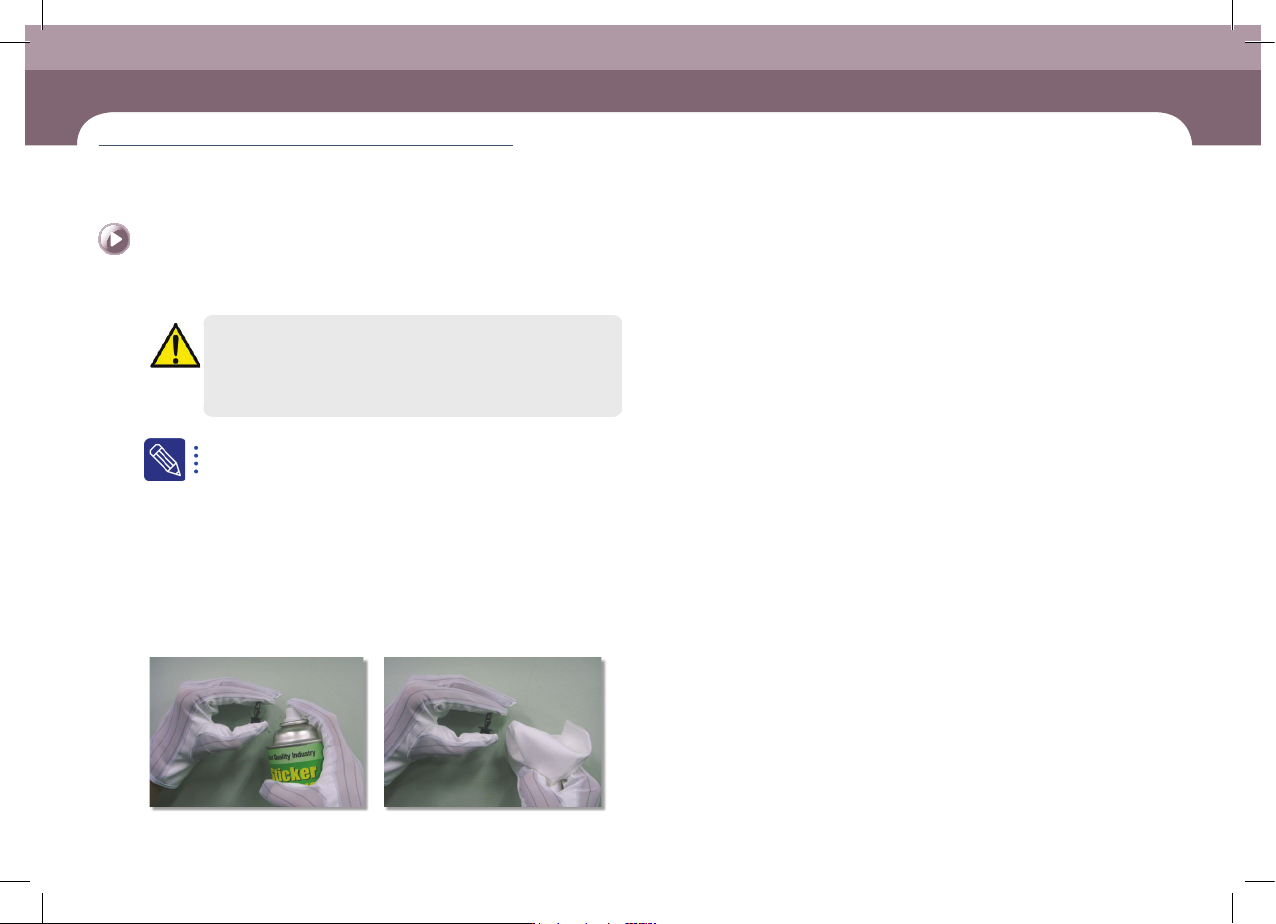
The method to clean the nozzle is as follows:
ㆍ Spray the cleaning liquid recommended by us on the nozzle exterior using a spray
straw.
ㆍ Clean the nozzle exterior with a clean cloth within 1 minute after spraying the
cleaning liquid.
ㆍ If the foreign materials (solder paste, etc.) have not been removed, repeat
cleaning once more.
Step 10.
Release the emergency stop as described in "Releasing
'Emergency Stop' mode" on page 1-6 and perform the
operation again.
STM1-S Maintenance Handbook
3-4
Chapter 3
Daily Inspection
Multi-Functional Placer
Cleaning feeder and feeder base
Daily Inspection
Cleaning the feeder and feeder base can prevent feeder installation error and
defective contact of the connector.
Tool for Maintenance
Brush
Measures
Step 1.
Move the X Frame to rear by referring to "Backward
movement of the X-frame" on page 1-4.
Step 2.
Press the 'STOP' and 'RESET' buttons in order after
pressing the 'EMG' button on the OP panel to stop
operation.
For more details, refer to "How to perform emergency stop" on page
1-2.
Step 3.
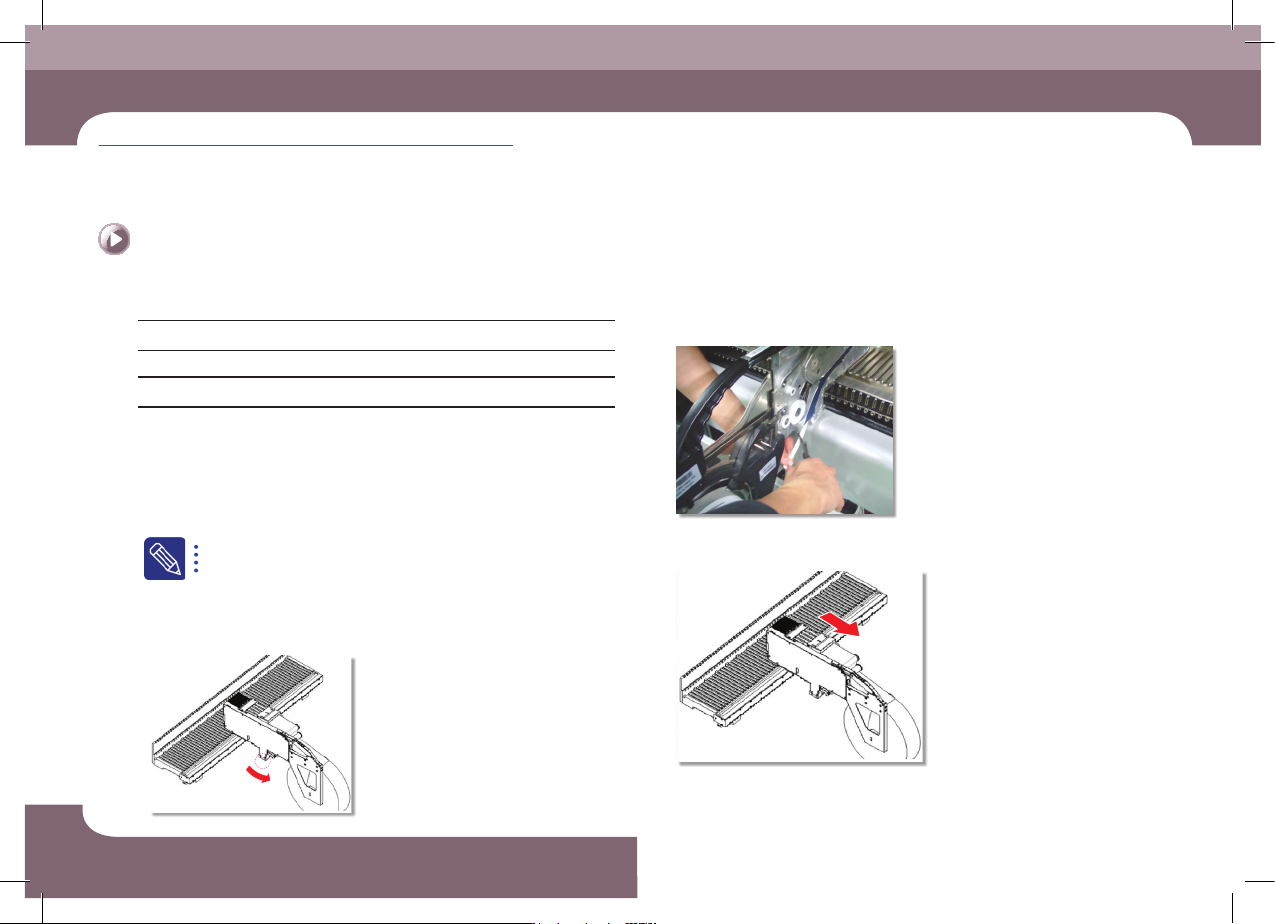
Remove the feeder from the feeder base.
① Pull the grip back
② Remove the cover tape
③ Remove the feeder
Cleaning feeder and feeder base
(Time required: 10min / No. D-2)
STM1-S Maintenance Handbook
3-5
Chapter 3
Daily Inspection
Multi-Functional Placer
Cleaning feeder and feeder base
Step 4.
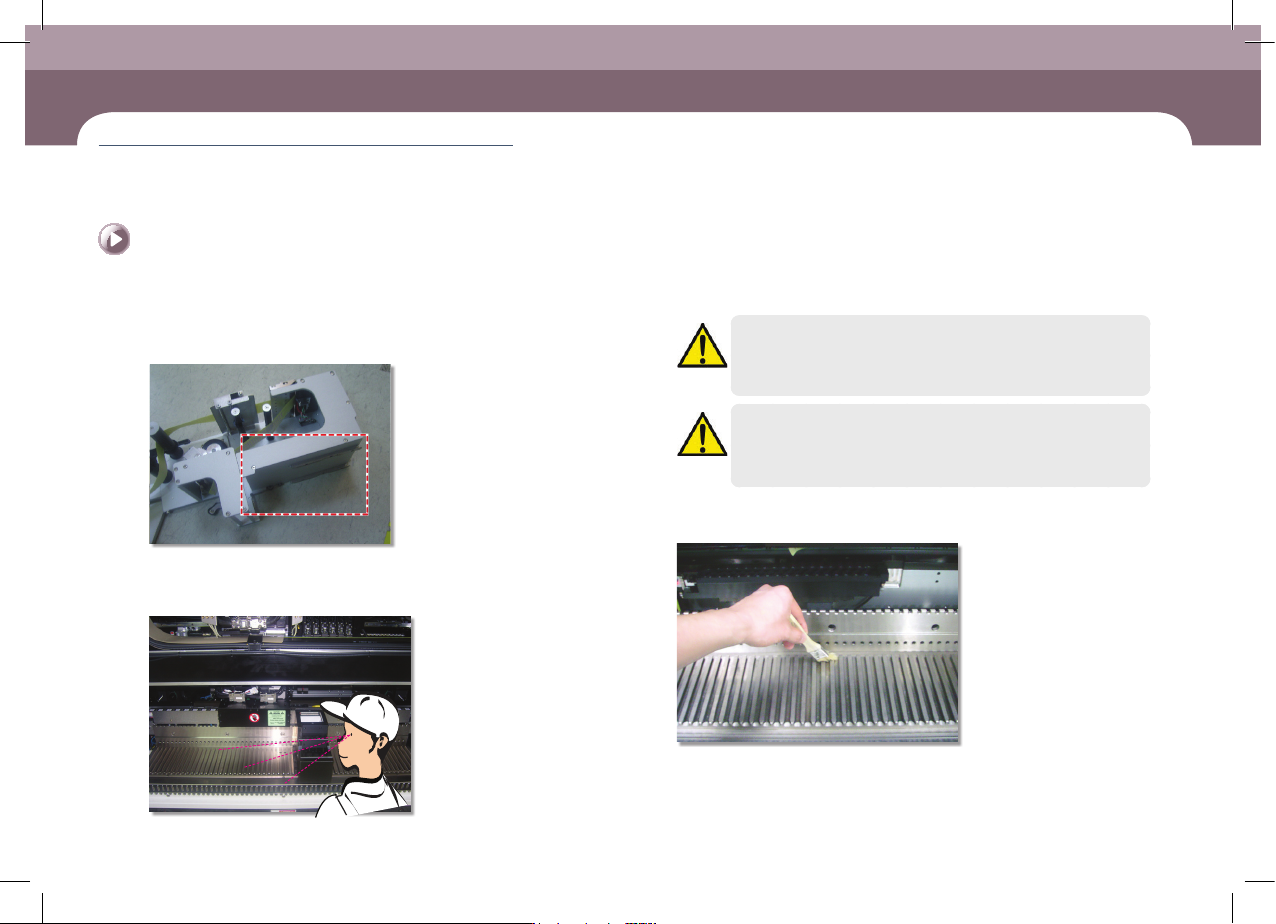
Clean the feeder connector and the installation guide
using a brush.
Step 5.
Check visually for any foreign materials in the feeder
base slot and connector.
Caution
In case the feeder is installed on the feeder base without visually
checking and cleaning the feeder base upper surface and feeder
slot, the feeder could not be installed and removed smoothly.
Caution
When the feeder is felt stuck during the installation of the feeder
unlike normal feeling, do not apply excessive force to the feeder.
After removing the feeder, Check it visually and clean it if necessary.
Step 6.
Clean the feeder base slot and connector using a flat
brush.