00195311-0202_SM_CurrentLimiter_DE EN.pdf - 第28页
Service Manual: Replacing the inrush current limiter, SIPLACE X-se ries 10/2006 Edition 28 : Remove the nut in the middle of the inrush curr ent limiter . 2 2 : Remove the inrush current limiter . 2 2 2 2 2 2 2 2 2 2 2 2…
Service Manual: Replacing the inrush current limiter, SIPLACE X-series
10/2006 Edition
27
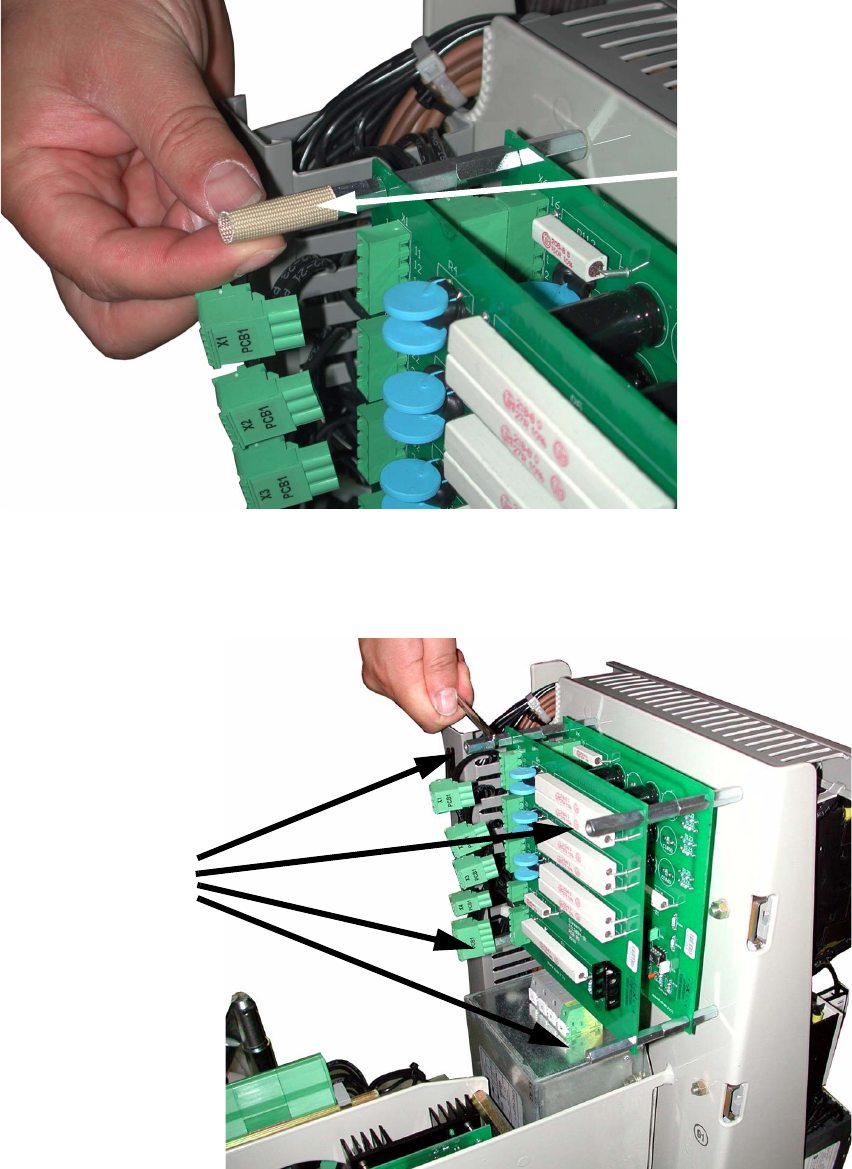
: Remove the insulation sleeving from the hexagonal spacer at the top left.
2
2
: Unscrew the four hexagonal spacers.
2
2
Insulation
sleeving
4 hexagonal
spacers
Service Manual: Replacing the inrush current limiter, SIPLACE X-series
10/2006 Edition
28
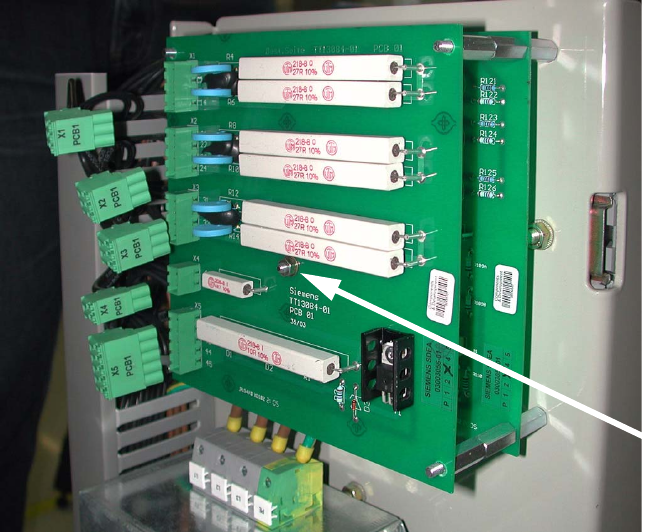
: Remove the nut in the middle of the inrush current limiter.
2
2
: Remove the inrush current limiter.
2
2
2
2
2
2
2
2
2
2
2
2
2
2
Nut
Service Manual: Replacing the inrush current limiter, SIPLACE X-series
10/2006 Edition
29
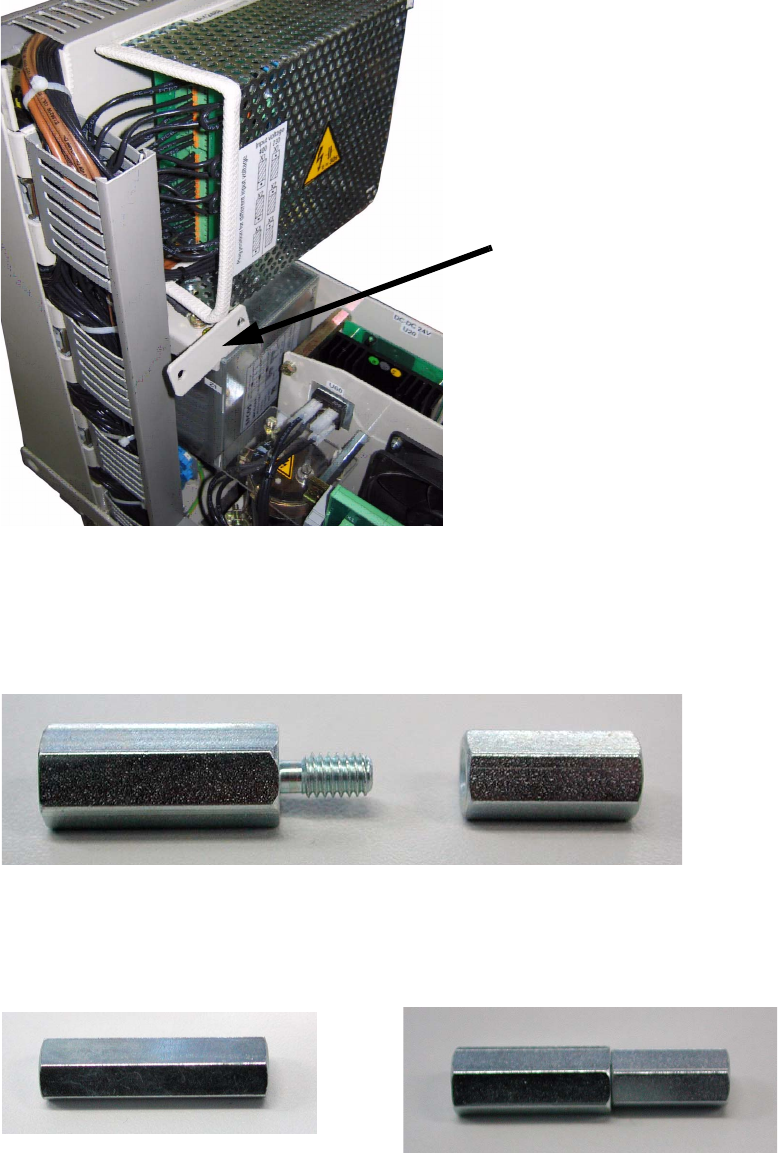
For fixing of the new incrush current limiter use the old hexagonal spacers, if the fing angle on the
photo below is present (photo shwos already the new grid). 2
2
2
If the fixing angle is not present, use the new hexagonal spacers from the retrofit kit: 2
: Screw together the hexagonal spacers from the retrofit kit.
2
Connected, these are longer than the old spacers. 2
2
Fixing angle
Hexagonal spacer, old
Hexagonal spacer, new