Nordson_EFD_RV_Series_Operating_Manual.pdf - 第43页
RV Series Automated Dispensing Systems 43 www.nordsonefd.com info@nordsonefd.com +1-401-431-7000 Sales and service of Nordson EFD dispensing systems are available worldwide. Item Screen Captur e Description Auto Purge Ru…
RV Series Automated Dispensing Systems
42 www.nordsonefd.com info@nordsonefd.com +1-401-431-7000 Sales and service of Nordson EFD dispensing systems are available worldwide.
Setting System Parameters (continued)
System Setup Screen Fields (continued)
Item Screen Capture Description
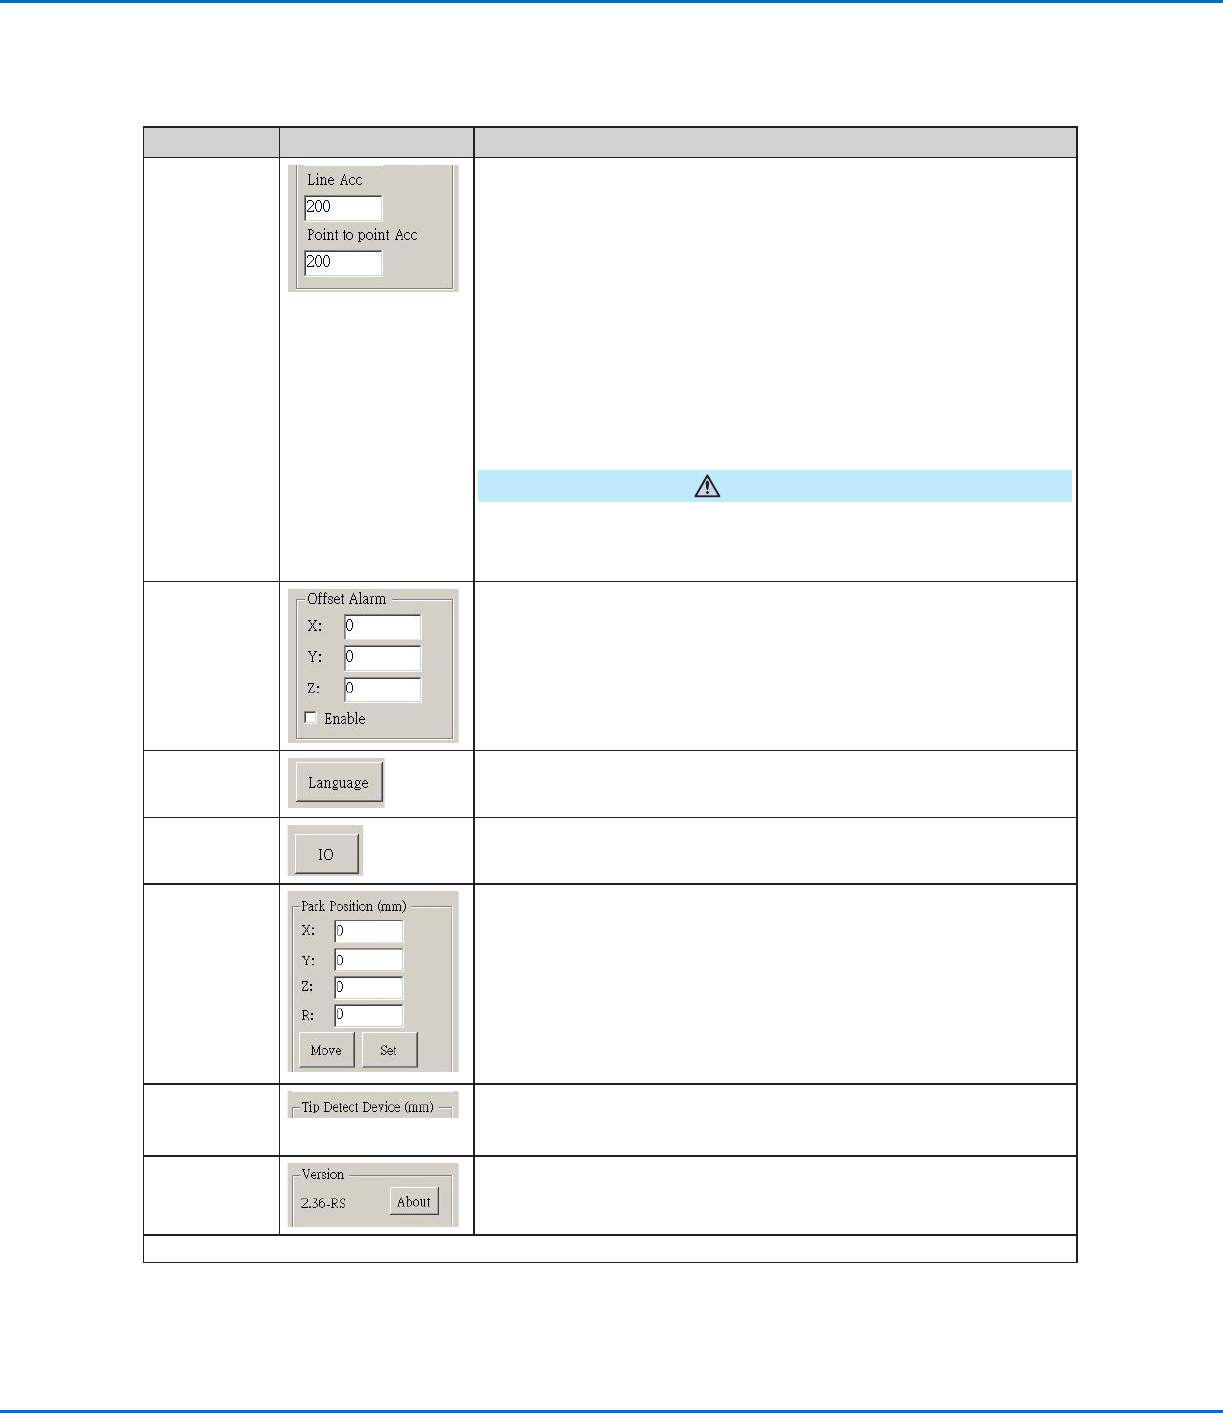
Line Acc
Point to point
Acc
Sets the rate of acceleration for line dispensing (Line Acc) or from point
to point (Point to point Acc):
• Line Acc is the dispensing speed within a line command, between
the start- to mid-points, the start- to end-points, and the mid- to mid-
points or mid- to end-points.
• Point to point Acc is the robot movement speed between two
dispense points.
Default: 200 (mm/s
2
)
Range: 20–600 (mm/s
2
)
NOTE: The higher the acceleration, the faster a program runs. However,
higher acceleration settings can also compromise pattern quality.
CAUTION
The robot automatically adjusts its speed depending on the complexity
of the pattern. Forcing the robot to run at higher speeds can compromise
accuracy and may disrupt system operation.
Offset Alarm
Sets how much deviation the system allows for offsets. The default
settings are shown in the screen capture.
EXAMPLE: If Offset Alarm is enabled and the result of an automatic
offset performed by clicking Needle Z Detect or Needle XY Adjust is
outside the XYZR values specified for Offset Alarm, the system displays
an alarm.
Language
Sets the user interface language. Any change takes effect upon system
restart.
IO
Refer to “Setting Up Inputs / Outputs” on page58.
Park Position
Sets the position to which the dispensing tip moves to (1) purge fluid or
(2) when the Park Position command occurs in a program.
Click MOVE to move the tip to the displayed coordinates set for Park
Position. To change the setting, jog the tip to the new location, then click
SET to set the location as the new Park Position.
Tip Detect
Device
Used only as needed for manual calibration of the tip-to-workpiece
offset in place of using the Robot Initial Setup wizard. Refer to
“AppendixB, Non-Wizard Setup Procedures” on page124.
Version
Shows the current version of the software.
Continued on next page
RV Series Automated Dispensing Systems
43www.nordsonefd.com info@nordsonefd.com +1-401-431-7000 Sales and service of Nordson EFD dispensing systems are available worldwide.
Item Screen Capture Description
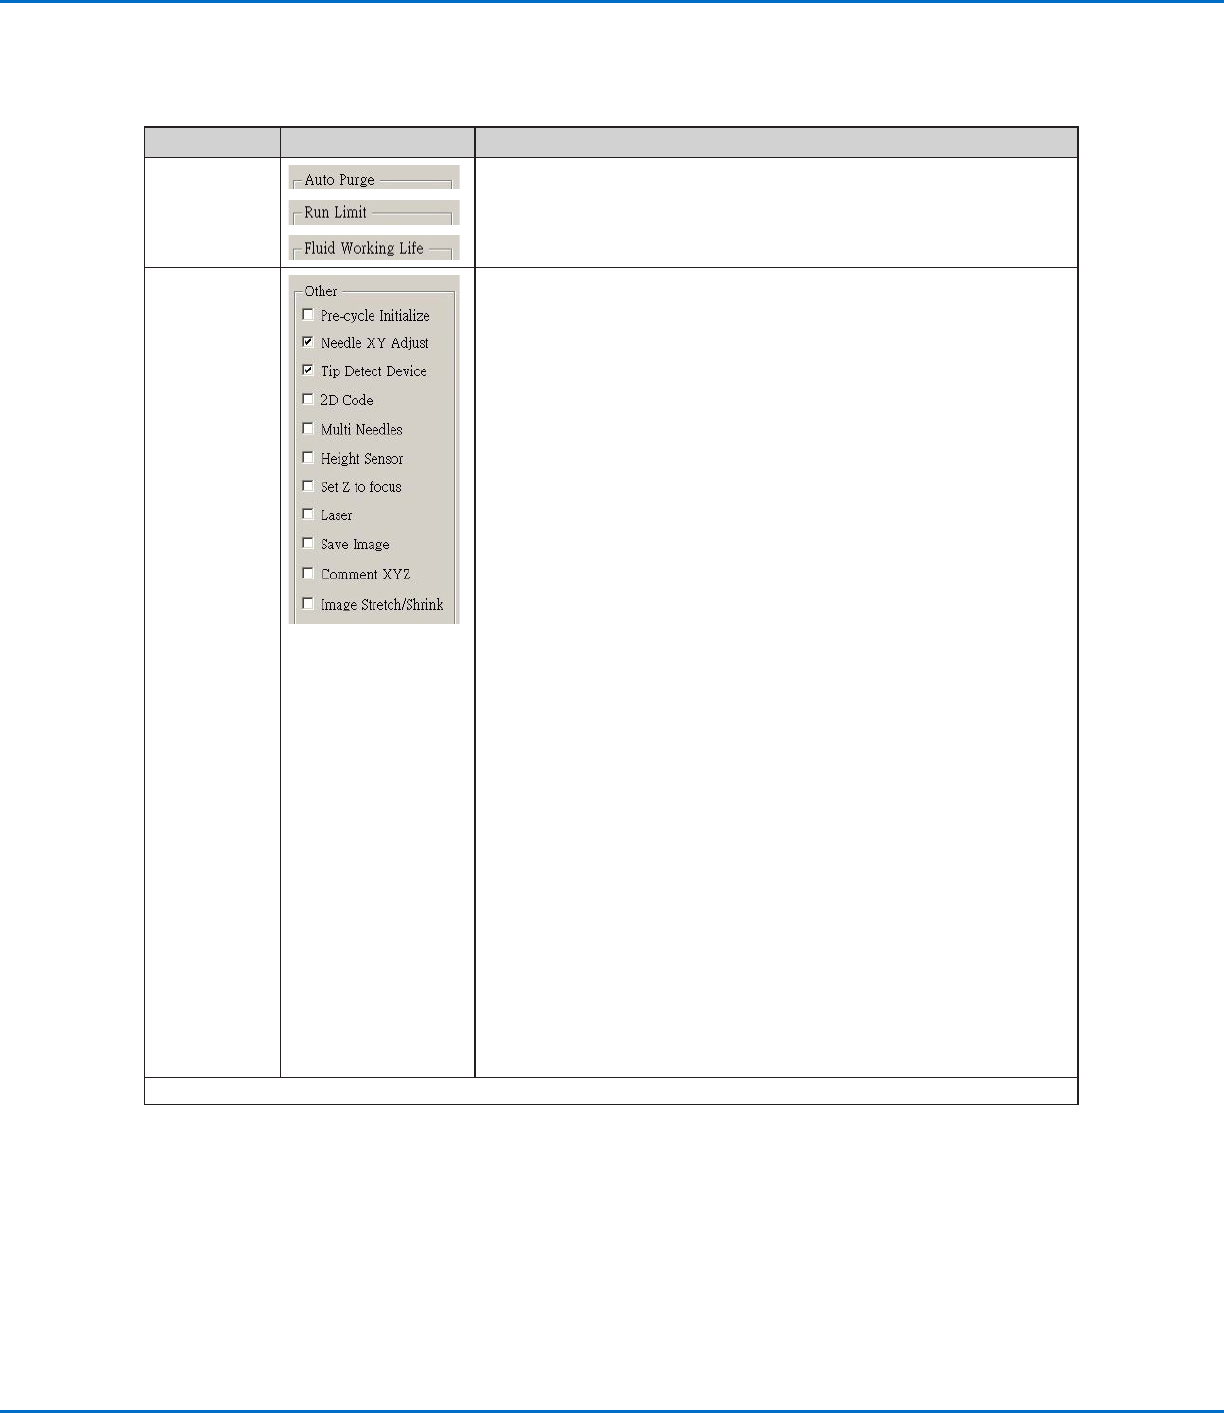
Auto Purge
Run Limit
Fluid Working
Life
To set up automatic purge settings, run limits, or fluid working life limits
for a program, refer to “How to Set Up Auto Purge, Program Cycle
Limits, or Fluid Working Life Limits” on page84.
Other
• Pre-cycle Initialize: If checked, the robot always moves to the home
position (0, 0, 0) before the start of a dispense cycle.
• Needle XY Adjust: Enables or disables the Needle XY Adjust
capability. When Needle XY Adjust is checked, the Needle XY Adjust
button appears on the Program screen.
• Tip Detect Device: Indicates that the system includes the optional tip
detector or tip aligner. When Tip Detect Device is checked, the Needle
Z Detect button appears on the Program screen and the capability is
enabled in the Robot Initial Setup wizard. If unchecked, the capability
is disabled in the Robot Initial Setup wizard.
• 2D Code: Check this box to enable or disable QR code scanning
capability. Refer to “AppendixD, QR Code Scanning Setup” on
page134 to set up QR code scanning.
• Multi Needles: To dispense using more than one dispenser (up to four
dispensers possible), check this box. Refer to “AppendixE, Multi-
Needle Setup and Use” on page137 to set up a multi-dispenser
system.
• Height Sensor: Not currently available.
• Set Z to Focus: Sets whether the system captures the current
Zheight value in command windows. For RV systems, uncheck this
box.
• Save Image (OptiSure AOI only): When checked, the system
automatically saves image files for applicable OptiSure AOI functions.
• Comment XYZ: When checked, any changes made to the tip height
(either the Tip Detect Device or Z Clearance settings on the System
Setup screen) will affect commands, even if a command is disabled.
• Image Stretch/Shrink: This system setting is useful if a workpiece
stretches or shrinks in size after extended use or after a process step
(such as baking). When this setting is checked, the system allows any
fiducial mark to adjust accordingly if a workpiece stretches or shrinks.
NOTE: The fiducial mark must still fit within the camera’s field of view,
which means there is a limit to how much stretching or shrinking the
system can accommodate.
Continued on next page
Setting System Parameters (continued)
System Setup Screen Fields (continued)
RV Series Automated Dispensing Systems
44 www.nordsonefd.com info@nordsonefd.com +1-401-431-7000 Sales and service of Nordson EFD dispensing systems are available worldwide.
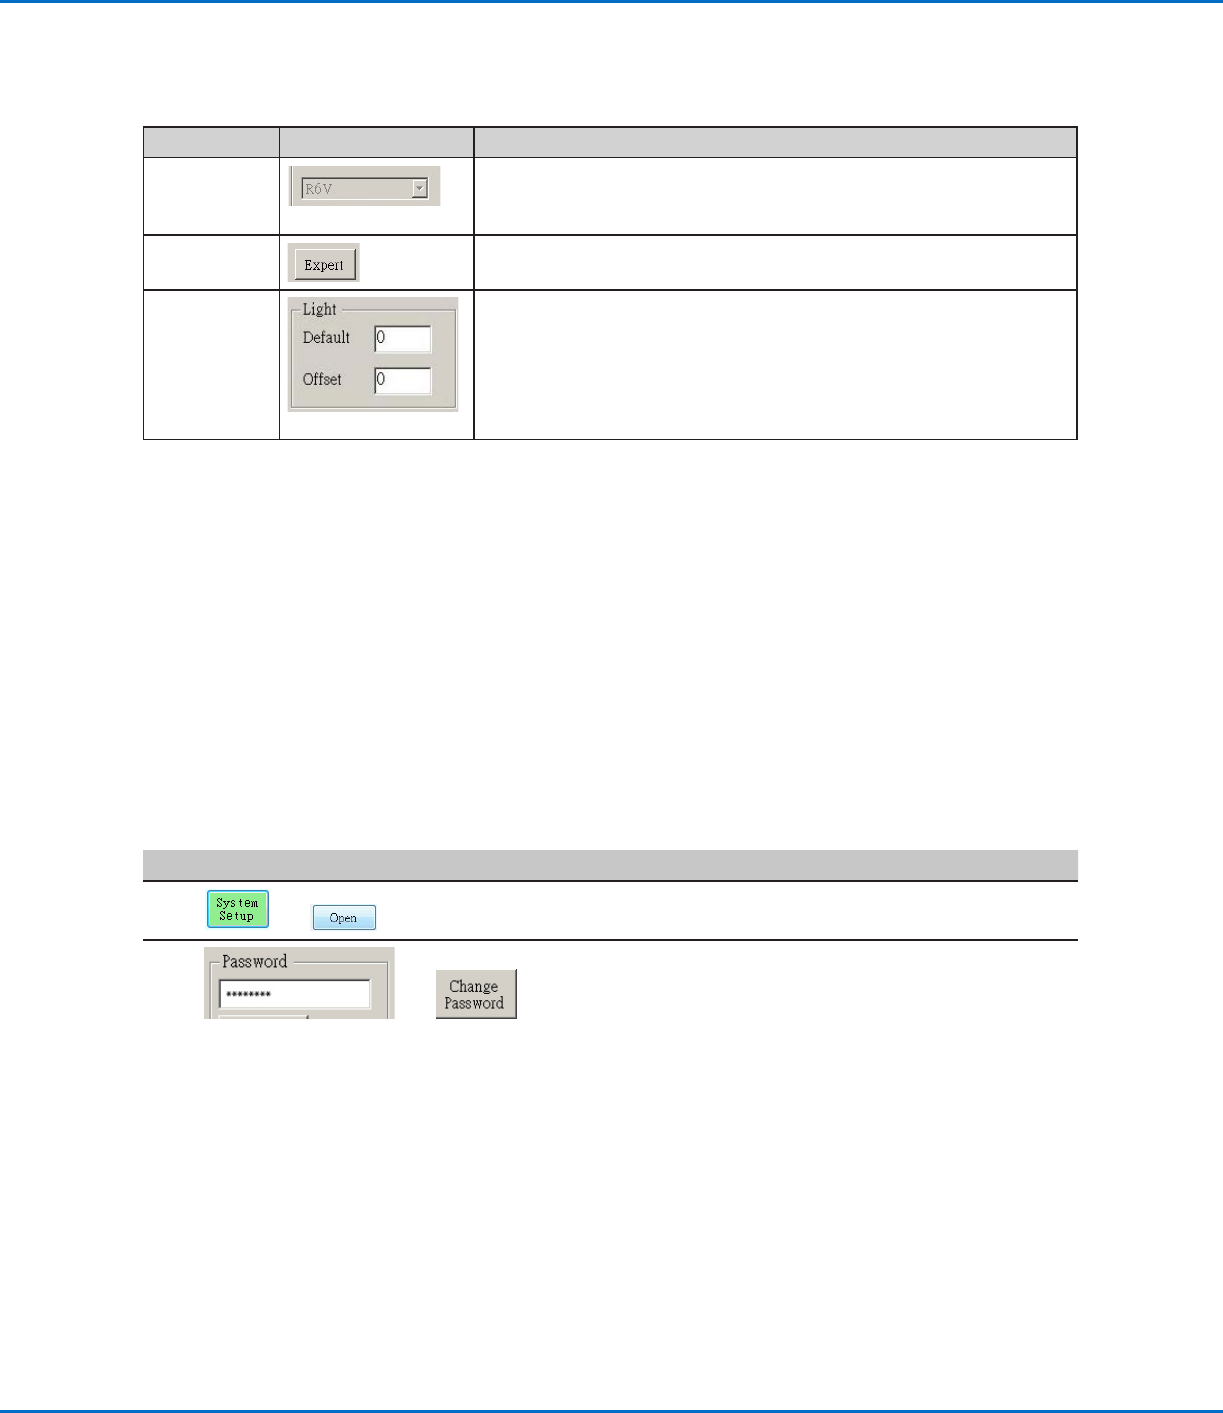
Setting Password Protection
Use the Password portion of the System Setup screen to set or reset a password. The purpose of a password is to
protect the system settings from unauthorized editing.
NOTES:
• The default is no password protection.
• If the password is forgotten, contact your Nordson EFD representative for assistance.
• A password is limited to 16 numbers or characters.
#
Click Step
1
>
• Click SYSTEM SETUP > OPEN.
2
>
• Under Password, enter a password or make the field blank to
remove a password, then click CHANGE PASSWORD.
The system confirms and immediately implements the
password change:
- If a password was entered, the system will prompt for the
password before opening the System Setup screen.
- If the Password field was blank, no password will be required
to open the System Setup screen.
Item Screen Capture Description
Model drop-
down menu
Sets the dispensing software configuration; this setting must match the
system configuration (model). Any change takes effect upon software
restart.
Expert
For advanced users only.
Light (if
present)
• Default: Allows you to control the light intensity if an external switch is
used to control the light.
• Offset: When the system is in the CCD Mode, automatically changes
the light intensity based on the value entered.
NOTE: The Light settings are present only if an optional light accessory
is installed.
Setting System Parameters (continued)
System Setup Screen Fields (continued)