00193688-03.pdf - 第111页
Installation and Configuration Guide SIPLACE Explorer 4 Configuration Edition 02/2005 EN 4.2 Configuring the Factor y Configuration Utility 111 4.2.6 SMTP Se rver The mail server configuration can be defined here. 4 NOTE…
4 Configuration Installation and Configuration Guide SIPLACE Explorer
4.2 Configuring the Factory Configuration Utility Edition 02/2005 EN
110
→ Define the user privileges for each production line at User rights profile. If you have enabled
the Use default user rights field for a particular line, the system will automatically adopt all
the rights/privileges you have enabled/disabled for that user at Default user rights t. The
checkboxes on the righthand side will then be faded out (gray) i.e. they can not be
subsequently enabled or disabled.
→ Check your entries and confirm with OK.
→ Repeat this procedure for each other user.
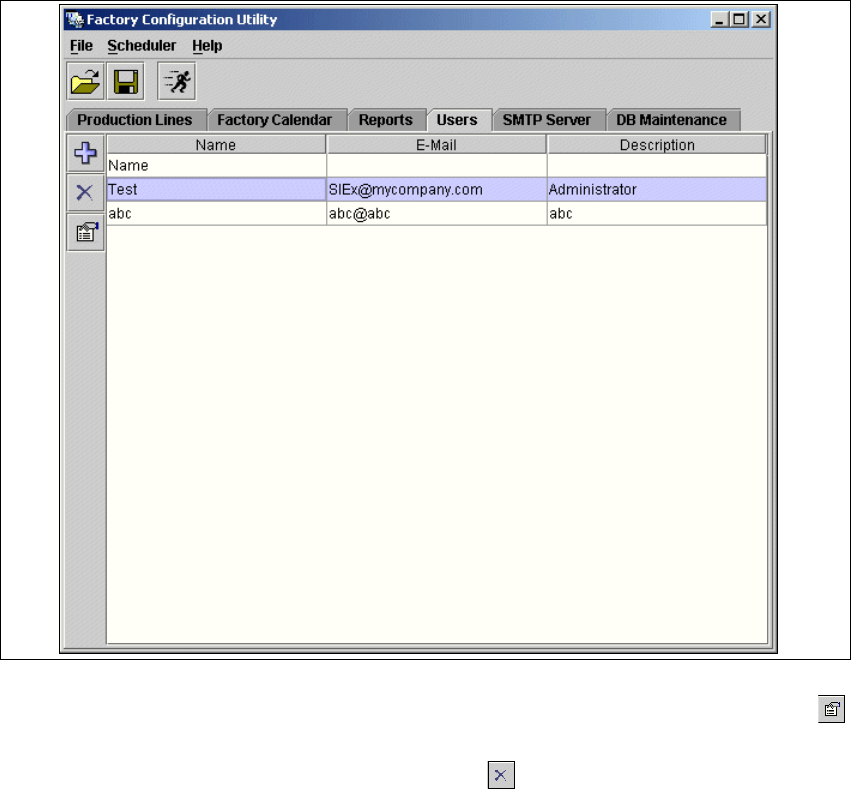
The list of defined users will be shown in the Factory Configuration Utility - Users dialog box.4
4
Fig. 4 - 50 Factory Configuration Utility - users
→ In order to edit user details, select the user concerned from the list and click on the Details
icon. The User Details dialog box will open and the user details can be edited.
→ To delete a user from the list, click on remove user .
Installation and Configuration Guide SIPLACE Explorer 4 Configuration
Edition 02/2005 EN 4.2 Configuring the Factory Configuration Utility
111
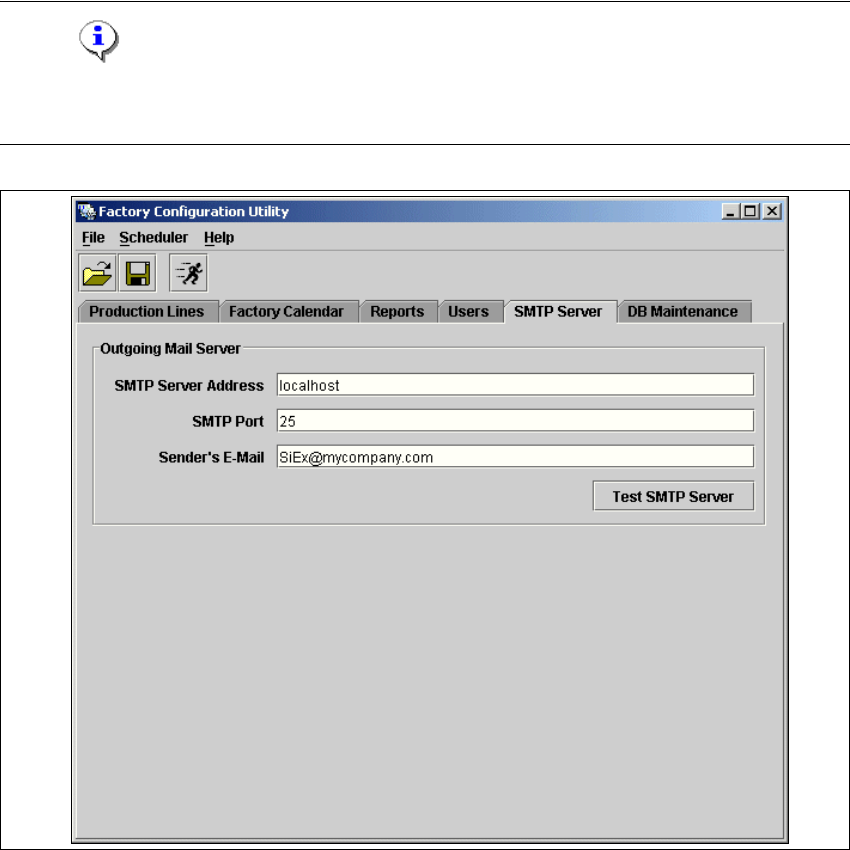
4.2.6 SMTP Server
The mail server configuration can be defined here. 4
NOTE
The mail server configuration should only be set by a system administrator as incorrect
configuration can lead to system conflicts. 4
4
Fig. 4 - 51 Factory Configuration Utility - SMTP server
4 Configuration Installation and Configuration Guide SIPLACE Explorer
4.2 Configuring the Factory Configuration Utility Edition 02/2005 EN
112
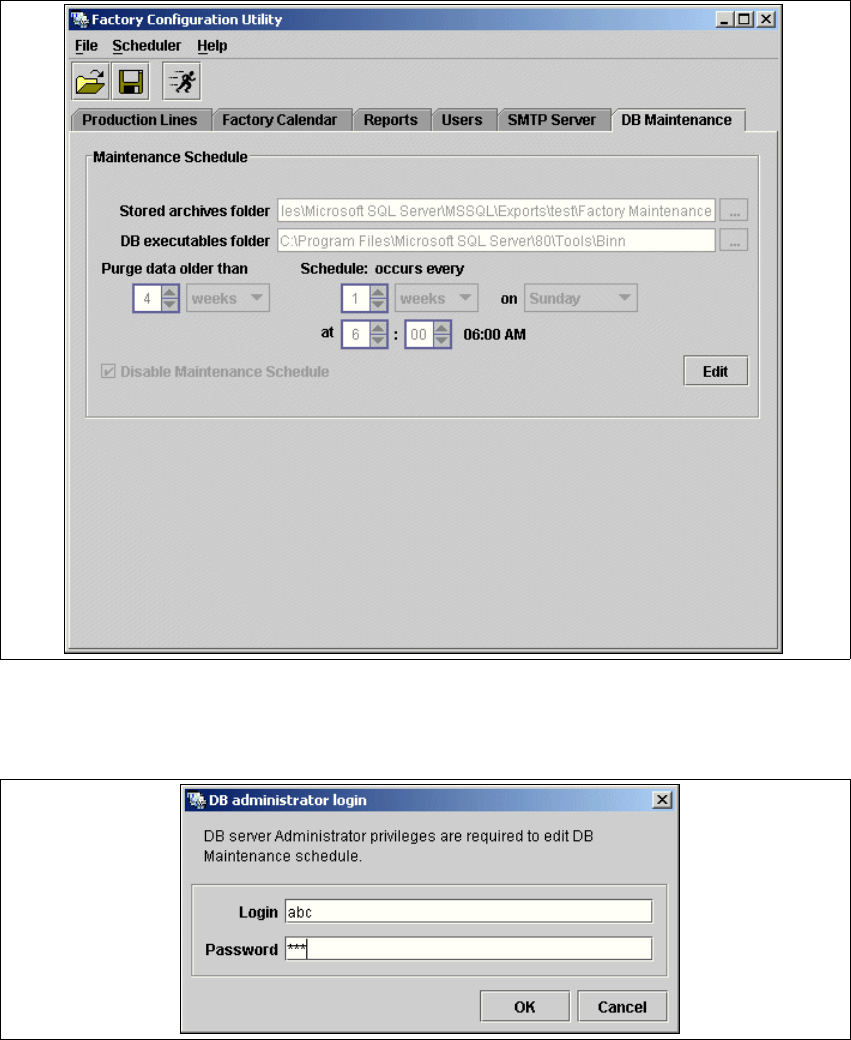
4.2.7 DB Maintenance
Define the maintenance schedule for the factory database, here. 4
→ Select the DB Maintenance tab.
4
Fig. 4 - 52 Factory Configuration Utility - DB maintenance
→ Before you can enter data you must log yourself in as database administrator. Click on the Edit
button to open the DB Administrator Login dialog box.
4
Fig. 4 - 53 DB administrator login