00193688-03.pdf - 第64页
4 Configuration Installation and Configuration Guide SIPLACE Explorer 4.1 Standard Monitoring Application (SMA) Edition 02/2005 EN 64 → The Line Configuration dialog box will open. This is the fi rst step of the line con…

Installation and Configuration Guide SIPLACE Explorer 4 Configuration
Edition 02/2005 EN 4.1 Standard Monitoring Application (SMA)
63
4 Configuration
4.1 Standard Monitoring Application (SMA)
SIPLACE Explorer allows you to create custom-made applications to monitor production lines.
Additionally, Standard Monitoring Application (SMA) and a set of corresponding websites are
supplied with the installation CD. SMA features various web pages that capture basic production
information such as machine status and time allocation, performance, components consumption,
reject rate, etc. We describe below how you can easily customize Standard Monitoring Application
for your production line configuration. 4
The procedure for creating an SMA depends on whether you have SIPLACE Explorer Runtime
Environment or SIPLACE Explorer Development Environment installed on your computer. This
chapter will describe both methods: 4
– Creating an SMA with Line Configuration, see page 63
(Runtime Environment),
– Creating an SMA with the application wizard, see page 83
(Development Environment),
4.1.1 Runtime Environment: Creating an SMA with Line Configuration
In order to create an SMA with the line configuration option, you must have SIPLACE Explorer
Runtime Environment installed on your computer. SMA creation consists of the following steps: 4
– Line configuration (wizard with 7 steps)
– Establishing a connection to the database (wizard with 3 steps)
4.1.1.1 Starting Line Configuration
→ Open Line Configuration.
Proceed by selecting Programs → SIPLACE Explorer 2.0 → Line Configuration from the
menu in Windows or by clicking on the icon in the console. Right-click with the mouse to
select the Line Configuration menu.
NOTE
The access to the Runtime Environment tools is restricted or permitted as required, by using
the SE Security Manager. For details of the relevant settings in the SE Security Manager,
please refer to the Getting Started for SIPLACE Explorer 2.0. 4
4 Configuration Installation and Configuration Guide SIPLACE Explorer
4.1 Standard Monitoring Application (SMA) Edition 02/2005 EN
64
→ The Line Configuration dialog box will open. This is the first step of the line configuration
process.
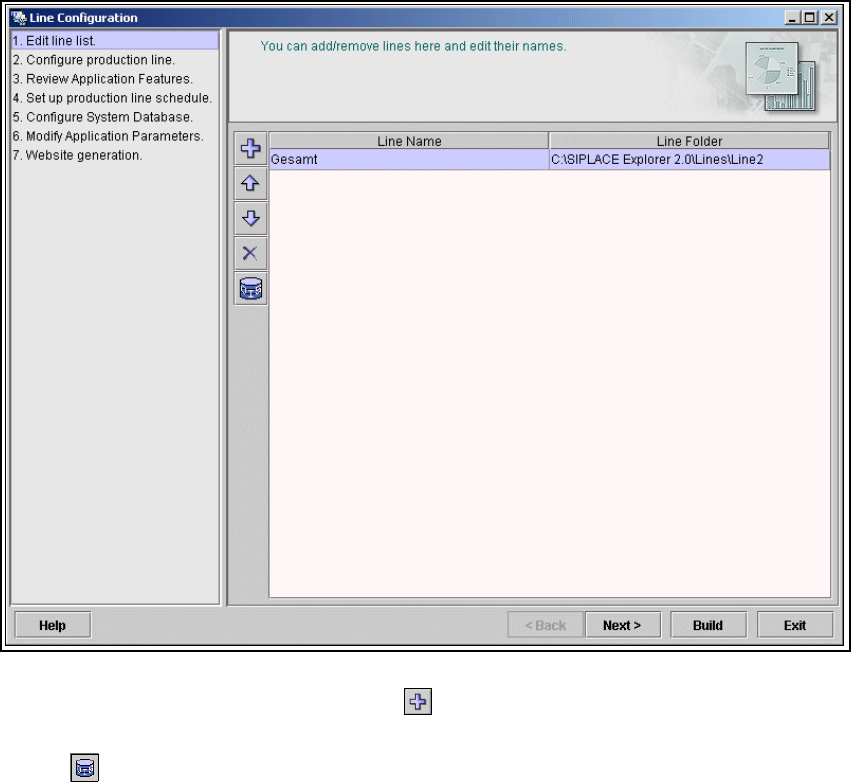
4.1.1.2 Step 1 - Edit Line List
→ Create the relevant line (lines) here.
4
Fig. 4 - 1 Step 1: line list
→ New lines can be created via the add line icon.
→ An existing line can be imported with the OIS import function. Simply click on the OIS Import
icon .
Installation and Configuration Guide SIPLACE Explorer 4 Configuration
Edition 02/2005 EN 4.1 Standard Monitoring Application (SMA)
65
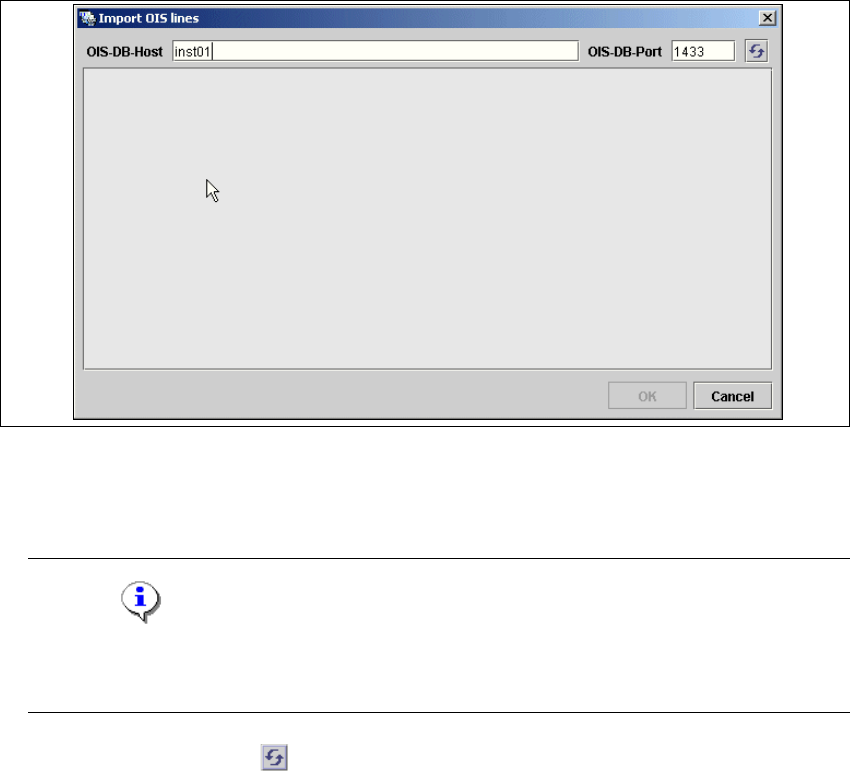
→ The Import OIS Lines dialog box will open.
4
Fig. 4 - 2 Step 1: import OIS lines
→ Enter the OIS DB host name in the OIS-DB-Host field and the OIS DB port in the OIS-DB-Port
field.
NOTE
If you have installed MSDE 2000, you must now enter the MSDE port number shown during
the installation procedure. 4
→ Click on the Refresh icon .