00193688-03.pdf - 第39页
Installation and Configuration Guide SIPLAC E Explorer 3 Installing SIPLACE Explorer Edition 02/2005 EN 3.3 SIPLACE Explorer 2 .0 Installation 39 → If you have selected a folder which does not exist yet, the following me…
3 Installing SIPLACE Explorer Installation and Configuration Guide SIPLACE Explorer
3.3 SIPLACE Explorer 2.0 Installation Edition 02/2005 EN
38
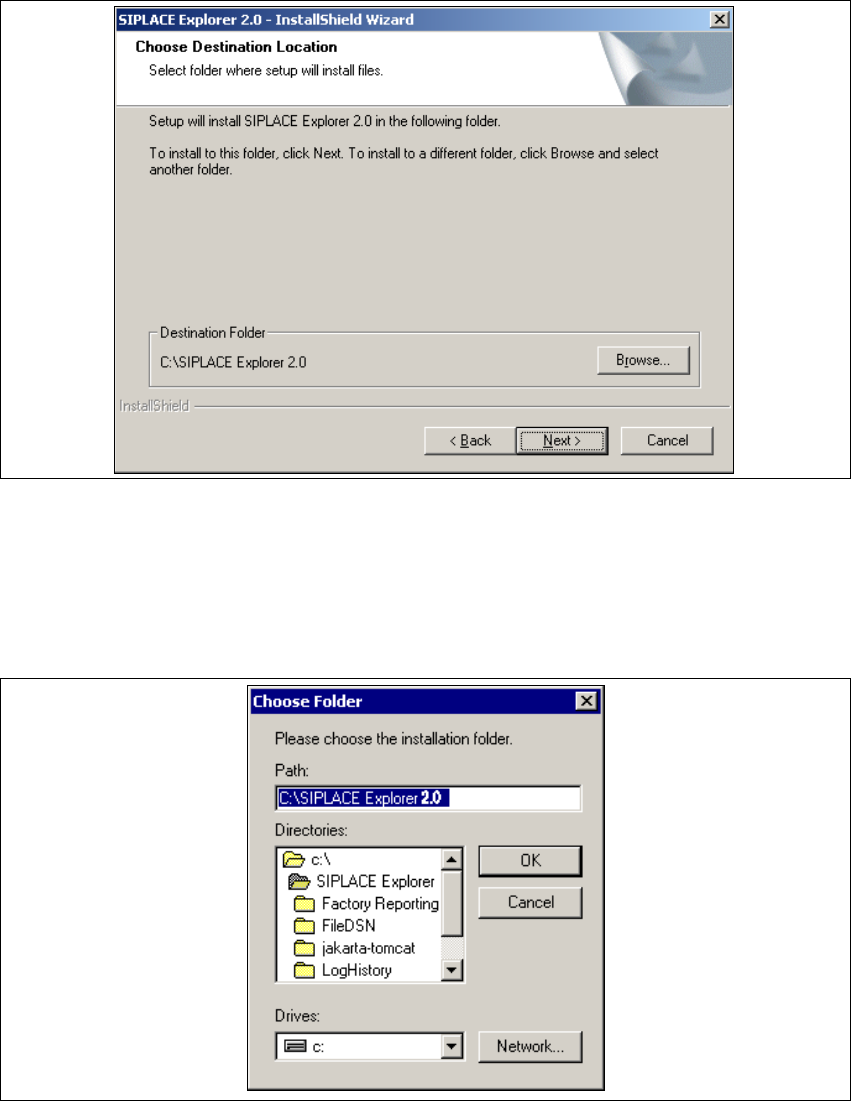
→ Now specify the folder in which you wish to install the application. The default folder is
C:\SIPLACE Explorer2.0.
3
Fig. 3 - 19 SIPLACE Explorer setup - choose destination location
→ You can alter the default installation folder by using the Browse button.
→ The Choose Folder dialog box will appear to locate the desired folder.
→ Specify path and click OK to select another folder.
→ To accept the destination folder, click on Next in the Choose Destination Location dialog box.
3
Fig. 3 - 20 SIPLACE Explorer setup - 'choose folder' dialog box
Installation and Configuration Guide SIPLACE Explorer 3 Installing SIPLACE Explorer
Edition 02/2005 EN 3.3 SIPLACE Explorer 2.0 Installation
39
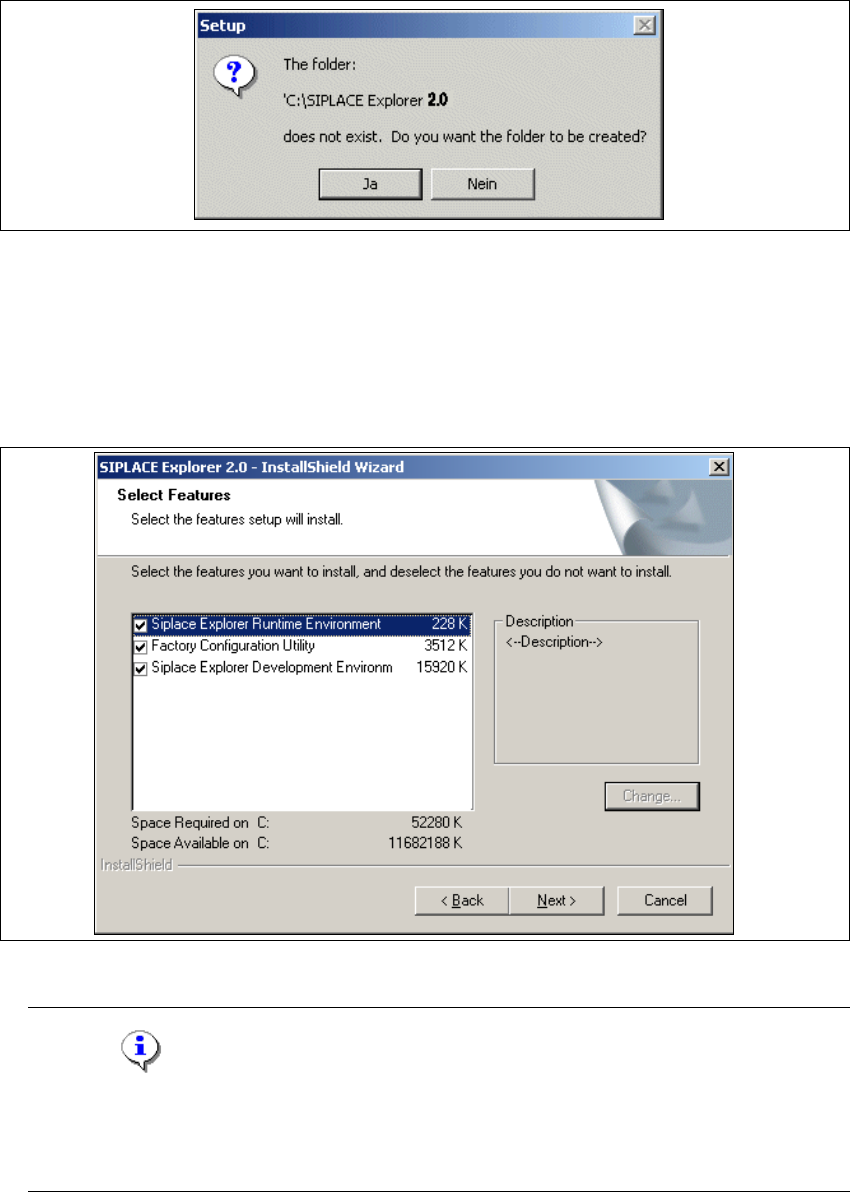
→ If you have selected a folder which does not exist yet, the following message will appear.
3
Fig. 3 - 21 SIPLACE Explorer setup - create folder dialog box
→ Click on Yes, if you want the system to create the folder. Otherwise select No. In this case, you
will need to specify the correct folder in the Choose Destination Location dialog box.
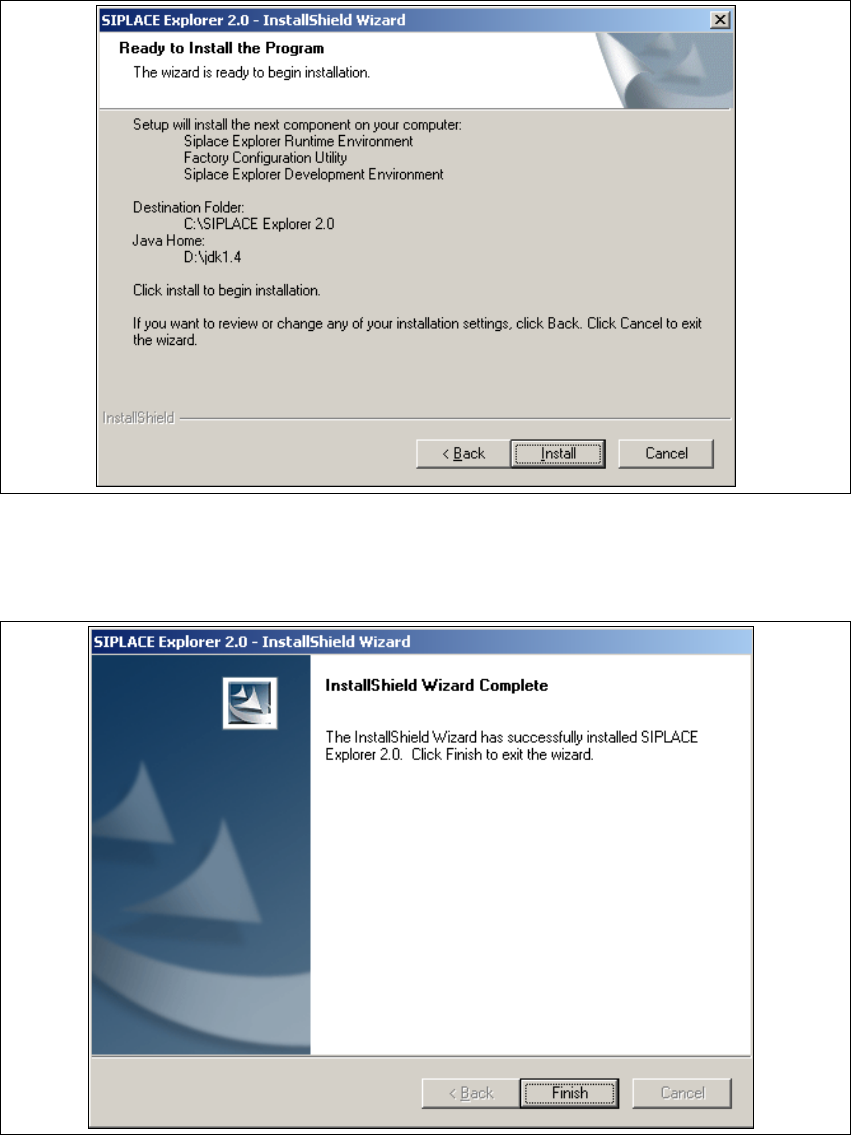
→ You will see the Select Features (installation options) dialog box. Here you can select any of
the following three components: SIPLACE Explorer Runtime Environment, Factory
Configuration Utility and SIPLACE Explorer Development Environment.
3
Fig. 3 - 22 SIPLACE Explorer setup - 'select features' (select installation options) dialog box
NOTE
In theory, the components can be compiled as required. However, we do not recommend
installing "SIPLACE Explorer V.2.0 Runtime Environment" and "SIPLACE Explorer V.2.0
Development Environment" on the same computer. 3
3 Installing SIPLACE Explorer Installation and Configuration Guide SIPLACE Explorer
3.3 SIPLACE Explorer 2.0 Installation Edition 02/2005 EN
40
→ Once you have selected the required installation option, click on the Next button to continue.
→ The following dialog box will appear.
3
Fig. 3 - 23 SIPLACE Explorer setup - 'ready to install' dialog box
→ Click on the Install button, to begin the actual installation of SIPLACE Explorer V2.0.
→ Once the installation procedure has finished, the following dialog box will appear.
3
Fig. 3 - 24 SIPLACE Explorer setup - installation complete