04_SM481_Service Manual Head.pdf - 第38页
Advance d High Speed Flex i ble Mounter 4-34 3. Un scr ew the fixing b ol ts securing the c ove r using a he x wren c h and remove it. 4. When r eplacing the sensor , unscrew the fixing bol t s s ecuring the senso r a nd…

Head
4-33
4.7. R-Axis Motor / Timing belt
4.7.1. Required tools
T Wrench (other tools supplied) or Hex Wrench
Tension gage
Nozzle Holder Setting Jig
4.7.2. R-Axis Motor/Timing belt/Sensor replacement procedure
1. Remove the Outer B Board referring to the Outer B Board removal procedure.
2. Remove the Coaxial Illumination referring to the Coaxial Illumination removal procedure.
Motor
Belt
Advanced High Speed Flexible Mounter
4-34
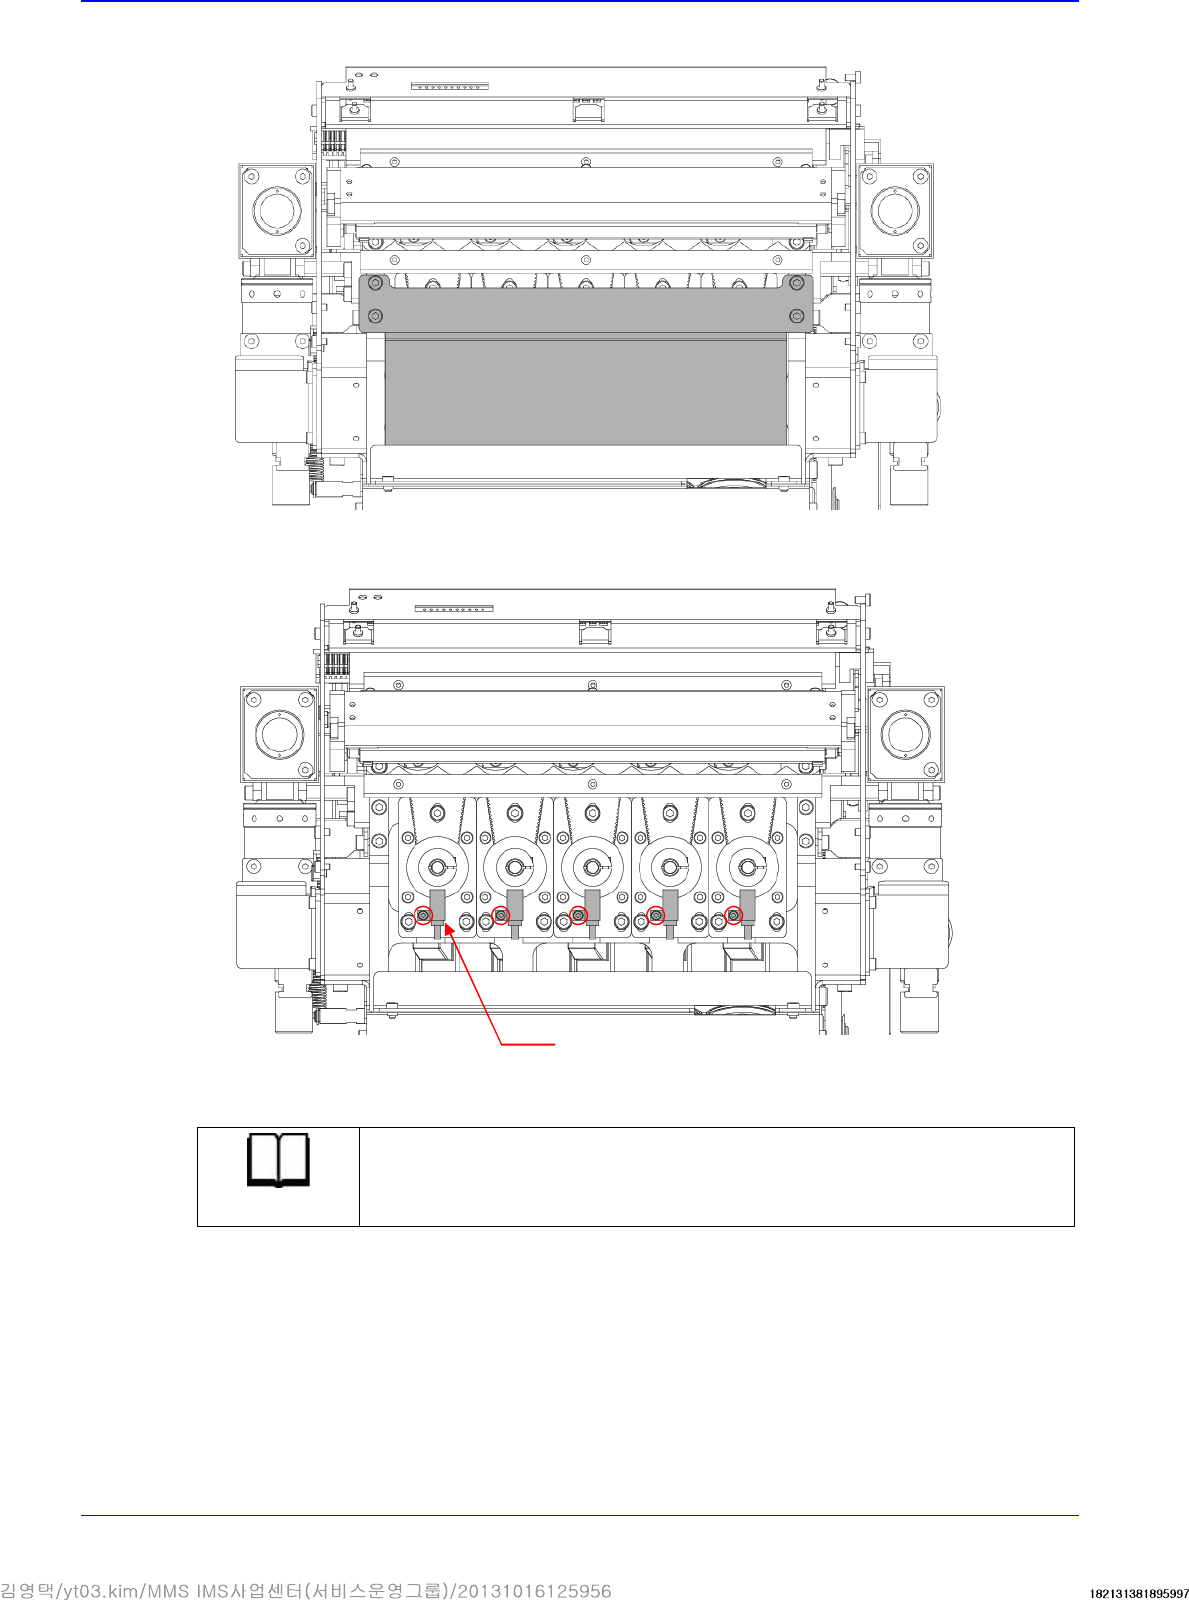
3. Unscrew the fixing bolts securing the cover using a hex wrench and remove it.
4. When replacing the sensor, unscrew the fixing bolts securing the sensor and remove it.
5. Replace the sensor with a new one.
Reference
The part number of the new sensor is J32121021A.
Sensor
Head
4-35
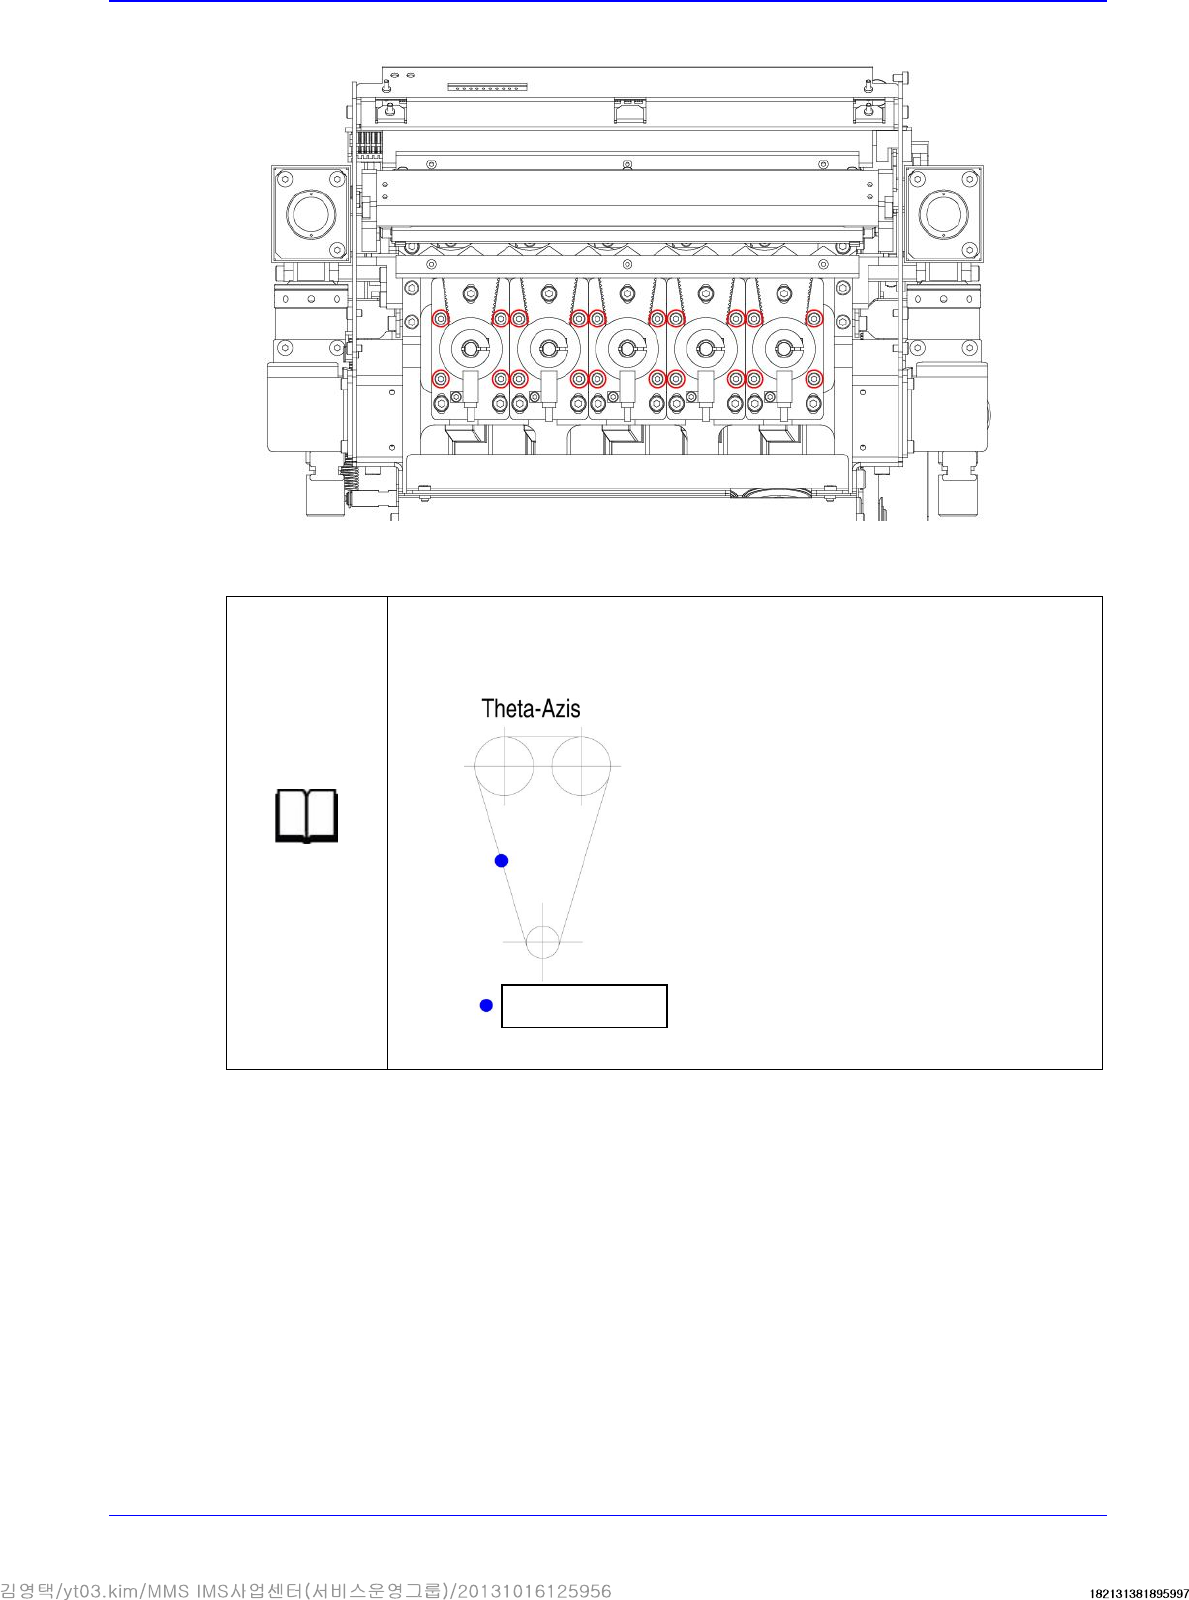
6. Unscrew the fixing bolts securing the plate of R-axis motor using a hex wrench and remove it.
7. When replacing the timing belt, replace the belt with a new one.
Reference
The part number of the new
belt
is
J66021183A
Measure the tension of the timing belt at the center by using
the unitta measuring device. (Standard value: 409~467 Hz)
Assemble the motor in the reverse order of disassembling.
8. When replacing the motor, proceed with the next steps continuously.
9. Unscrew the set screw securing the pulley using a hex wrench and remove it.
Measurement
position