04_SM481_Service Manual Head.pdf - 第43页
Head 4-39 6. Re plac e the motor wi t h a ne w one . Referen ce The part number of t h e new motor i s J31 081047A . 7. A ss em ble t he mo t or in the r eve r se orde r of di sa ssembling . 8. When r eplacing the belt, …
Advanced High Speed Flexible Mounter
4-38
4.8. Z-Axis Motor / Timing belt
4.8.1. Required tools
Tension gage
T Wrench (other tools supplied) or Hex Wrench
4.8.2. Z-Axis Motor / Timing belt replacement procedure
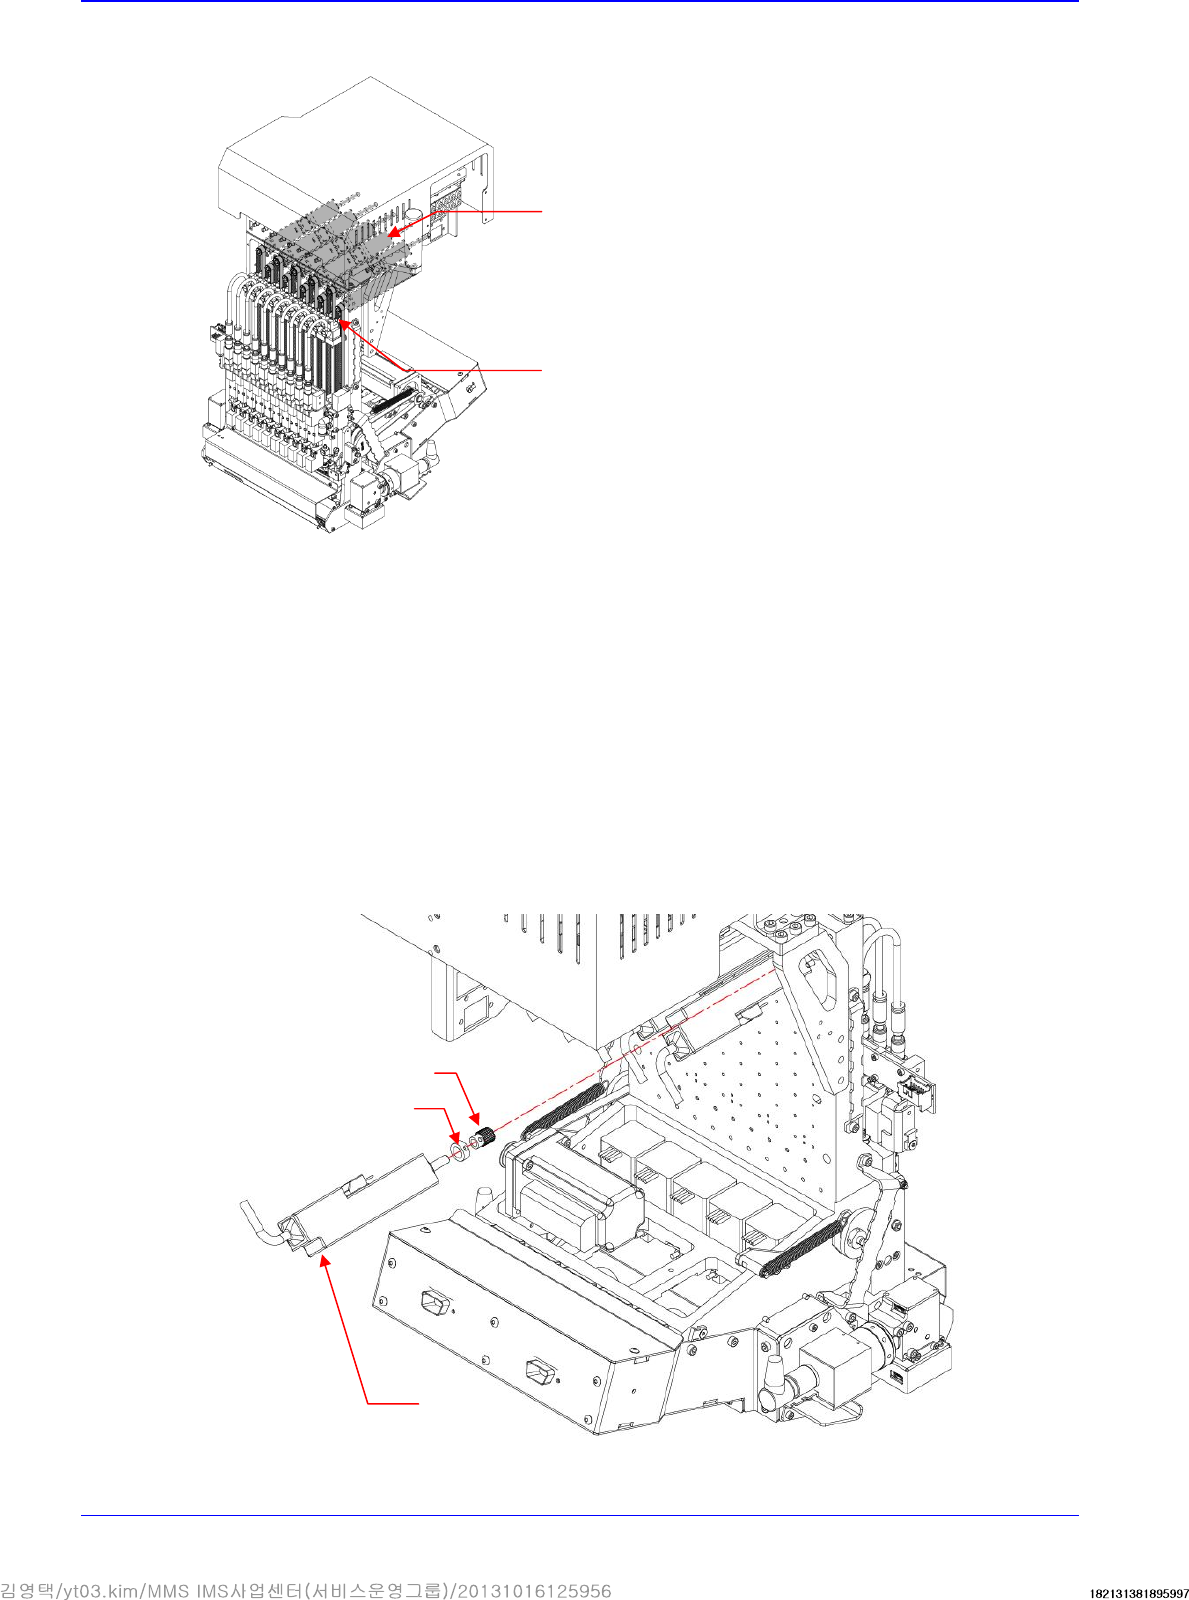
1. Manipulate the teaching box to move the head module to the front.
2. Close the PC as usual and turn off the main switch at the front of the machine.
3. Remove the cable connected to the motor.
4. Unscrew the fixing bolts securing the motor bracket using a hex wrench and remove it.
5. Unscrew the set screw securing the pulley using a hex wrench and remove it.
Motor
Pulley
Bracket
Motor
Belt
Head
4-39
6. Replace the motor with a new one.
Reference
The part number of the new motor is J31081047A.
7. Assemble the motor in the reverse order of disassembling.
8. When replacing the belt, proceed with the next steps continuously.
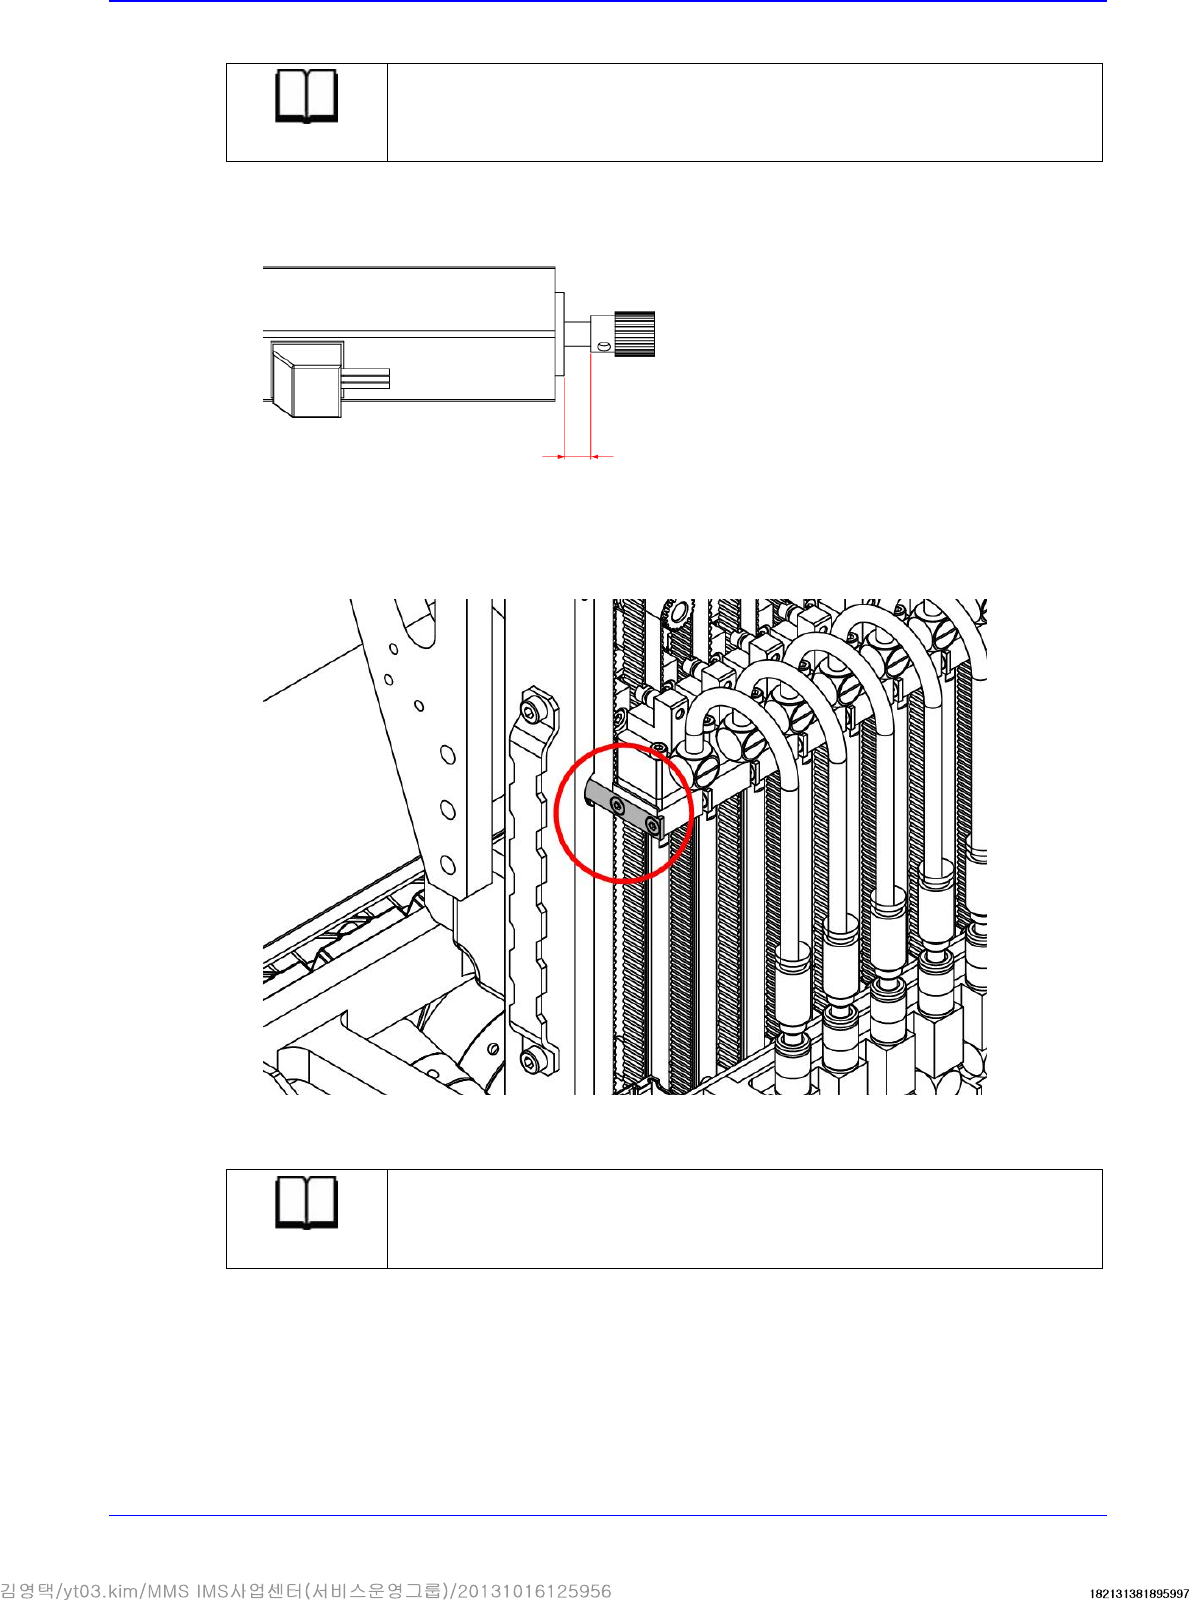
9. Unscrew the fixing screws that secure the belt clamps and remove the belt from the slide body.
10. Replace the belt with a new one.
Reference
The part number of the new belt is MC05-000119.
11. Assemble the belt in the reverse order of disassembling.
12. Perform the next steps.
5.5 mm
Advanced High Speed Flexible Mounter
4-40
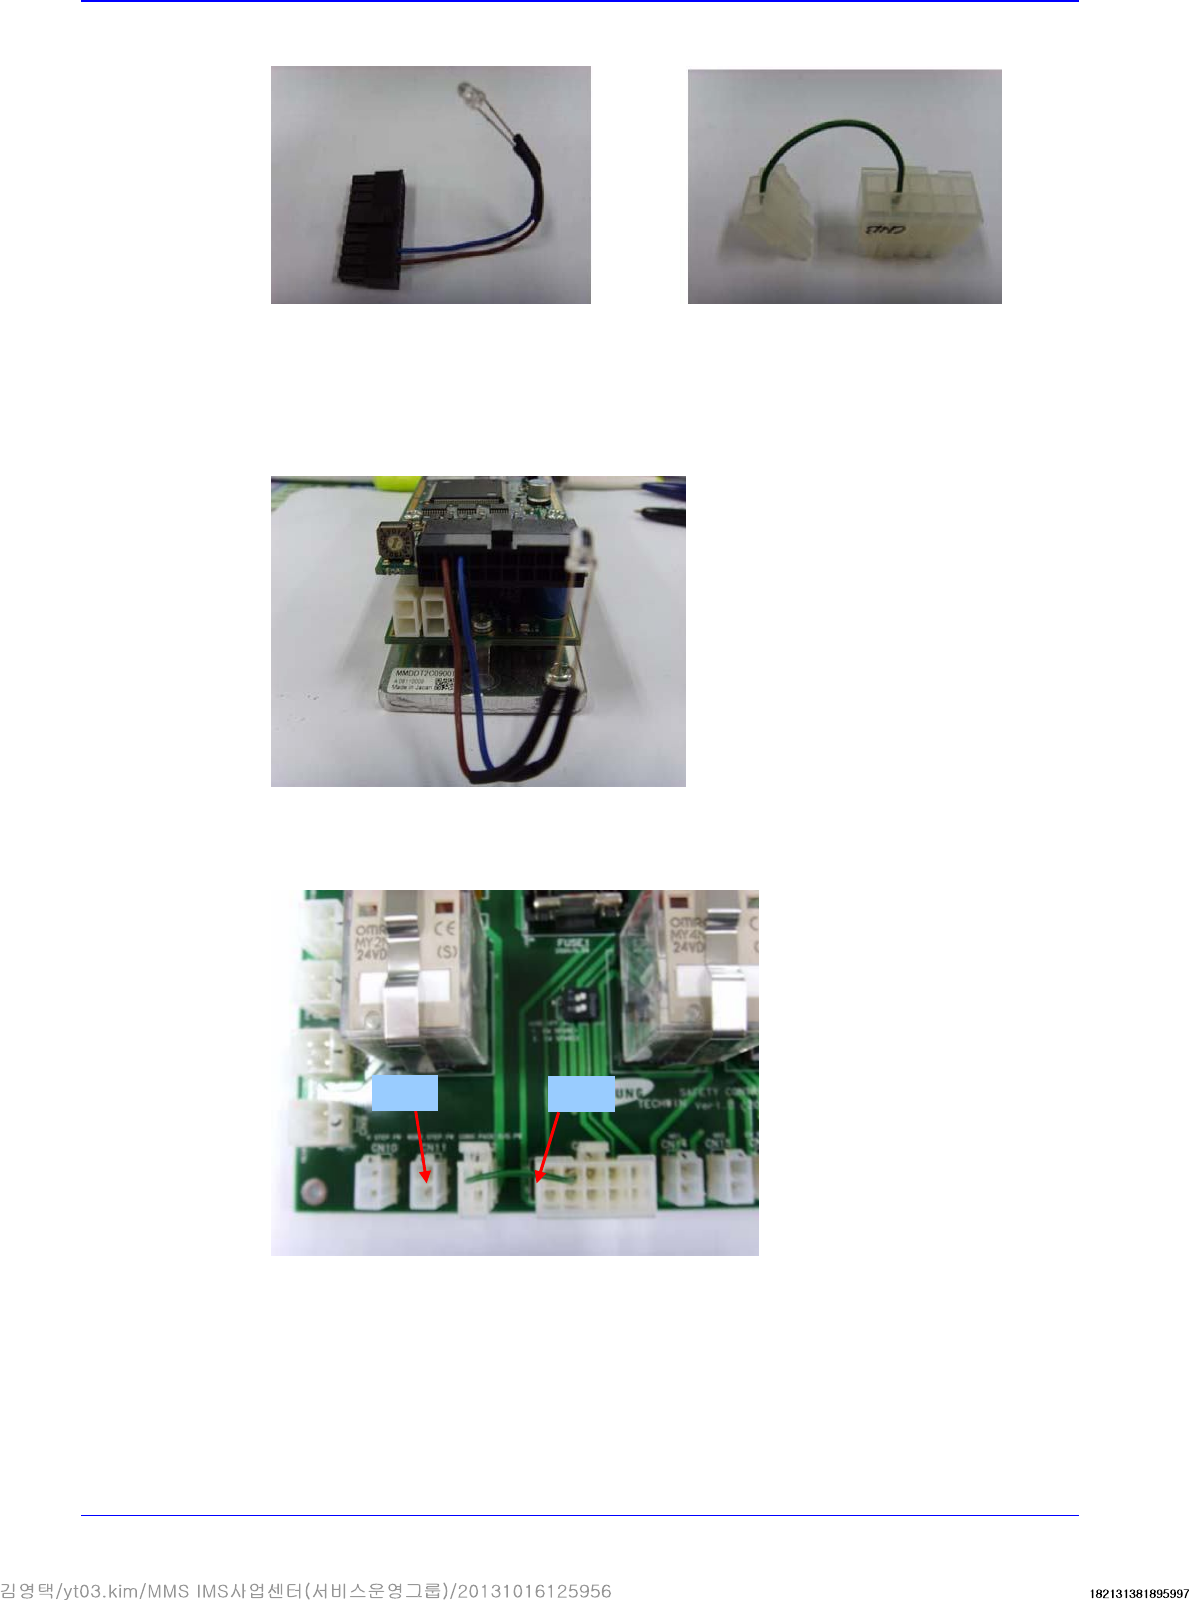
① Prepare cables as shown in the following figure.
② Connect the No. 1 cable for which Z phase (+, -) can be confirmed to the MINI AMP as
shown in the following picture. (However, the main power supply to the machine must be
turned off, with the AMP assembled to the head AMP box and the encoder cable connected
to the Z motor power.)
→The Z phase of the Z motor can be confirmed by the status of the LED On.
③ Connect the No. 2 cable to the CN13 and CN12 of the safety control board as shown in the
following picture.
→ Even if the ready switch is not turned on for the machine, +24V is applied to the MINI
AMP.
No.1 Cable
No.2 Cable
CN13
CN12