ACT - Accuracy Check Tool mit SSW 6xx User Manual 2017.pdf - 第110页
ACT with SSW 6xx / User Manual 07/2017 Edition 46 4.2.4 Loading the Plate into the Measuring M achine 4.2.4.1 D- and X - Series On the SIPLACE D - and X - series machines the gl ass plate can be inserted into the conv ey…
ACT with SSW 6xx / User Manual 07/2017 Edition
45
4.2.3 Inserting the Plate
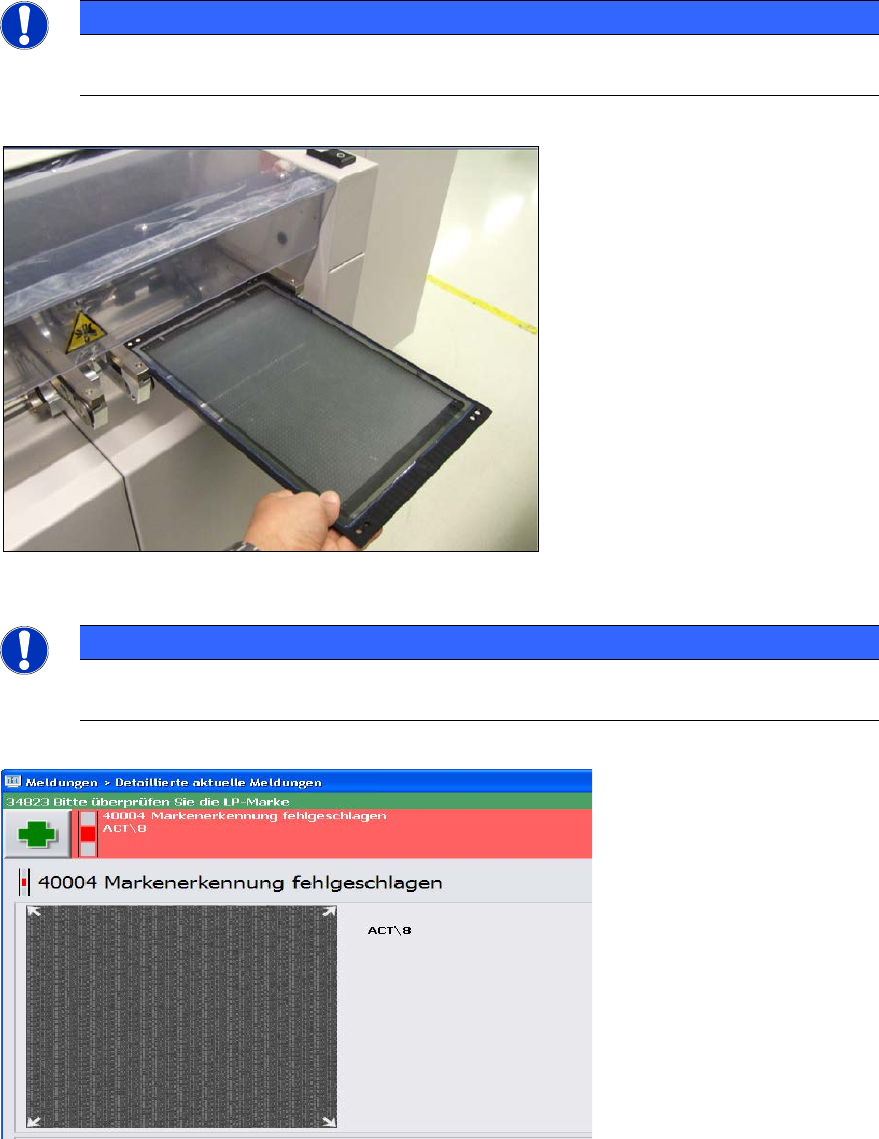
► Insert the glass plate with the incident light plate (black metal plate) underneath it in the input
section.
NOTICE
The measuring plate needs to be inserted so that the arrows marked on the plate show
in the transport direction.
Figure 4-18: Placing the measuring plate in the conveyor (example SIPLACE X4)
NOTICE
► Check the orientation of the inserted plate if you see the following error message
(ACT cross cannot be measured).
Figure 4-19: Error message caused by faultily inserted plate
ACT with SSW 6xx / User Manual 07/2017 Edition
46
4.2.4 Loading the Plate into the Measuring Machine
4.2.4.1 D- and X-Series
On the SIPLACE D- and X-series machines the glass plate can be inserted into the conveyor by
opening the covers of the input section (extension kit) or the machine cover.
► Insert the plate directly into the input section of the measuring machine so that the sensor is
activated.
► Press Start.
The board is automatically moved into the placement area and gets placed.
Thereafter, the measurement is automatically started, see section 4.2.5.
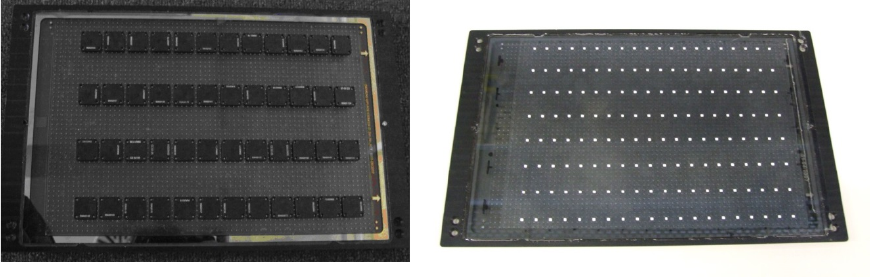
Figure 4-20 and Figure 4-21 show an assembled ACT plate, in one example with glass
components and in the other with ceramic components.
Figure 4-20: Measuring plate with placed glass comp. Figure 4-21: Measuring plate with placed ceramic comp.
ACT with SSW 6xx / User Manual 07/2017 Edition
47
4.2.5 Working with the ACT Function under Station Software 605.xx
NOTES
On SIPLACE X and D machines running station software 605.xx (platform 2+), it is
necessary to install additional software on the station computer to be able to use the
ACT.
The installation is described in chapter 5.
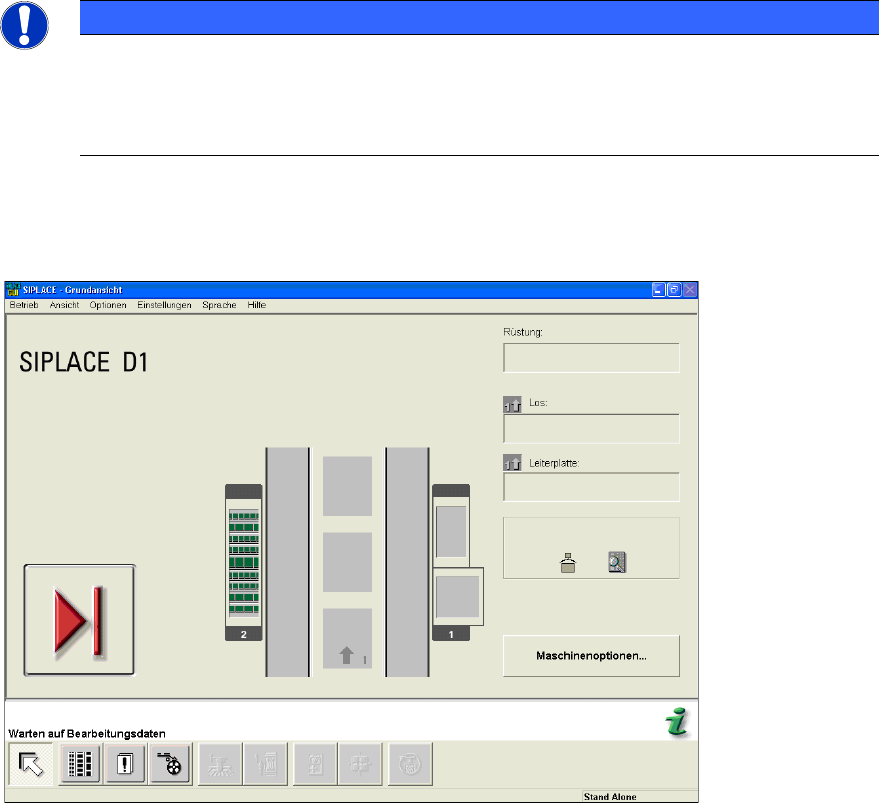
► Switch on the machine.
The station computer will boot. The user interface basic view for the SC program will soon appear.
Figure 4-22: Basic view of user interface GUI at the station
► From the Optionen (Options) menu, select Bedienebene… (Access level...) (Abbildung 4-23).
The Bedienebene (Access level) dialog box opens.