SMN-Tape Feeder Manual(Eng Ver5).pdf - 第36页
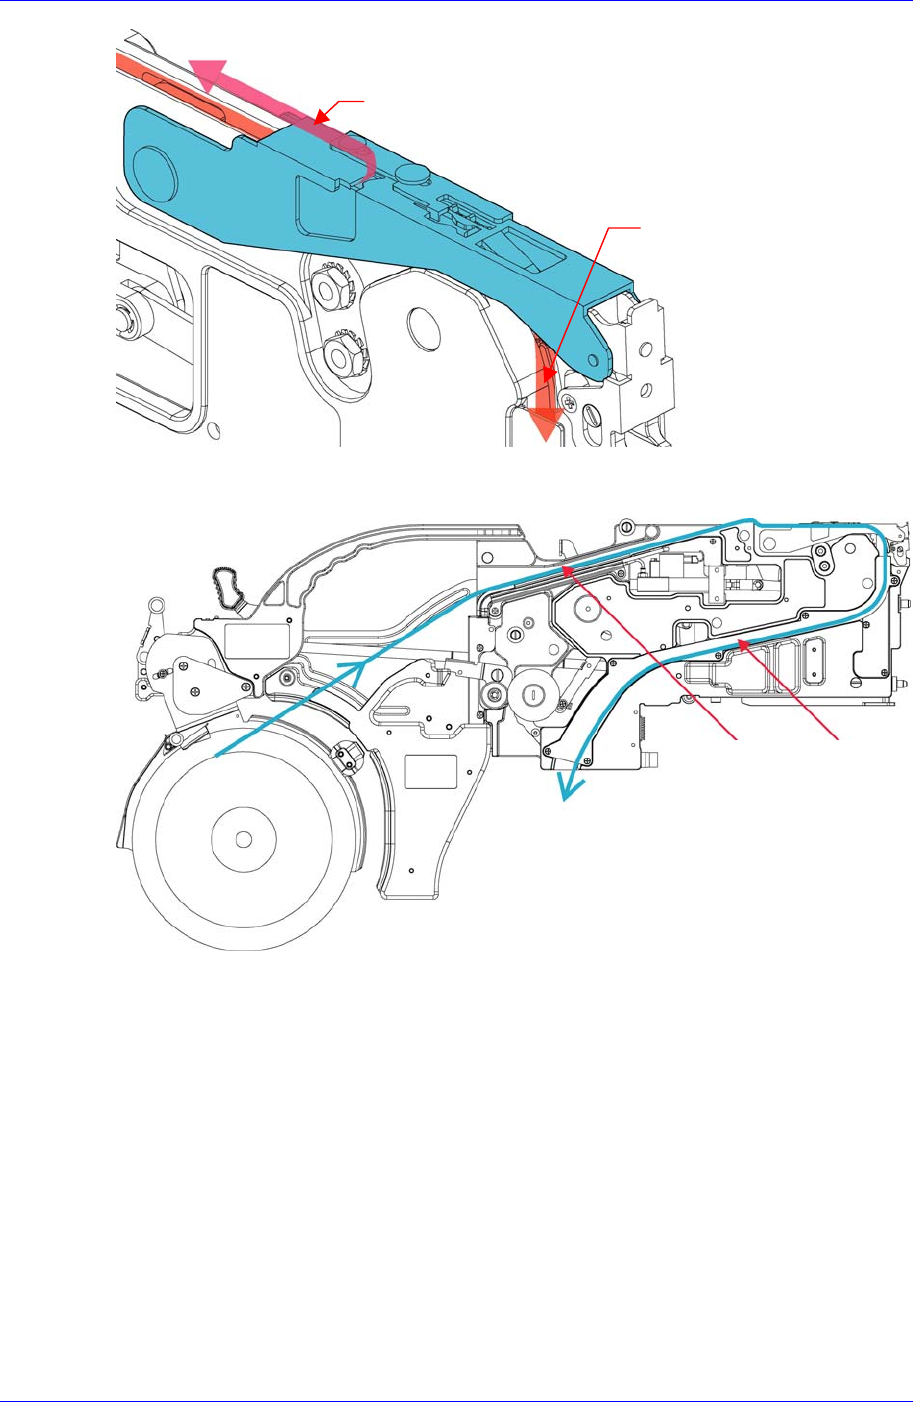
Samsung SM-Series Pneumatic T ape Feeder Users' Manual 2-6 Figur e 2-10. Exit of the carrier tape of the 12-88mm tape feeder Groove A Groove B
Operation of the Tape Feeder
2-5
Figure 2-8. Installing the upper cover tape of the tape feeder
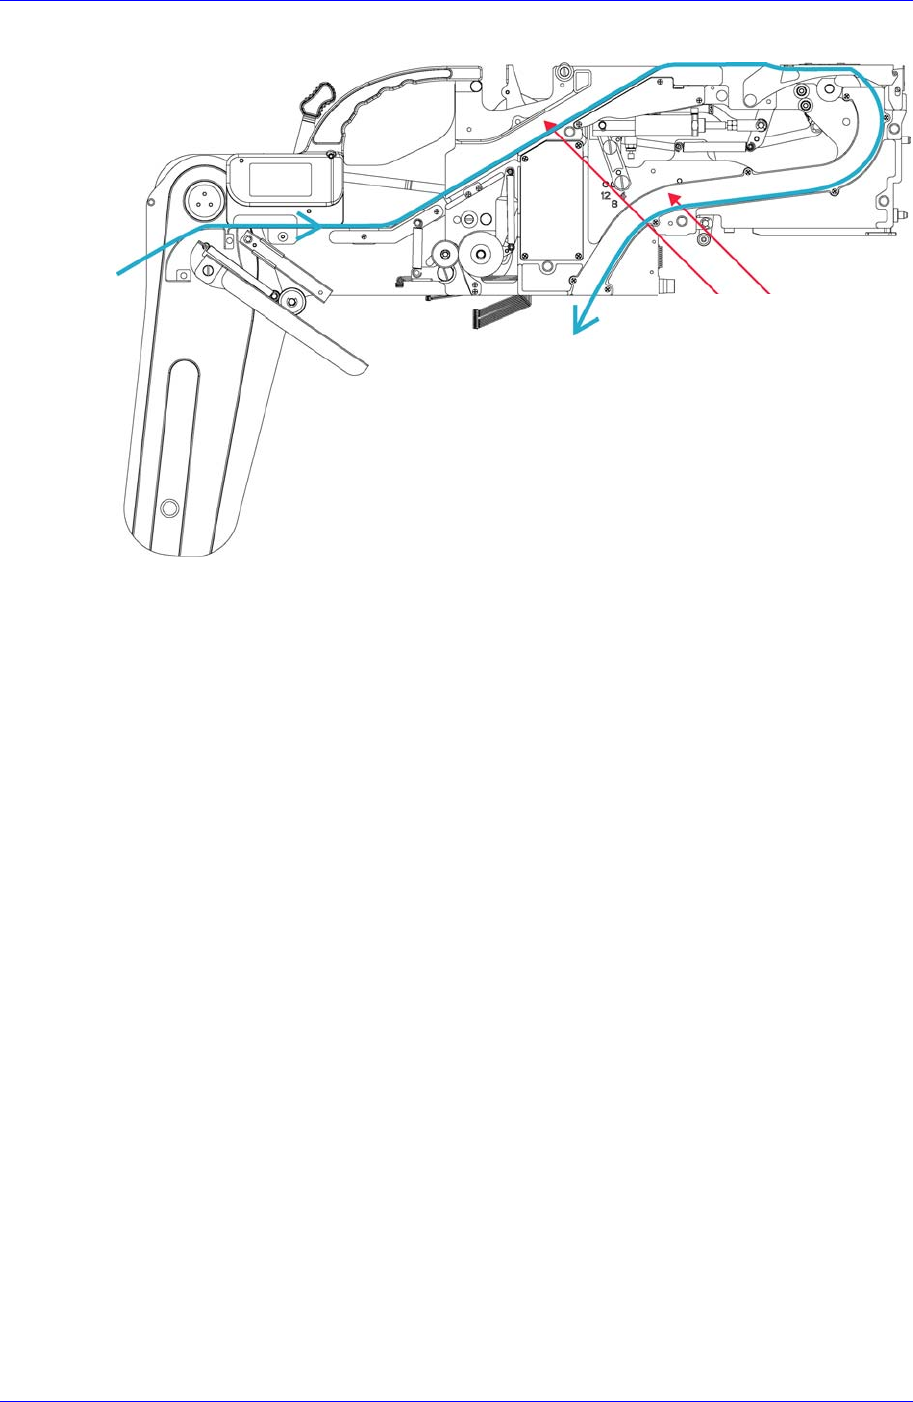
Pass the carrier tape through groove B.
Figure 2-9. Exit of the carrier tape of the 8mm tape feeder
U
pp
er cover ta
p
e
Carrier tape
Groove A
Groove B
Samsung SM-Series Pneumatic Tape Feeder Users' Manual
2-6
Figure 2-10. Exit of the carrier tape of the 12-88mm tape feeder
Groove A
Groove B
Operation of the Tape Feeder
2-7
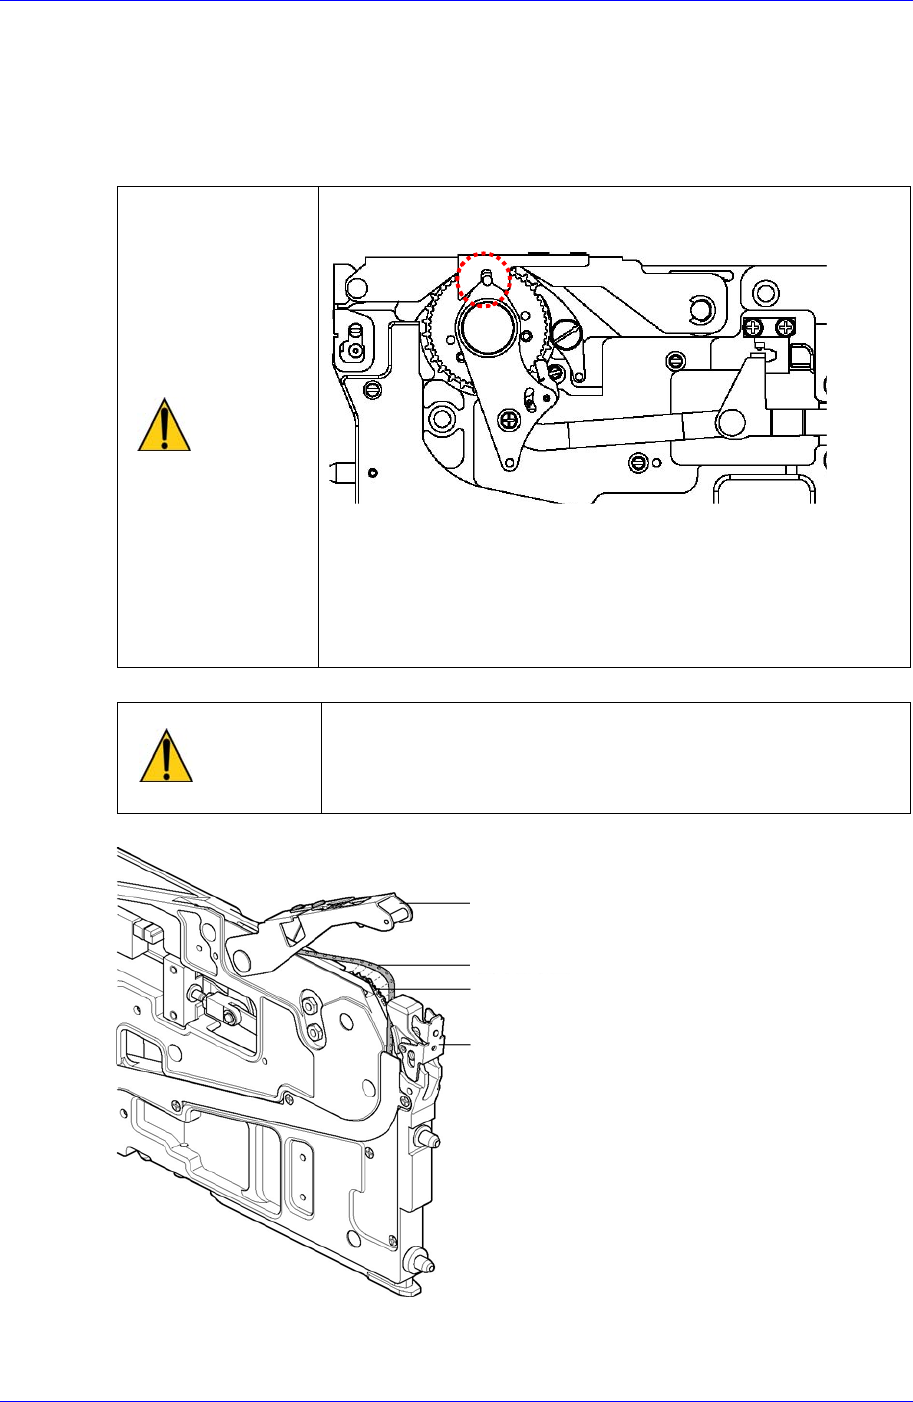
2.1.4. Locking
Insert the movement slot of the transportation tape in the sprocket. After lowering the tape
guide downward, confirm that the transportation tape is correctly inserted into the
sprocket while the transportation tape is in contact.
Caution
While lowering the 8-16mm tape guide, confirm if the
shutter slot is inserted into the shutter lever pin.
The tape guide will not be closed if it is incorrectly inserted
into the shutter slot. In this case, do not force the tape
guide, and close it after fitting the shutter lever pin into the
shutter slot. In this case, check before using as the
equipment or feeder can be seriously damaged by
abnormal operation.
Caution
Use after checking for abnormal operations such as failing
to gear, which may occur when the movement slot of the
transportation tape is incorrectly inserted into the
sprocket.
Figure 2-11. Installing the carrier tape on the sprocket
Tape guide
Carrier tape
Locker
Sprocket