EdisonStandardOwnersManual-RevA-20170818B.pdf - 第153页
Edison Printer User Manual (Part Number 1023838) M AINTENANCE Rev. A 153 Copyright © 2017 ITW EAE All rights reserved. No part of the contents of this manual ma y be reproduced, copied or transmitted in any form or by an…
MAINTENANCE Edison Printer User Manual (Part Number 1023838)
152 Rev. A
Copyright © 2017 ITW EAE
All rights reserved. No part of the contents of this manual may be reproduced, copied or transmitted in any form or by any
means including graphic, electronic, or mechanical methods or photocopying, recording, or information storage and
retrieval systems without the written permission of ITW EAE, unless for purchaser's personal use.
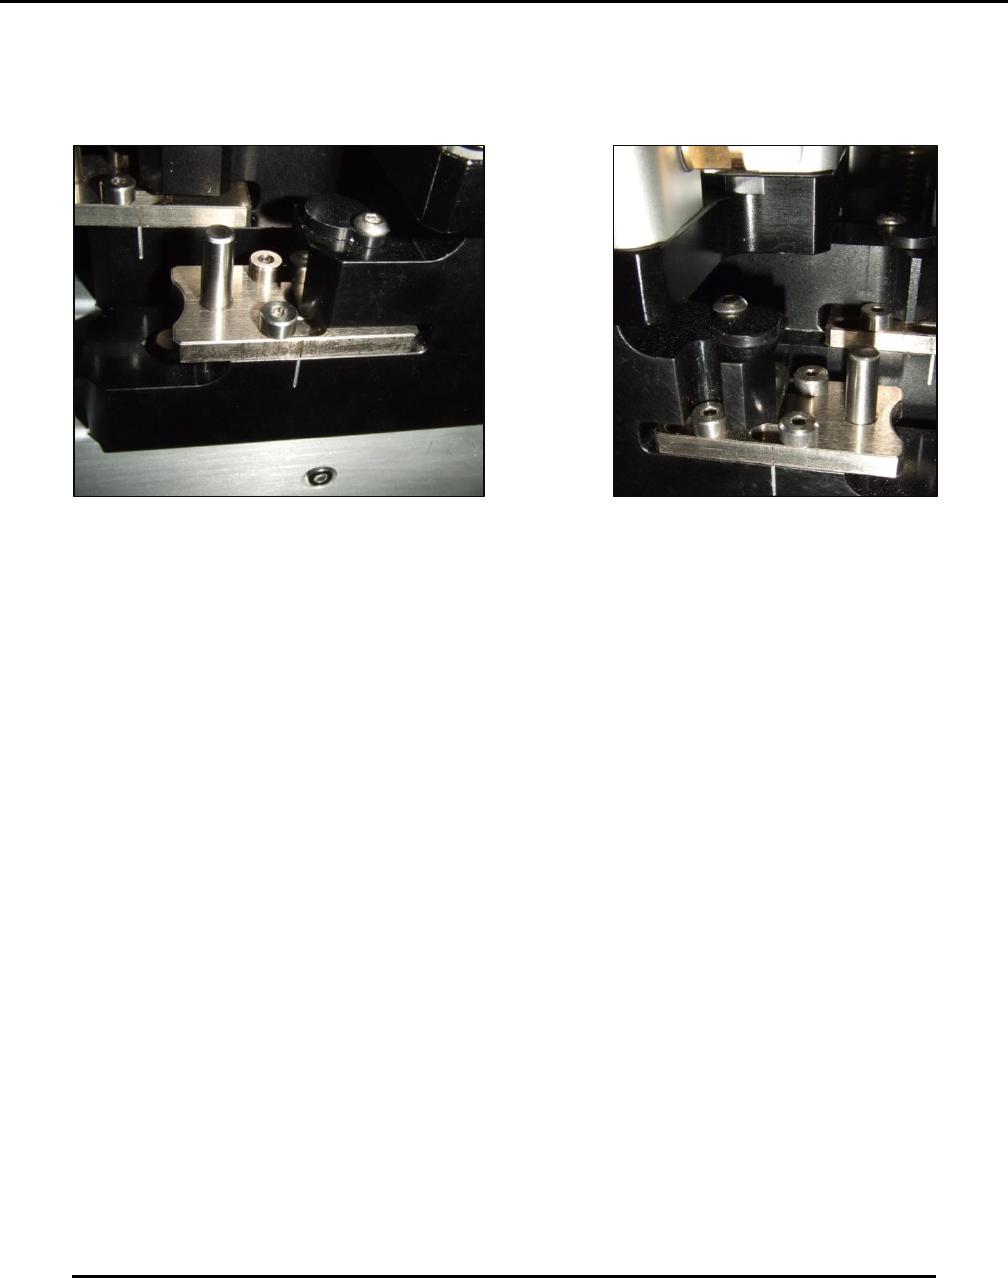
6.2.16. Inspect Quik Release Squeegee Side Plates–Monthly
Figure 150. Inspect stencil alignment clamp plates.
Introduction
Inspect the slide plates of the Quik Release squeegees front and rear (Figure 150).
Estimated Completion Time
Less than 5 minutes
Procedure
The Quik Release squeegee system can be contaminated by solder paste during product
changeover, if proper procedures are not followed. If paste is found in the slides:
Clean the assembly:
o Remove the slide by removing the three shoulder bolts.
o Clean the slide using isopropyl alcohol.
o Clean the assembly body that mates with the slide using isopropyl alcohol.
Insert squeegees to ensure proper location for magnet adhesion.
Secure by moving the slide
Edison Printer User Manual (Part Number 1023838) MAINTENANCE
Rev. A 153
Copyright © 2017 ITW EAE
All rights reserved. No part of the contents of this manual may be reproduced, copied or transmitted in any form or by any
means including graphic, electronic, or mechanical methods or photocopying, recording, or information storage and
retrieval systems without the written permission of ITW EAE, unless for purchaser's personal use.
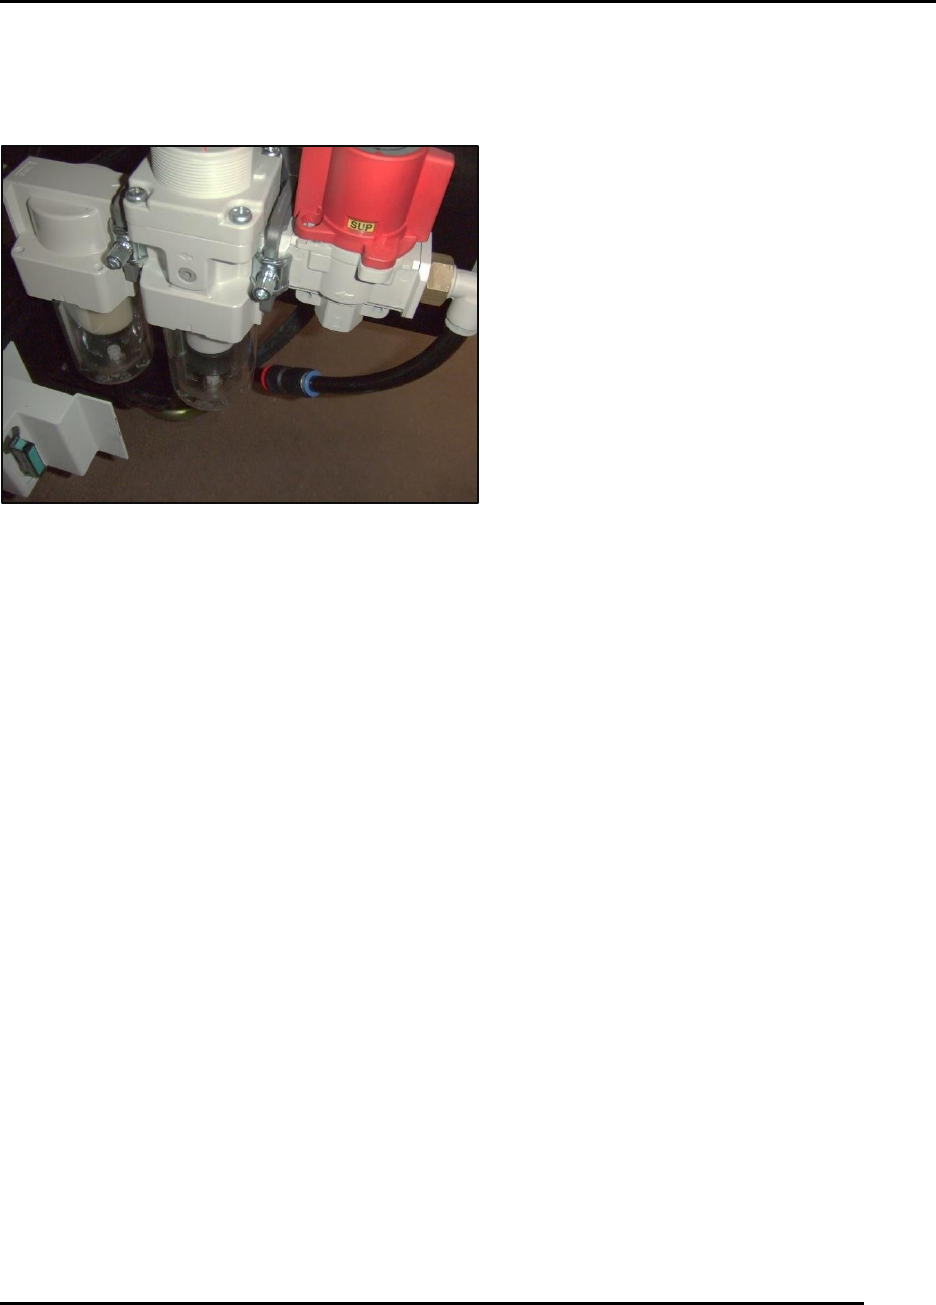
6.2.17. Inspect and Drain Incoming Air Filter Bowls–Monthly
Figure 151. Inspect Air Filter Bowls.
Introduction
Inspect and drain incoming air filter bowls (Figure 151).
Estimated Completion Time
Less than 10 minutes
Procedure
Access the filter bowls by opening the front center door then the right access hinged panel. Filter
bowls are mounted on the bottom right of the Pneumatics panel.
If you observe fluid:
Power-down the printer through the normal sequence.
Lock out and Tag out the main disconnect.
Turn the red handle in front of the filter bowl assemblies 90 degrees clockwise.
o Residual air in the system will dump out.
Drain the filter and mist separator bowls using the small buttons at the bottom of each bowl.
After draining remove the bowls
o Clean the bowls.
o Check condition of bowls.
Restore the bowls to their appropriate positions,
Return the red handle to the normal position.
Remove the Lock out Tagout device.
After air has been restored to the system, check for leaks.
NOTE: Do not attempt at any time to service the filter bowls with air pressure applied to them.
MAINTENANCE Edison Printer User Manual (Part Number 1023838)
154 Rev. A
Copyright © 2017 ITW EAE
All rights reserved. No part of the contents of this manual may be reproduced, copied or transmitted in any form or by any
means including graphic, electronic, or mechanical methods or photocopying, recording, or information storage and
retrieval systems without the written permission of ITW EAE, unless for purchaser's personal use.
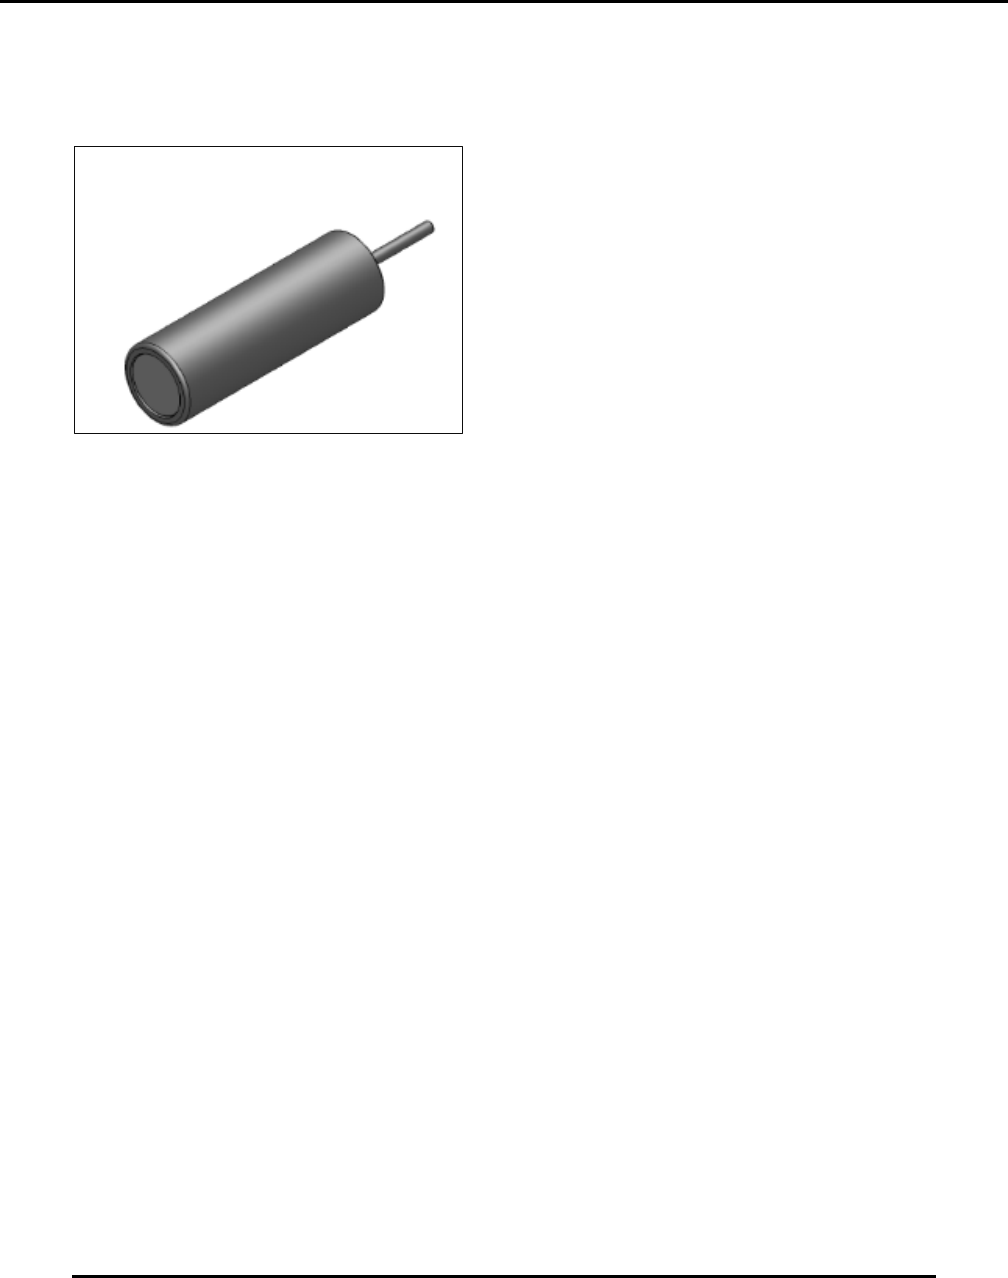
6.2.18. Inspect Tooling Pins–Daily
Figure 152. Inspect Tooling Pins.
Introduction
Inspect the tooling pins (89mm height) provided with the printer monthly for contamination and
condition and clean accordingly. Solder paste contamination of the edge around the magnet will
adversely affect print quality (height of the tooling pin may be out of specification).
Estimated Completion Time
Less than 10 minutes.
Procedure
Inspect each tooling pin base (Figure 152):
o Check condition of the magnet. Magnets must not be cracked or chipped.
o Check for (and remove) foreign matter attached to the magnet.
Clean tooling pins ultrasonically or by immersion and then brushing.