00191297-02.pdf - 第407页
User Manual SIPLACE S-23 HM 12 Station Extensions - Software Software Vers ion SR.405.xx 05/99 Iss ue 12.2 GEM Inte rface 405 NOTE Depending on the sele cted ac tion, the c orrespon ding pl acement pr ogram m ust be ava …
12 Station Extensions - Software User Manual SIPLACE S-23 HM
12.2 GEM Interface Software Version SR.405.xx 05/99 Issue
404
12.2.2.6 Loading placement programs
12
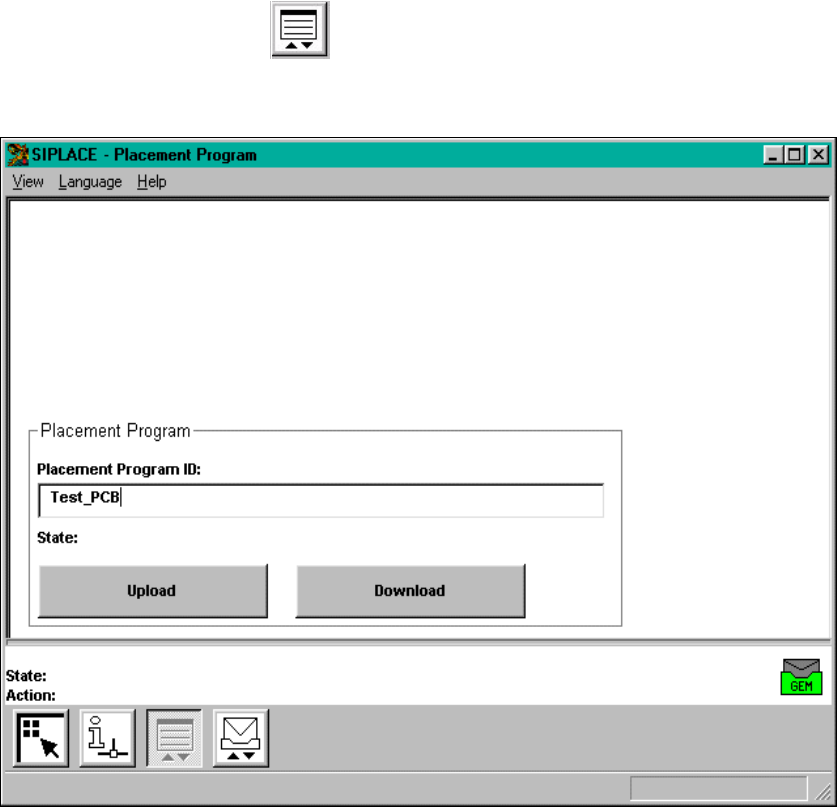
È In the "State" view, click the button.
The user interface switches to the following view.
12
Fig. 12.2 - 5 "Placement program" view"
12
You can use the buttons in the display area to perform the following actions: 12
– Upload
The placement program whose name is entered in the text box is uploaded from the station
computer to the host computer.
– Download
The placement program whose name is entered in the text box is downloaded from the host
computer to the station computer.
12
12
User Manual SIPLACE S-23 HM 12 Station Extensions - Software
Software Version SR.405.xx 05/99 Issue 12.2 GEM Interface
405
NOTE
Depending on the selected action, the corresponding placement program must be available at the
station computer or the host computer.
To download a placement program, the control mode must be set to "GEM Host" (see section
12.2.2.1). 12
È Enter the name of the required placement program in the box "Placement Program ID:".
È Click the corresponding button to "upload" or "download" the corresponding placement pro-
gram.
The action is performed and the current status of the action is displayed above the buttons.
12.2.2.7 Messages
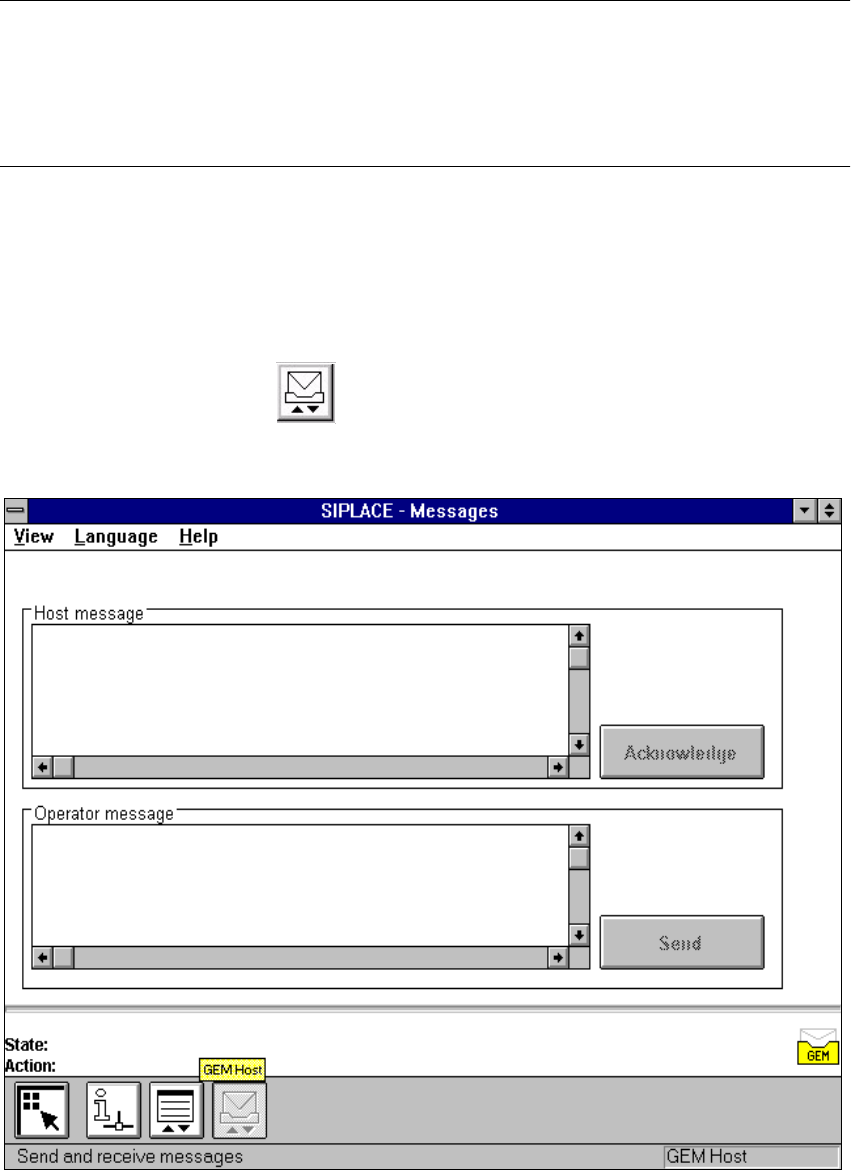
È In the "State" view, click the button.
The user interface switches to the following view.
12
Fig. 12.2 - 6 "Messages" view
12

12 Station Extensions - Software User Manual SIPLACE S-23 HM
12.2 GEM Interface Software Version SR.405.xx 05/99 Issue
406
The display area is subdivided into separate fields which contain the tools necessary to perform
the actions described below. 12
"Host message" Display Field 12
This display field displays the messages received from the host computer.
The last message to be received appears at the bottom of the message list. 12
È Once you have read the message, click the Acknowledge button. Confirmation is then sent
to the host computer that the message has arrived and been read.
"Operator message" Display Field 12
In this field you can enter the messages which are to be sent to the host computer. 12
È Enter the required message (max. 160 characters).
È Click the Send button.
The message is now sent to the host computer.
NOTE
The last message to have been written and sent to the host computer is always displayed in the
text box. 12