00191174-01.pdf - 第55页
User’s Manual Test Program S ITEST 3 Calibration Functions Software Version 10.xx Edition 03/98 3.3 Calibration of the PCB Cam era 3 - 7 ● Select the Calibrate camer a function and pres s the RET URN ke y. The ca librati…
3 Calibration Functions User’s Manual Test Program SITEST
3.3 Calibration of the PCB Camera Software Version 10.xx Edition 03/98
3 - 6
●
Select the
Modify illumination
menu option and press the RETURN key.
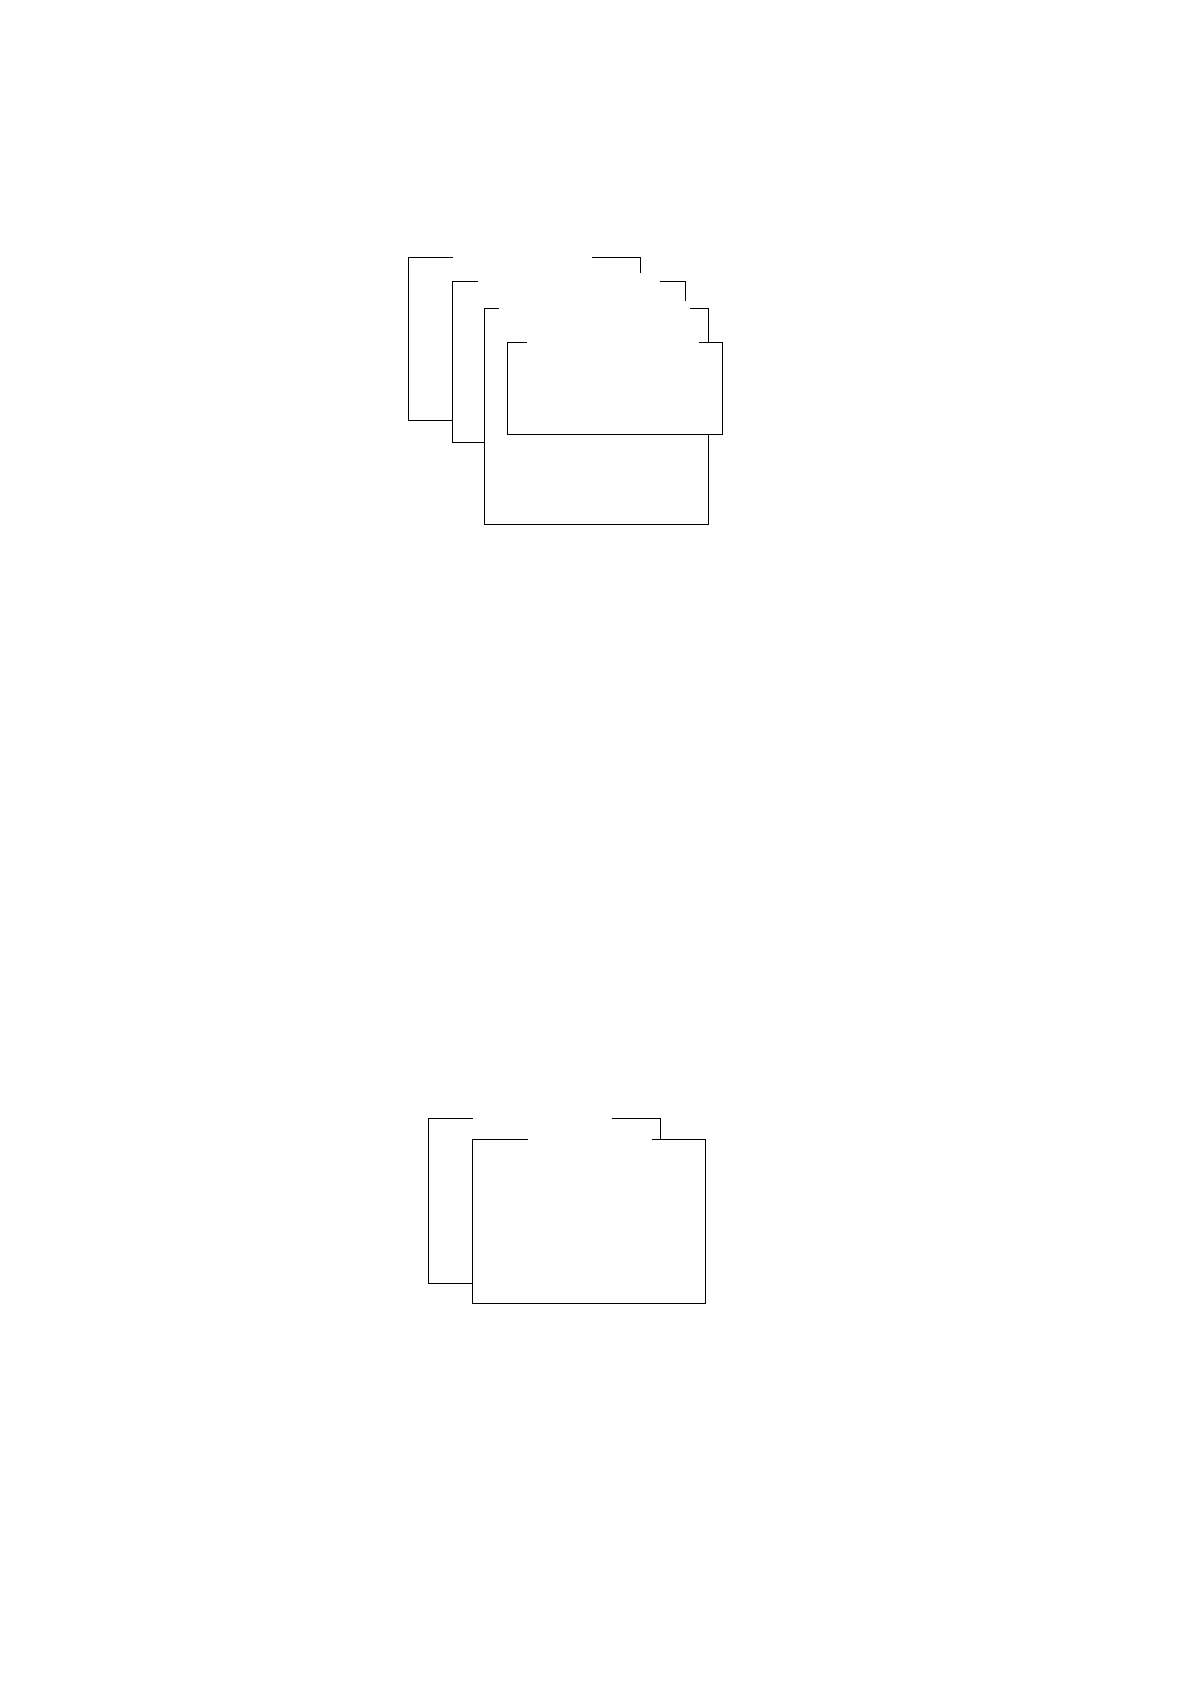
The "Modify illumination" input menu is now displayed on the screen.
Overview of the Functions:
-
Illumination steep steep illumination angle
-
Illumination middle medium illumination angle
-
Illumination flat flat illumination angle
●
Change the values as required and confirm your entries by pressing the RETURN key.
●
Exit from the input menu by pressing the ESC key.
●
Press the ESC key to return to the "Component camera" menu.
●
Repeat the calibration of the component camera proceeding as described in section 3.2.
●
Press the ESC key twice to return to the SITEST main menu.
3.3 Calibration of the PCB Camera
●
Carry out the preparatory steps proceeding as described in section 3.1 and section 3.1.1.
●
From the "Vision system" menu select the
PCB-camera
option and press the RETURN key. The "PCB-
camera" menu is displayed on the screen.
Overview of the Functions:
-
Calibrate camera to calibrate the PCB camera
-
Measure ca/ca.offset to check the offset from the PCB camera to the component camera
-
Move to by PCB-cam. to approach the fiducial position
-
Display ca. coeffic. to display the PCB camera values determined
-
Color conversion to switch the monitor to false-color display to view the results of changes in
illumination that may have been made
-
Camera number to open the input field for the camera number (required on lines with HS-180 only)
Pos.calibration tool
Adopt current pos.
Teach position
PCB-camera
Component camera
IC-camera
Flip-chip-camera
Vision system
Component camera
Calibrate camera
Offset mech. c.stat.
Single seg. offset I
All seg. offsets I
Display cam. values
More camera function
Move to by nozzle
Move to by pcb-cam.
Cali. tool in cam.pos
Return calibr. tool
Color conversion
Center comp machan.
Modify illumination
Camera number
Send GF to MC
More camera function
Illumination steep
Illumination middle
Illumination flat
Modify illumination
Pos.calibration tool
Adopt current pos.
Teach position
PCB-camera
Component camera
IC-camera
Flip-chip-camera
Vision system
PCB-camera
Calibrate camera
Measure ca/ca.offset
Move to by PCB-cam.
Display ca.coeffic.
Color conversion
Camera number
User’s Manual Test Program SITEST 3 Calibration Functions
Software Version 10.xx Edition 03/98 3.3 Calibration of the PCB Camera
3 - 7
●
Select the
Calibrate camera
function and press the RETURN key.
The calibration procedure is performed on the PCB camera of the active gantry and is displayed on the
screen.
NOTE
The values thus determined can be displayed after the calibration procedure has been completed using
the
Display ca. coeffic.
function.
●
Press the ESC key to return to the "Vision system" menu.
3.3.1 Measuring the Offset Between PCB Camera and Component
Camera
●
Carry out the preparatory steps proceeding as described in section 3.1 and section 3.1.1.
●
From the "Vision system" menu select the
PCB-camera
option and press the RETURN key.
The "PCB-camera" menu is displayed on the screen.
●
From the "PCB-camera" menu select the
Measure ca/ca.offset
function and press the RETURN key.
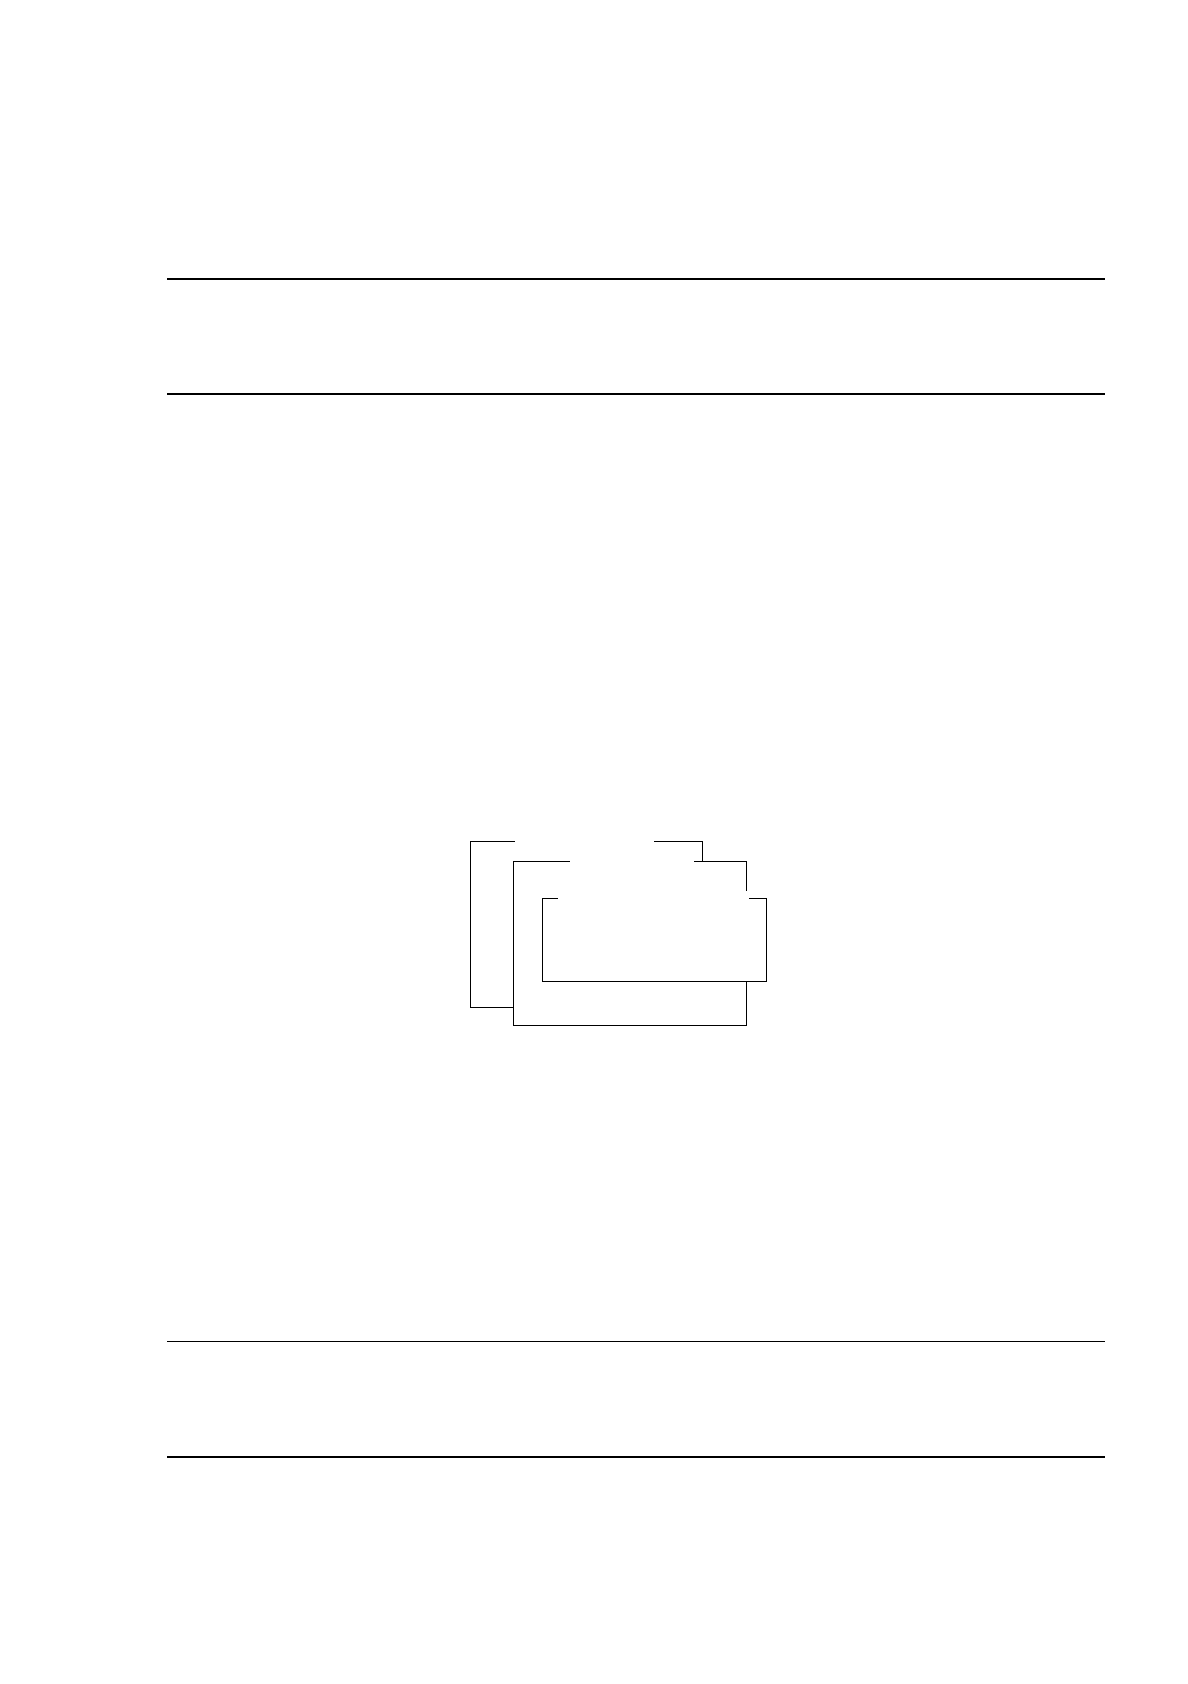
The "Measure ca/ca.offset" menu is displayed on the screen.
Overview of the Functions:
-
Offset values to display the x and y-offset valued determined under "Segmentoffset
II
"
-
Measure offset to check the PCB/component camera offset
●
From the "Measure ca/ca.offset" menu select the
Measure offset
function and press the RETURN key.
The offset between the component camera and the PCB camera is measured.
NOTE
After the measuring procedure has been completed, the values determined can be displayed using the
Offset values
function.
●
Press the ESC key three times to return to the SITEST main menu.
Pos.calibration tool
Adopt current pos.
Teach position
PCB-camera
Component camera
IC-camera
Flip-chip-camera
Vision system
PCB-camera
Calibrate camera
Measure ca/ca.offset
Move to by pcb-cam.
Display ca.coeffic.
Color conversion
Camera number
Offset values
Measure offset
Measure ca/ca.offset
3 Calibration Functions User’s Manual Test Program SITEST
3.4 Measuring Segment Offset I (Top Segment Offset) Software Version 10.xx Edition 03/98
3 - 8
3.4 Measuring Segment Offset I (Top Segment Offset)
NOTE
Prerequisite for this measurement is that the component camera has been calibrated.
●
Carry out the preparatory steps proceeding as described in section 3.1 and section 3.1.1.
●
From the "Vision system" menu select the Component camera option and press the RETURN key.
The "Component camera" menu is displayed on the screen.
●
Select the All seg. offsets I function and press the RETURN key. The measurement is performed on all
12 segments of the active gantry.
●
Press the ESC key upon completion of the measuring procedure to return to the "Component camera"
menu.
●
If you wish to view the values thus determined after the calibration procedure has been completed, select
the Display cam values menu item and press the RETURN key.
The "Display cam values" menu opens.
●
Select the Display segm. offs.I function and press the RETURN key.
The offset values in x and y-direction are displayed on the screen for each segment.
●
Press the ESC key twice to return to the "Component camera" menu.
NOTE
In addition to the "All seg. offsets I" function (measurement of all segments) the program also offers the
possibility to measure each segment individually using the "Single seg. offset I" function.
●
At the appropriate point in the program select the Single seg. offset I function in place of the "All seg.
offsets I" function and press the RETURN key.
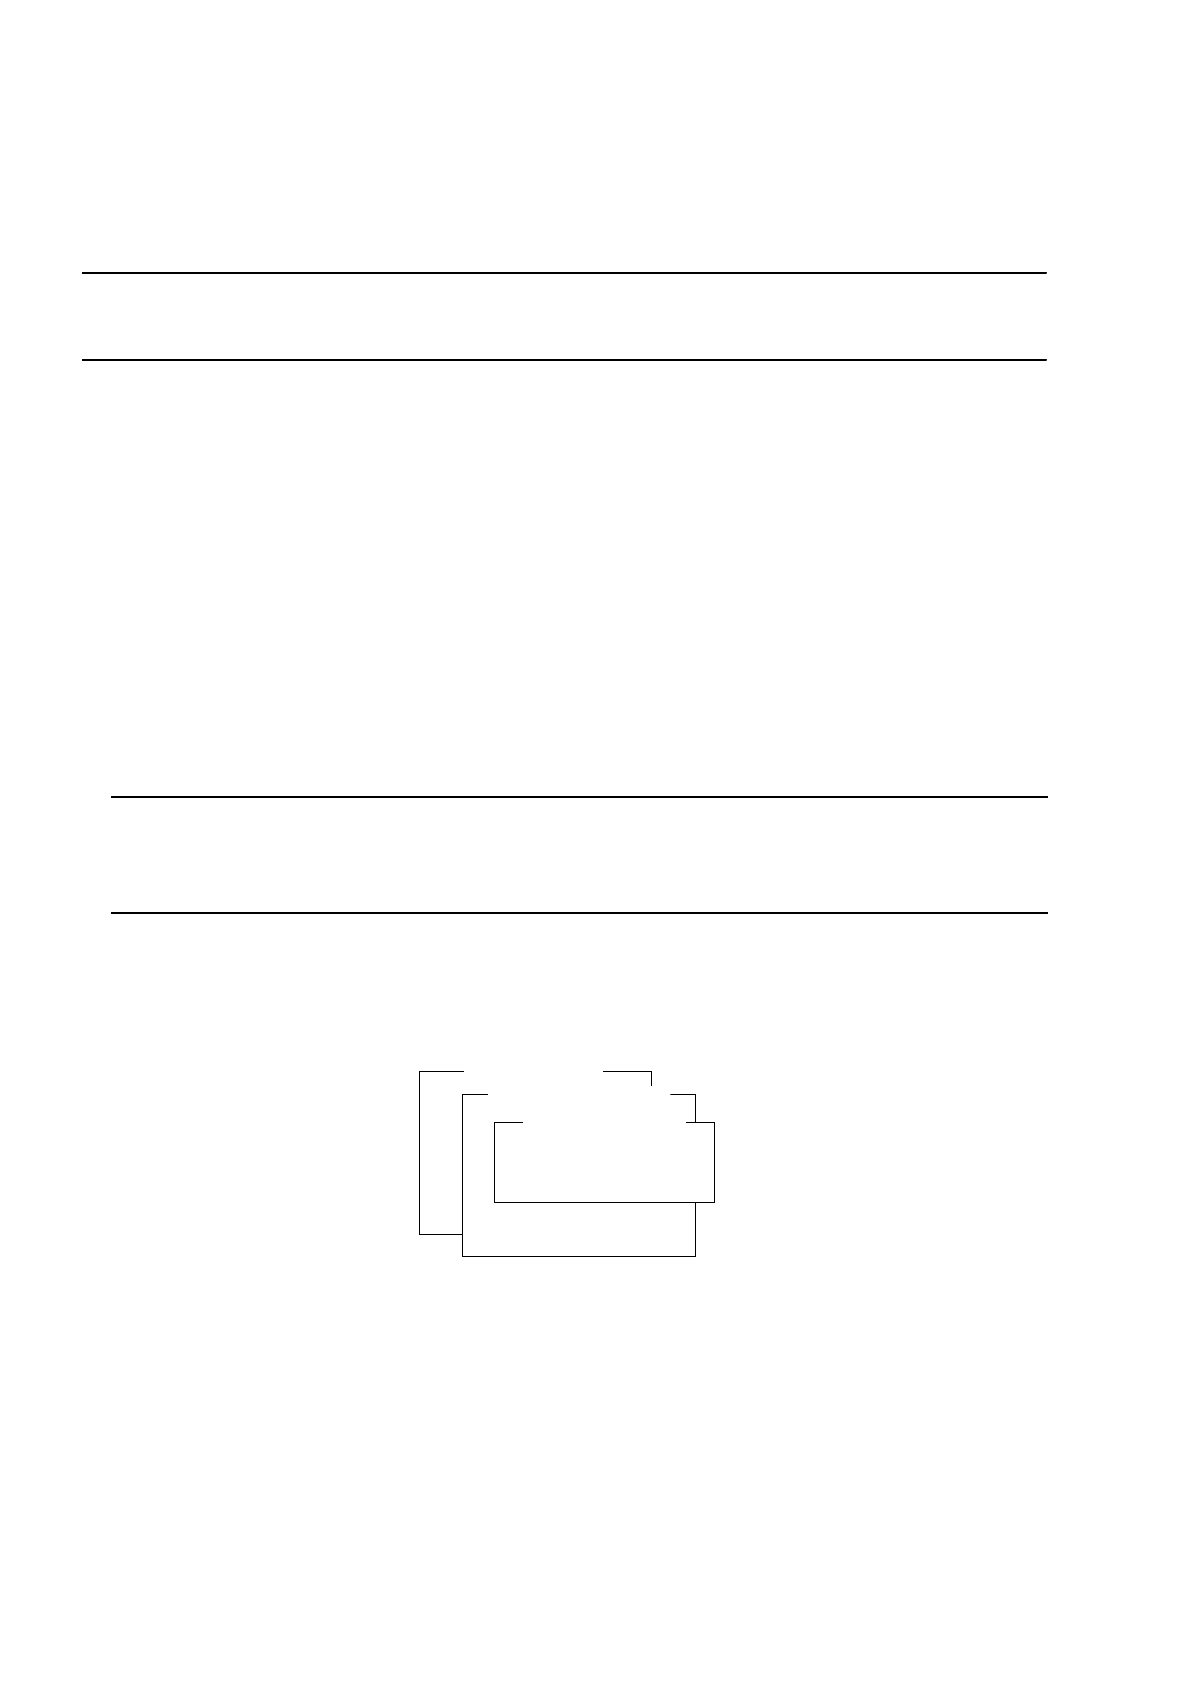
The "Single seg. offset I" menu opens.
Overview of the Functions:
-
Enter segment number to enter the segment number
-
Measure segm. offs.I to measure the x and y-offset values of the selected segment
●
Select the Enter segment number menu item and press the RETURN key.
The input menu for the segment number opens.
Pos.calibration tool
Adopt current pos.
Teach position
PCB-camera
Component camera
IC-camera
Flip-chip-camera
Vision system
Component camera
Calibrate camera
Offset mech. c.stat.
Single seg. offset I
All seg. offsets I
Display cam. values
More camera function
Enter segment number
Measure segm. offs.I
Single seg. offset