DFD6361-Maintenance.pdf - 第162页
B-90 3. Changing the Frame Size Operation flow This section describe s ho w to change the pad position of the lower arm and upper arm, size of chuck table fram e clamp and how to replace the spinner table. The procedure …
B-89
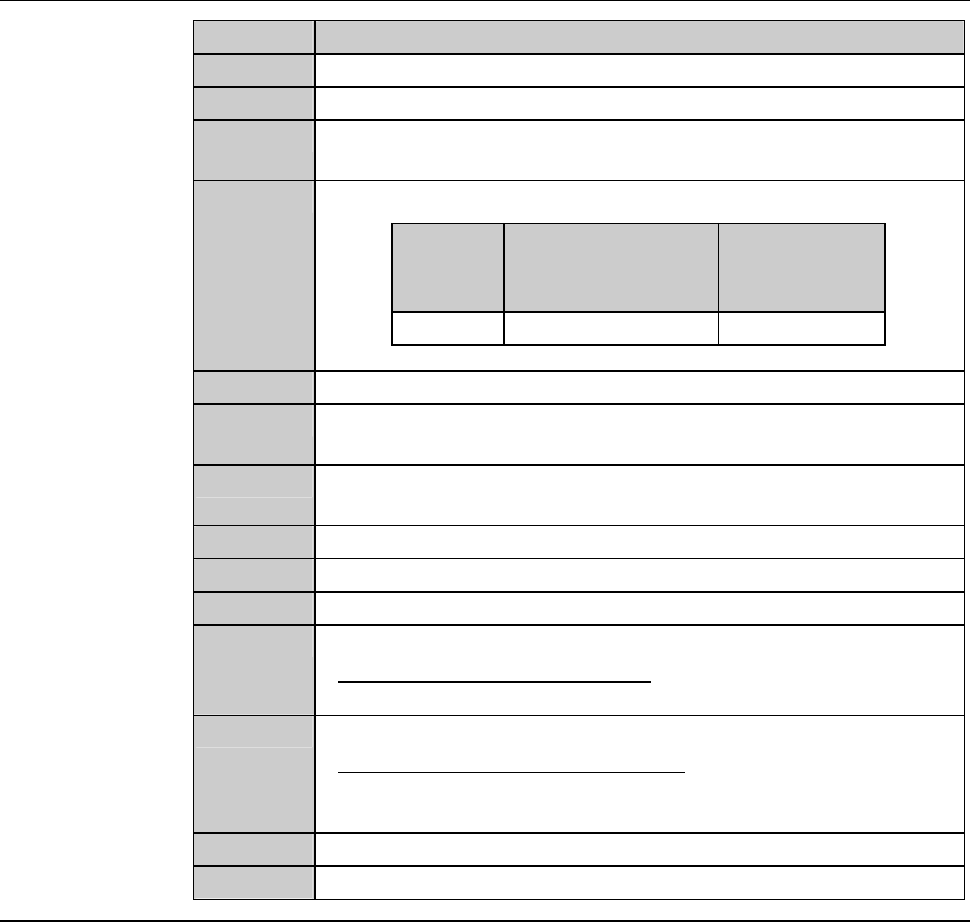
Procedures for mounting the hub mount (2.2 kW spindle) (Continued)
Step No. Do This
7
Close the splash cover.
8
Press the <Close> button to release lock of the touch panel.
9
Press the <EXIT> button to call up the MAIN MENU
[screen 0.0].
10
Turn ON the spindle.
Blade
diameter
[inch]
Maximum spindle
rotating speed
[min
-1
(rpm)]
Time to reach
maximum
speed [s]
3 30,000 30
11
Turn OFF the spindle.
12
Call up the BLADE REPLACEMENT screen [screen 4.1].
- The Y-axis moves to its origin position.
13
Press the Disco's logo button located at the upper left of the
screen to lock up the touch panel.
14
Open the splash cover.
15
Torque the lock bolt to 8.0 N·m again.
16
Press the <Close> button to release lock of the touch panel.
17
Perform a conditioning operation.
- For the conditioning procedures;
See the section C-2, [Hub Mount/Flange Conditioning].
18
Install the blade.
- For the blade installation procedure;
See the section B-6, [Blade Maintenance] of the Operation
Manual.
19
Close the splash cover.
20
Press the <System Initial> button to effect system initialization.
B-90
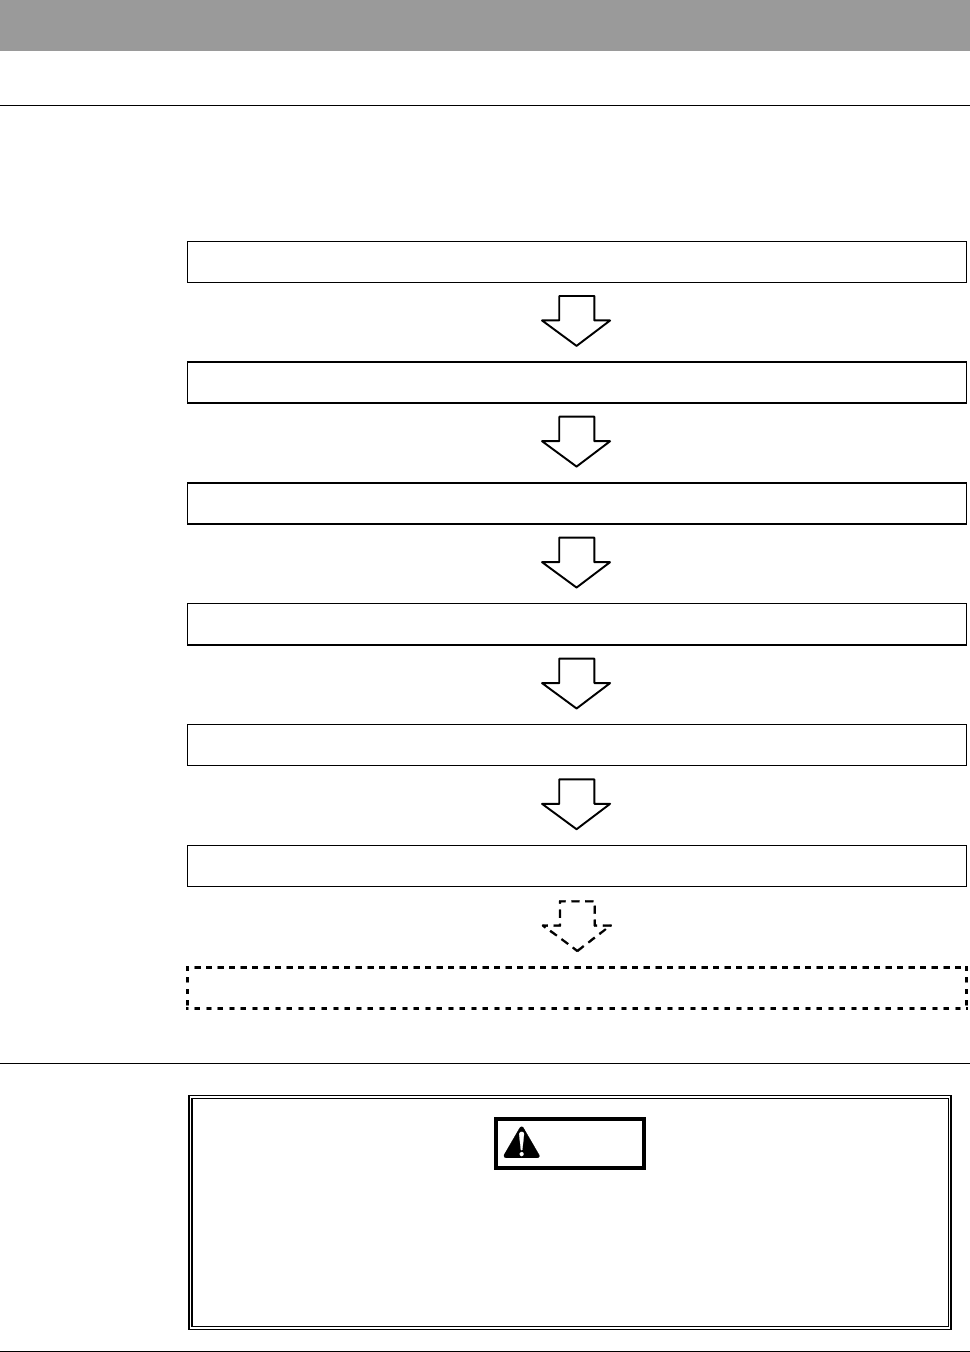
3. Changing the Frame Size
Operation flow
This section describes how to change the pad position of the lower arm and
upper arm, size of chuck table frame clamp and how to replace the spinner
table.
The procedure for changing the frame size consists of the following steps.
3-1 Calling up the CHANGE FRAME SIZE Screen
3-2 Changing the Lower Arm Size
3-3 Changing the Upper Arm Size
3-4 Replacing the Spinner Table
3-5 Changing the Frame Clamp Size
3-6 Completion of Frame Size Change
3-7 Changing UV Irradiation Unit Frame Size [Optional Accessory]
Safety precautions for changing the frame size
WARNING
If the touch panel control is activated to invoke an unexpected
machine operation, the operator may be injured.
While you don't use the touch panel, press the Disco's logo button
located at the upper left of the screen in order to lock up and
deactivate the touch panel.
B-91
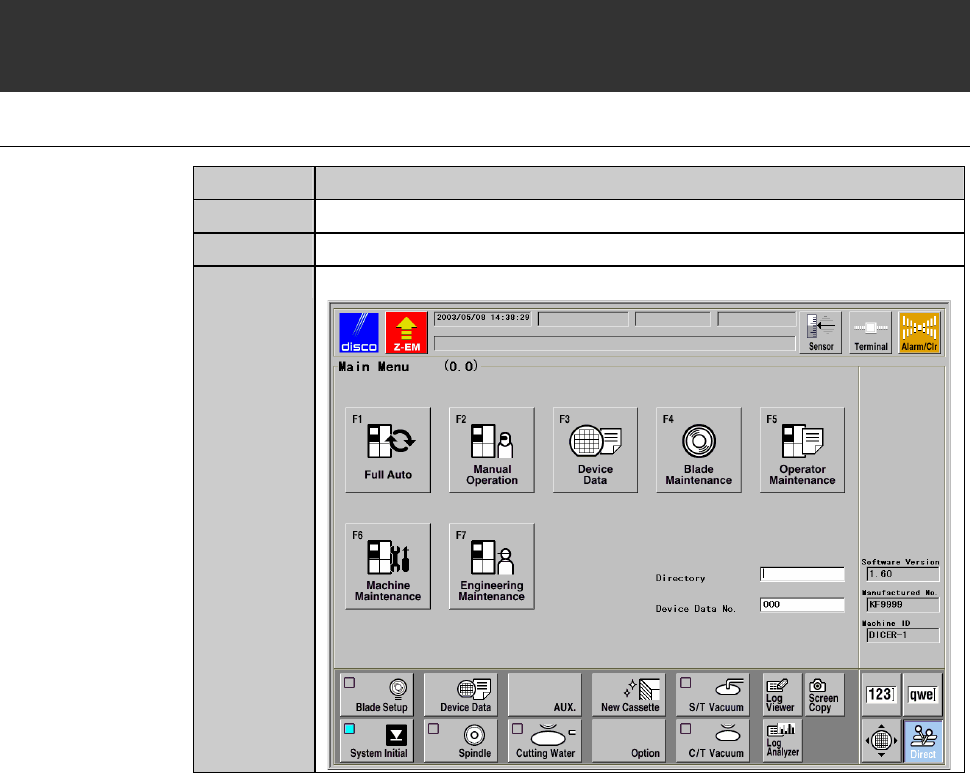
3-1. Calling up the CHANGE FRAME SIZE Screen
[Screen 6.1]
Procedures for calling up the CHANGE FRAME SIZE screen [screen 6.1]
Step No. Do This
1
Press the <System Initial> button to effect system initialization.
2
Make sure that the spindle system is OFF.
3
Call up the MAIN MENU screen [screen 0.0].