00193325-01.pdf - 第27页
SIPLACE S oftware Guide SR.503.xx 3 Graphical user i nterface Issue 12/01 E N 3.2 Components of t he user in terface 27 Click t he Accept button. Process ing of the PCB is aborted . The print ed circ uit boar d that ha…

3 Graphical user interface SIPLACE Software Guide SR.503.xx
3.2 Components of the user interface Issue 12/01 EN
26
3
Fig. 3.2 - 3 „Conveyor 1: PCB in processing conveyor 1" dialog (Example: S25-HM)
Click the checkbox „Abort processing PCB“.
Click the Accept button.
Processing of the PCB is aborted.
The incompletely assembled PCB is transported to the output conveyor and the operator is re-
quested to remove it by hand.
If the PCB is located on the input conveyor, the following dialog box is opened. 3
3
Fig. 3.2 - 4 „Conveyor 1: PCB in input conveyor“ dialog (Example: S25-HM)
Click the checkbox „Abort processing PCB“.
SIPLACE Software Guide SR.503.xx 3 Graphical user interface
Issue 12/01 EN 3.2 Components of the user interface
27
Click the Accept button.
Processing of the PCB is aborted.
The printed circuit board that has not been processed in this machine is transported onto the
output conveyor, and the operator is prompted to remove the board manually.
Abort processing PCB (HS-50) 3
3
Click the corresponding PCB icon .
If the PCB is located on the processing conveyor 2, the following dialog box is opened.
3
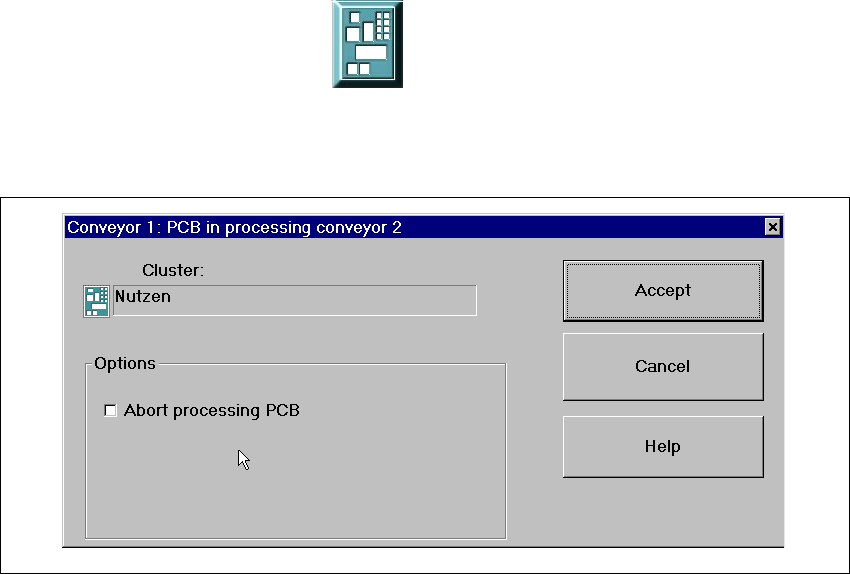
Fig. 3.2 - 5 „Conveyor 1: PCB in processing conveyor 2" dialog (Example: HS-50)
Click the checkbox "Abort processing PCB".
Click the Accept button.
Processing of the PCB is aborted.
The incompletely assembled PCB is transported to the output conveyor and the operator is re-
quested to remove it by hand.
If the PCB is located on processing conveyor 1, the following dialog box is opened.
3 Graphical user interface SIPLACE Software Guide SR.503.xx
3.2 Components of the user interface Issue 12/01 EN
28
3
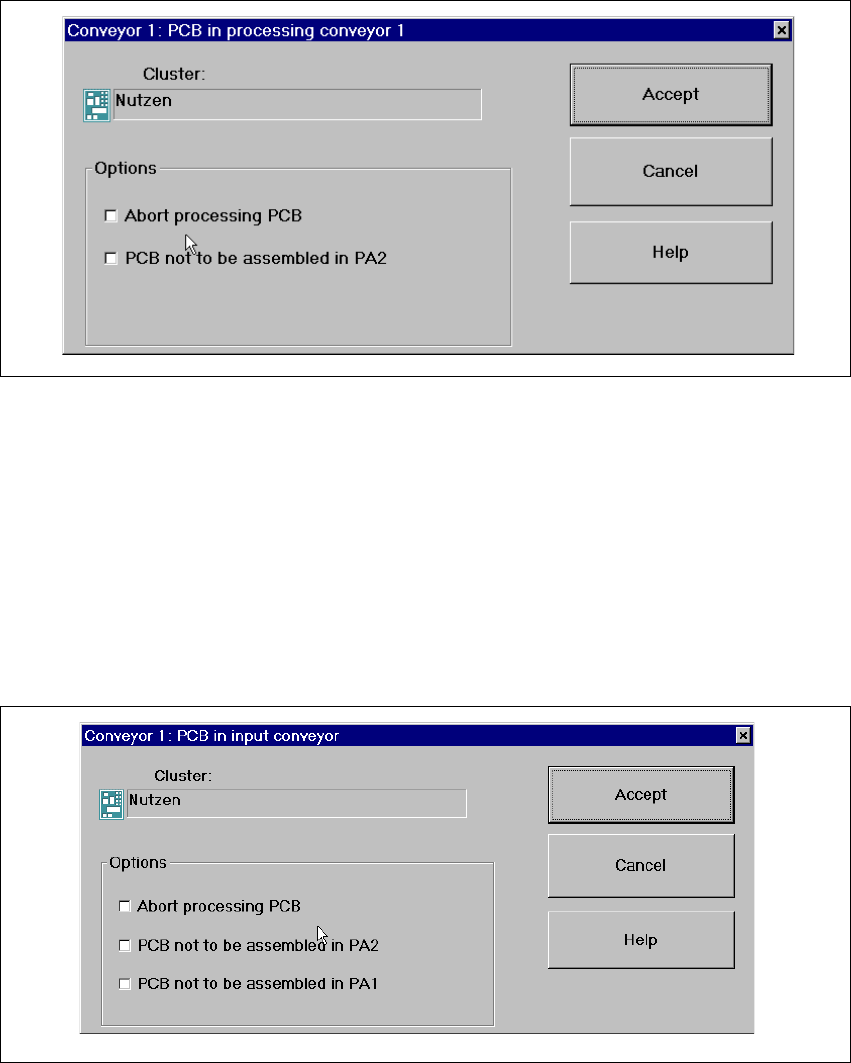
Fig. 3.2 - 6 „Conveyor 1: PCB in processing conveyor 1" dialog (Example: HS-50)
Check the box "Abort processing PCB" if the PCB is to be transported to the output conveyor
without further processing.
Check the box "PCB not to be assembled in PA2" if the PCB is to be processed on processing
conveyor 1 and is then to be transported to the output conveyor without being processed on
processing conveyor 2.
Click the Accept button.
If the PCB is located on the input conveyor, the following dialog box is opened. 3
3
Fig. 3.2 - 7 "Conveyor 1: PCB in processing conveyor 1" dialog
Check the box "Abort processing PCB" if the PCB is to be transported to the output conveyor
without further processing.