presto_en.pdf - 第27页
Page 27 3.2 Driver Updating PRESTO communicat es wit h the PC throug h a USB circu it produced by FTDI www.ftdichip.com , which a lso d evelops drivers for th ese circ uits. The lat est drivers are always included in the…
Page 26
3
DRIVERS
This chapter deals with driver installation and updates.
3.1
Driver Installation
3.1.1 Windows Operating
Systems
The user must have administrator rights to install and run
the UP program for the first time. Standard user rights are
sufficient for further use.
PRESTO drivers are installed automatically as part of the
UP program installation.
Windows 7 and later
Start with installing the UP program. Its installer installs
the USB driver for PRESTO, too. You can download the
installer from
www.asix.tech/prg_up_en.html.
Once the installation is complete, connect the PRESTO
programmer to your computer. The green ON-LINE LED
should turn on after a few moments and the Windows
Device Manager should present the programmer as
correctly installed.
Older supported Windows
versions
The driver contained in the UP installer is intended for
Windows 7 and later. For older Windows operating system
versions the driver has to be downloaded from
www.asix.net, from download section of the programmer
and unpacked somewhere. After the programmer has
been connected, the operating system asks for the driver.
In "Found New Hardware" dialog the path to the
unpacked driver has to be set.
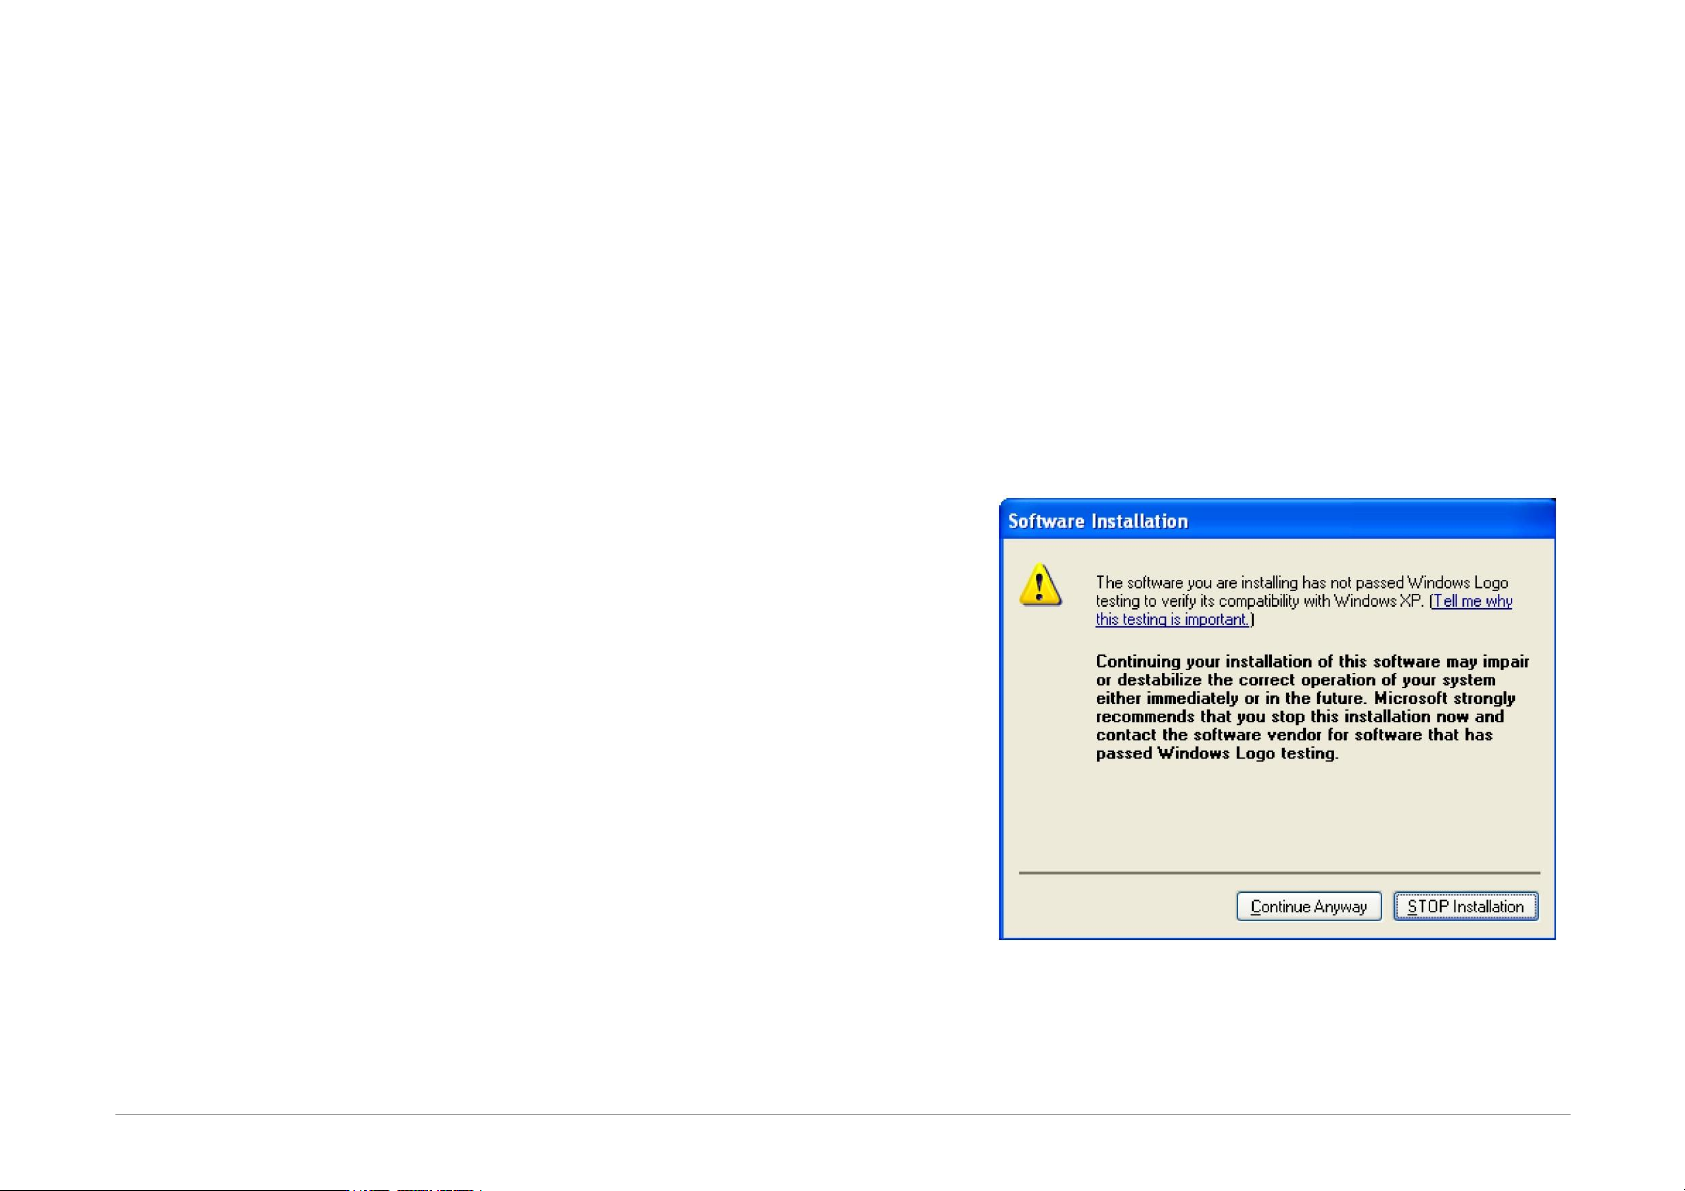
During the installation, the operating system will ask
whether it should install the software, which has not
passed the Microsoft compatibility test for Windows. Click
Continue Anyway.
Fig.17: Compatibility test dialog window
The green ON-LINE LED should turn on after a few
moments and the Windows Device Manager should
present the programmer as correctly installed.

Page 27
3.2
Driver Updating
PRESTO communicates with the PC through a USB circuit
produced by FTDI
www.ftdichip.com, which also develops
drivers for these circuits.
The latest drivers are always included in the UP
installation pack.
Drivers for the Windows operating system have been
stable for a long time and therefore no further updates
are usually needed, unless additional applications using
the FTDI circuits on the given PC so require.
However, should you need to update your driver, the
simplest way of doing so is to update the UP program.
Download the latest UP installer from the web and install
the new version without risk of losing your personalized
program setup data or data of your projects. The new
version will replace the original one.

Page 28
4
Usage under Linux
The support of ASIX products in Linux was
discontinued.
Last version where we tested our products was
UBUNTU 20.04.2 LTS and Wine 5.0.
Our customers informed us that our products could
be successfully used up to Wine 6.0, but not in
higher versions.
The software for the programmers is capable of working
under Wine. For USB access it uses libftd2xx.
Step 1: Install libftd2xx and libftchipid
Install 32-bit versions of libftd2xx and libftchipid by FTDI,
even if you use 64-bit kernel. The application is a 32-bit
binary and requires 32-bit libraries.
The driver can be found on
FTDI web at "Drivers/D2XX
Drivers" section.
• Extract
libftd2xx.so.1.1.0 (in case of newer version
replace 1.1.0 with the latest version) and
libftchipid
and copy the files libftd2xx.1.1.0.so and
libftchipid0.1.0 into the directory for 32-bit
libraries (typically
/usr/lib/i386-linux-gnu/).
•
ln -s libftd2xx.so.1.1.0 /usr/lib/i386-linux-
gnu/libftd2xx.so.1
(it is typically sufficient to run
ldconfig to achieve this)
• ln -s libftd2xx.so.1.1.0 /usr/lib/i386-linux-
gnu/libftd2xx.so.0
(must be made manually)
• ln -s libftchipid.so.0.1.0 /usr/lib/i386-
linux-gnu/libftchipid.so.0 (it is typically sufficient
to run ldconfig to achieve this)
• The library searches for device files in
/dev/bus/usb.
Please ensure that
/dev/bus/usb directory contains
special files to access USB devices.
• Check that your device is recognized by the system
(use command
lsusb).
• Check your access rights to the corresponding files in
/
dev/bus/usb
(command ls -la /dev/bus/usb/).
Probably you will not have as a user the r+w access
rights for these files.
• If you have not access rights and you are using udev:
Add a new file with udev rules to the directory
/etc/
udev/rules.d
or /lib/udev/rules.d (Depending on
your distribution). Suitable name for this new file is 51-
asix_tools.rules. Insert the following lines to this file :
SUBSYSTEMS=="usb", ATTRS{idVendor}=="0403",
ATTRS{idProduct}=="f1a0", MODE:="0666", SYMLINK
+="asix_presto"
SUBSYSTEMS=="usb", ATTRS{idVendor}=="a600",
ATTRS{idProduct}=="a000", MODE:="0666", SYMLINK
+="asix_sigma"
SUBSYSTEMS=="usb", ATTRS{idVendor}=="a600",
ATTRS{idProduct}=="a003", MODE:="0666", SYMLINK
+="asix_forte"
SUBSYSTEMS=="usb", ATTRS{idVendor}=="a600",
ATTRS{idProduct}=="a004", MODE:="0666", SYMLINK
+="asix_omega"
VID and PID values can be determined using the listing of
connected devices by the lsusb command.
Step 2: Install wine
It is necessary to install 32-bit version of wine (for
example
wine-1.4:i386).
The Wine versions over 6.0 are not supported.
Step 3: Install lin_ftd2xx
The lin_ftd2xx is available at ASIX web.