PPS Pro version 8.2.pdf - 第27页
4022 591 98 247 User Manual 05.07 PPS-Pro v8.2 23 PPS-Pro GUI 2.7 Cr eate ne w project This paragr aph describes the steps which m ust be taken to create a n ew proj ect. Select F ile > N e w Project... fr om the main…
User Manual 4022 591 98247
22 PPS-Pro v8.2 05.07
PPS-Pro GUI
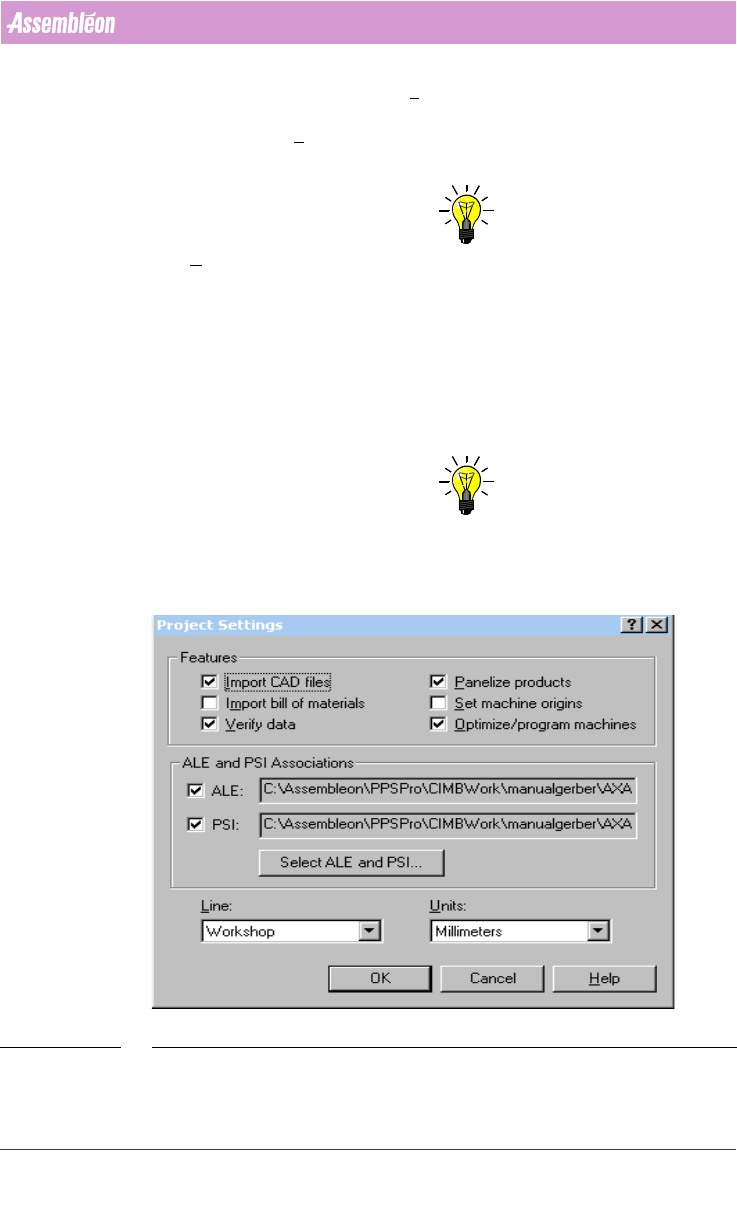
tab in the main program. In the Line combobox, a line can be selected. All
lines which are defined in the selected ALE-file are represented in this
combobox. In the
Units combobox, a choice can be made which unit will be
used during the project.
NOTE: This Units setting does not influence the units in Action Specs/Placement
Program.
It is possible to associate PSI and ALE files with particular projects. This is
found in the Project Settings dialog, and could be especially useful for
contract manufacturers who maintain customer-specific ALE and PSI files.
If specific ALE and/or PSI files are selected in this dialog, they will always be
used for this particular project, regardless of what settings are defined using
the standard PPS-Pro Preferences.
NOTE: Note that this capability is only available when running from within a PPS-
Pro project. Applications that are run "standalone" will use the cbprefs
settings.
SCREEN 15 Project Settings
4022 591 98247 User Manual
05.07 PPS-Pro v8.2 23
PPS-Pro GUI
2.7 Create new project
This paragraph describes the steps which must be taken to create a new
project. Select
File > New Project... from the main menu, or just press
<Ctrl>+N to startup the New Project Wizard screen. This wizard consists of
three steps which are discussed in the next few paragraphs.
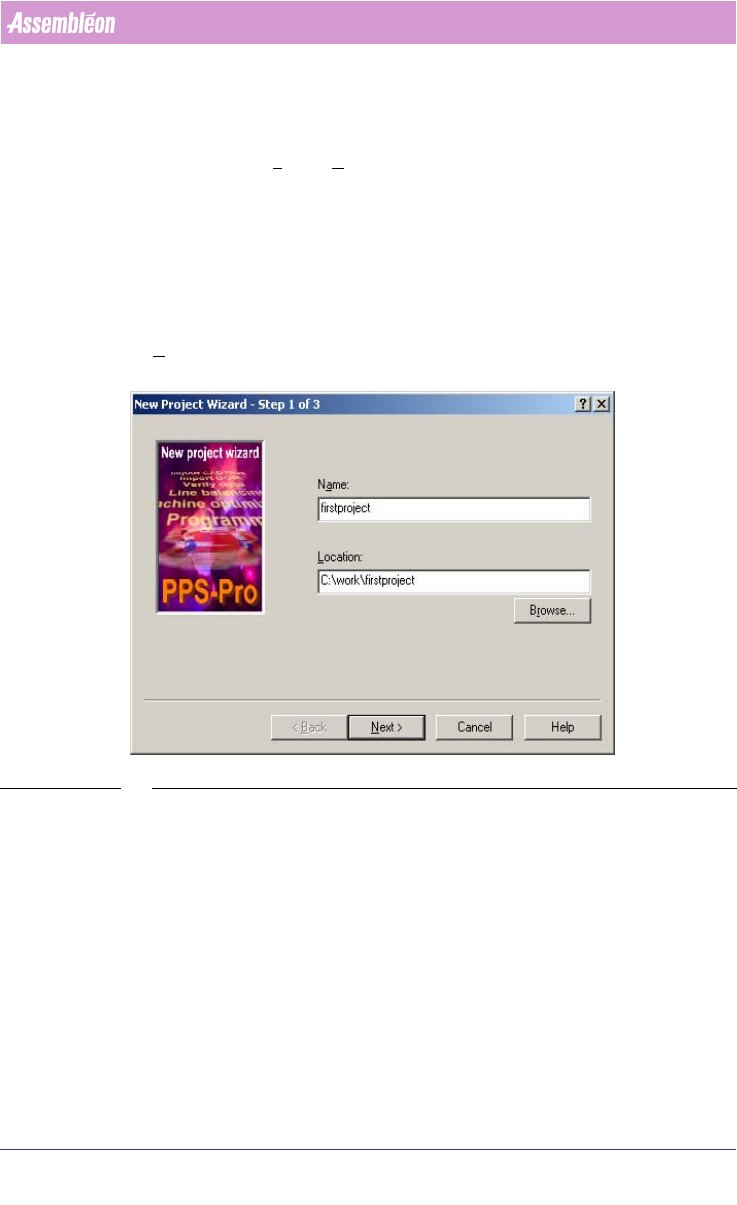
2.7.1 Step 1:
The name of the new project can be specified in this dialog. Be sure that the
name and the path of the project do not contain any space. More about
forbidden and/or special characters can be read in the release notes. Press the
Next > button to enter step 2.
SCREEN 16 Step 1 New Project Wizard
User Manual 4022 591 98247
24 PPS-Pro v8.2 05.07
PPS-Pro GUI
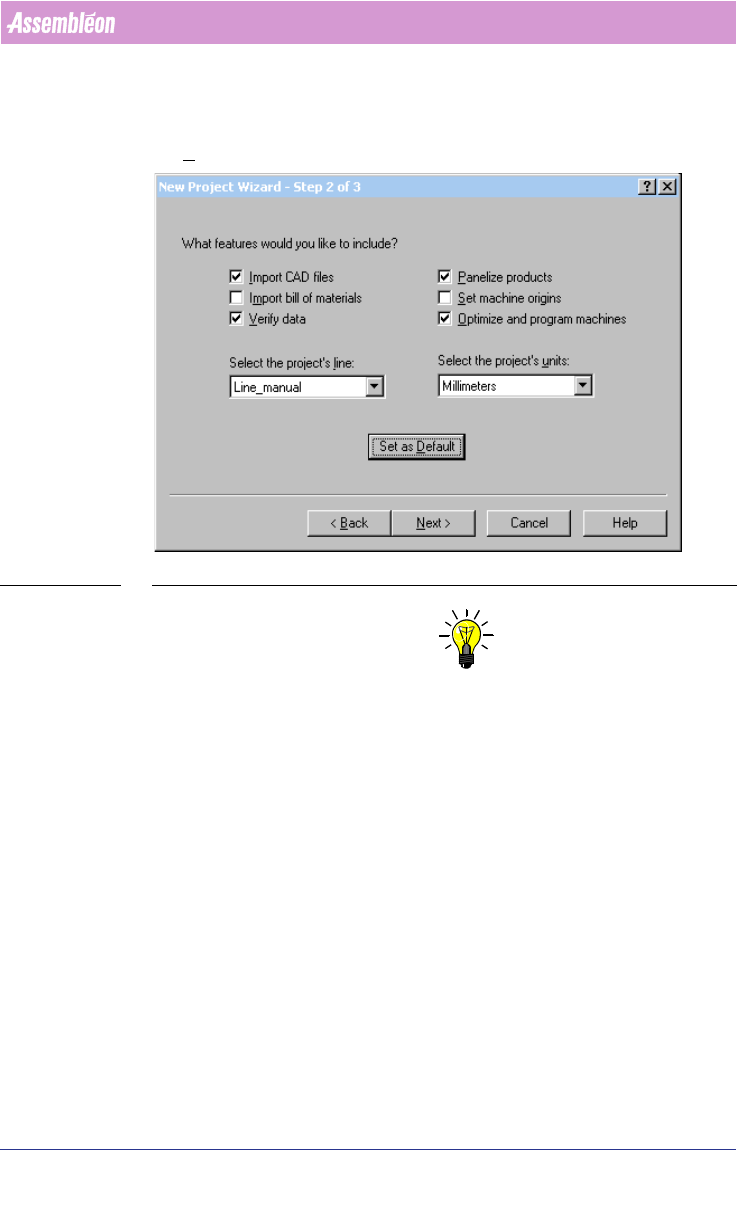
2.7.2 Step 2:
The project settings (see 2.6 on page 21) can be specified in this dialog. Press
the Next > button to enter step 3.
SCREEN 17 Step 2 New Project Wizard
NOTE: “Set machine origins” is not needed for Assembléon Machines so can be un-
ticked.
If the "Set as Default"-button is pressed, the current settings are saved such
that any new projects automatically start up with the same settings. This is
especially helpful when new projects are generally associated with the same
line.
2.7.3 Step 3:
This is an overview of all settings of the created project. Press the Finish
button to create the new project.