ACT - Accuracy Check Tool.pdf - 第210页
ACT with SSW 7xx / User Manual 07/2017 Edition 102 ► If the calibrati on was successful, cli ck the Accept butt on. Figure 6-17: Vacuum tooling c alibration completed T his completes the in stallation, configuration and …
ACT with SSW 7xx / User Manual 07/2017 Edition
101
► Calibrate both vacuum toolings.
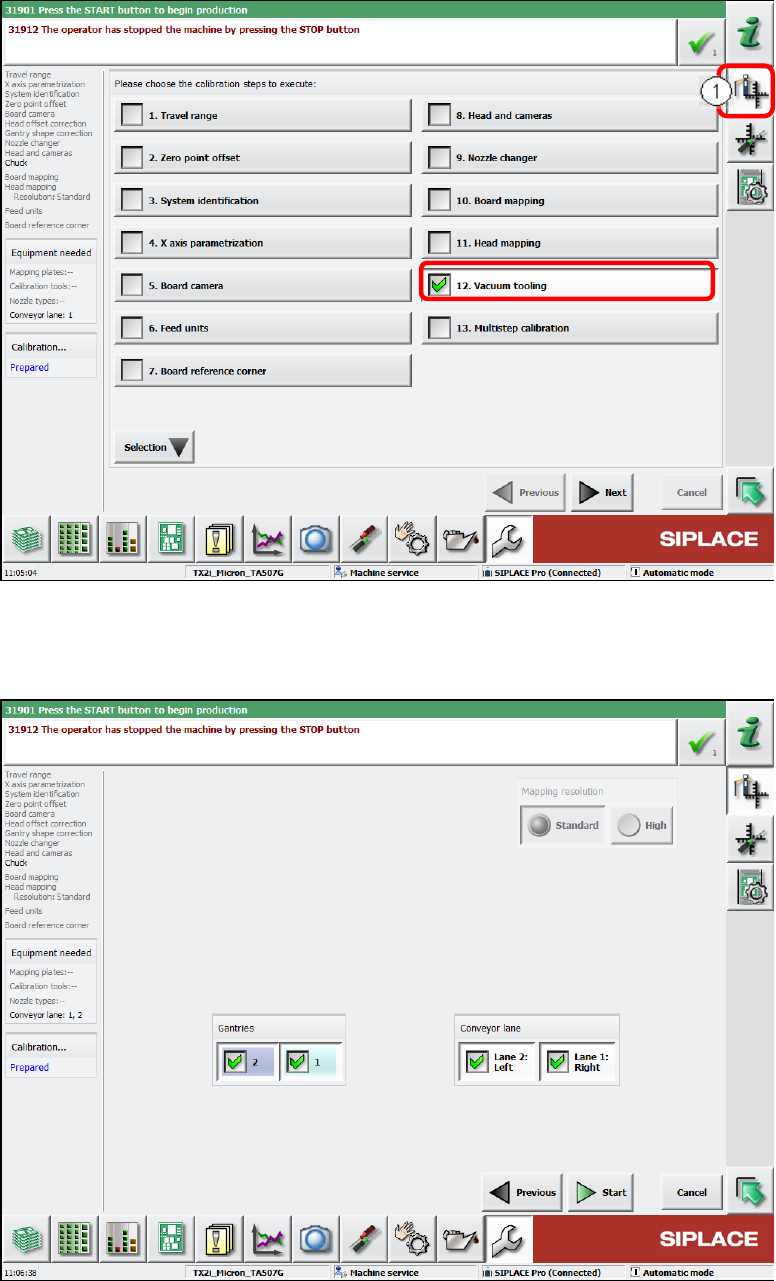
► Switch over to the Automatic calibration view (1).
► Select the Vacuum tooling calibration step.
Figure 6-15: Calibrating vacuum tooling, part 1
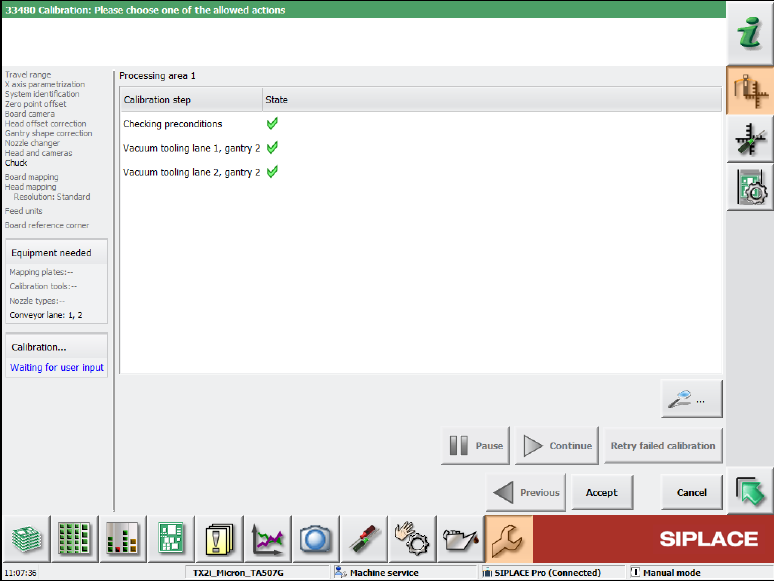
► Select both gantries and the conveyor lanes 1 and 2.
► Click the Start button.
Figure 6-16: Calibrating vacuum tooling, part 2
ACT with SSW 7xx / User Manual 07/2017 Edition
102
► If the calibration was successful, click the Accept button.
Figure 6-17: Vacuum tooling calibration completed
This completes the installation, configuration and calibration of the vacuum tooling.
ACT with SSW 7xx / User Manual 07/2017 Edition
103
6.1.3.3 Test Placement
After the vacuum toolings have been installed, it is absolutely necessary to perform a test with the
board through the conveyor by means of the enclosed ALU board and by fixing it in the vacuum
tooling.
This is required to protect the very expensive "Glass ceram 100 x 250 mm" ACT plate.
CAUTION
Test placement
An incorrectly positioned ACT plate in the vacuum tooling would destroy the glass ceram
plate!
It is recommended to perform the test with the ALU board at each placement program
change and for each lane.
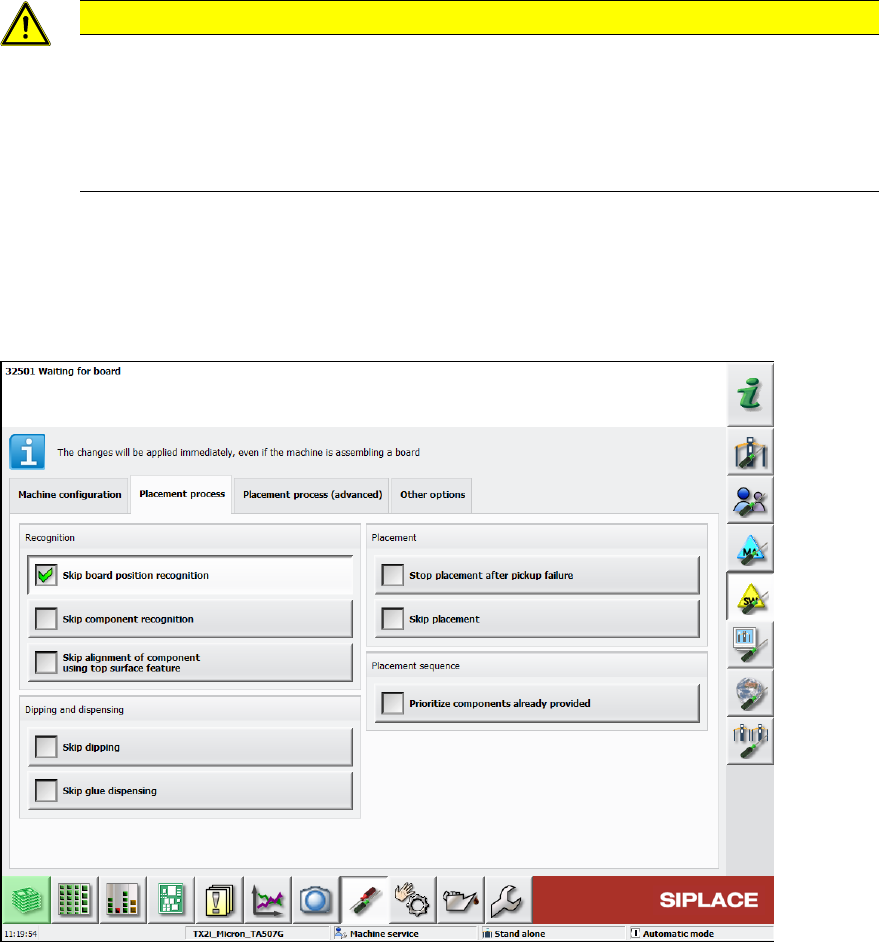
► Specify the ACT program that you want to measure at the SIPLACE Pro computer or select it
from the list of available placement programs at the station.
► In the station software, select Skip board position recognition under Settings – Software
options – Placement process.
Figure 6-18: Skipping board position recognition