00196609-0102_ AI_Optional_Stopper_SX1_2_DE+EN.pdf - 第54页
2 Assembly Instructions for Optional Stopper SIPLACE SX1/SX2 Optional stopper Edition 09/2009 54 2.6 Setting up the stopper X Check whether the pneumatic hose s are correctly connected to the optional stopper . After you…
Optional stopper 2 Assembly Instructions for Optional Stopper SIPLACE SX1/SX2
Edition 09/2009
53
2.5.5 Finishing Assembly
X Close the trailing cable.
X Fit the covers back onto the conveyor side.
X Fit the conveyor side clamps (when using a dual conveyor, the fixed conveyor side can be
moved back to its original position with the software).
X Push the sensor rail back on.
2
X Remove all tools and materials from the inside of the machine.
2
X Switch the placement machine on at the main switch.
X Dock in the component trolley.
X Log in as Service.
2
2 Assembly Instructions for Optional Stopper SIPLACE SX1/SX2 Optional stopper
Edition 09/2009
54
2.6 Setting up the stopper
X Check whether the pneumatic hoses are correctly connected to the optional stopper. After you
have switched the machine on, the stopper must be in the bottom position. This can be
checked in the IA functions. The "Stopper down" sensor must be active. The display is off when
the stopper is moved out.
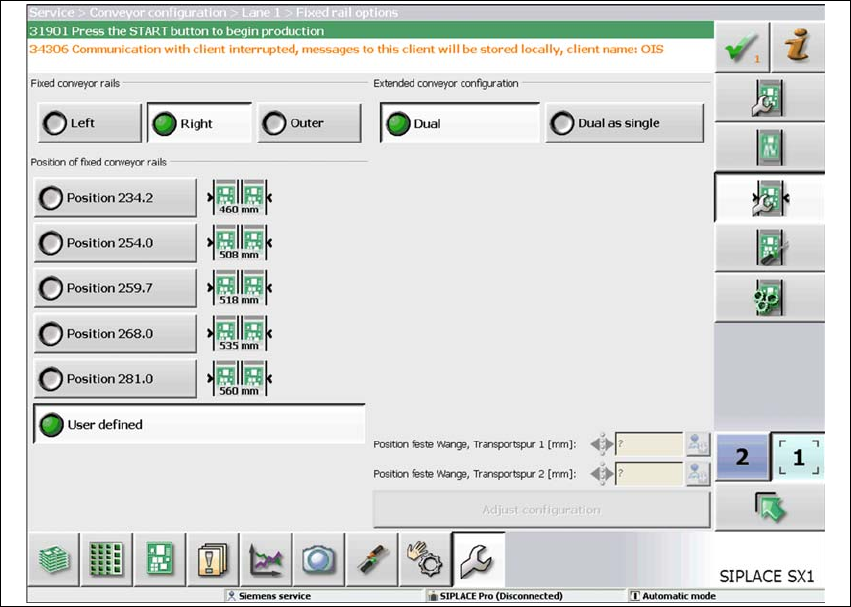
X Switch over to the view "Service / Conveyor configuration / Conveyor lane". This shows the
currently selected position of the fixed conveyor side. Select one of the other positions. Then
set the fixed side back to its original value.
2
Optional stopper 2 Assembly Instructions for Optional Stopper SIPLACE SX1/SX2
Edition 09/2009
55
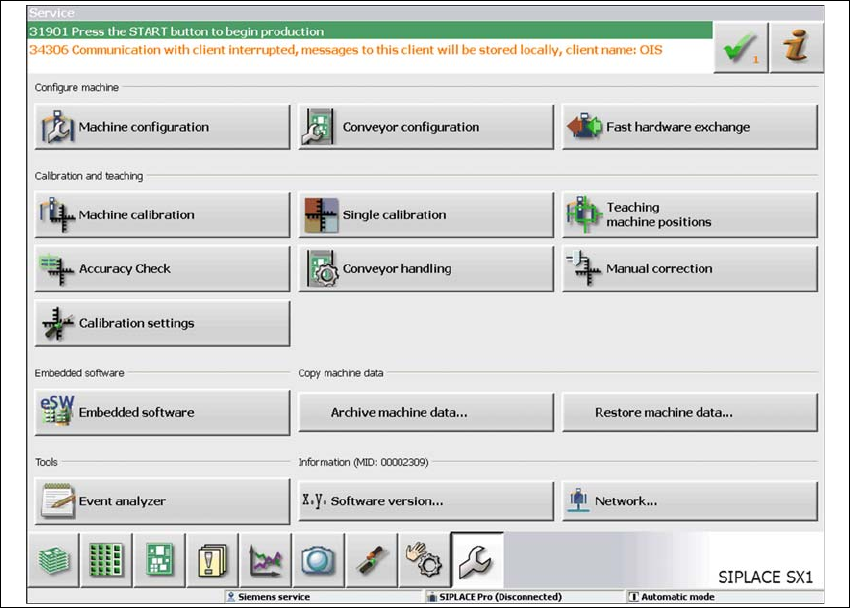
X Configure the stopper in the setting Service / Configure machine / Conveyor configuration.