00196602-05_SM_SIPLACE_X-Feeder_EN.pdf - 第73页
6 Repairing the X Feeder modules 6.6 Rocker Service Manual SIPLACE X-Feeder 4 - 88 mm 11/2017 73 ► Position the tamp wheel so that you can see through the hole in the rocker and tamp wheel. ► Insert the bearing shaft int…
6 Repairing the X Feeder modules
6.6 Rocker
72 Service Manual SIPLACE X-Feeder 4 - 88 mm 11/2017
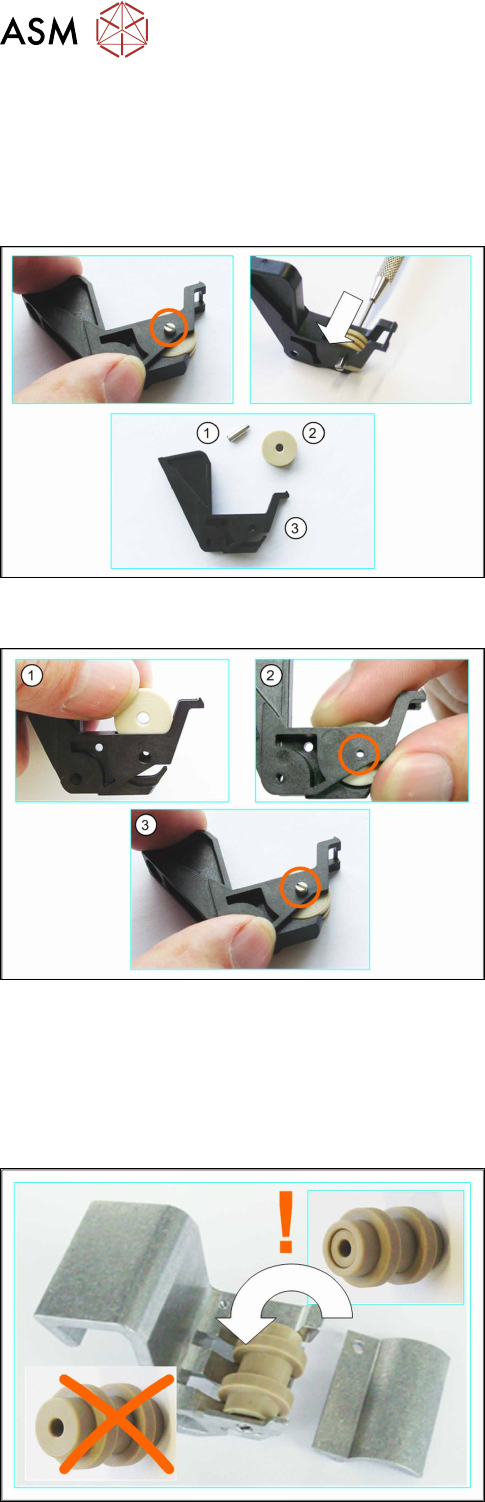
6.6.3.1 Removing the Tamp Wheel for the Rocker (4 - 88 mm)
► First remove the rocker (see 6.6.2.1 "Removing the Rocker (4 - 88 mm)" [}69]).
► On 4mm X feeder modules only:
Remove the stripping device (see 6.6.1.1 "Removing the Rocker Stripping Device" [}67]).
► Loosen the bearing shaft marked in the diagram.
The shaft thread ends after several millimeters.
► Press the bearing shaft sideways out of the
rocker, with a split pin punch.
► Remove the tamp wheel from the rocker.
(1) Bearing shaft
(2) Plain tamp wheel
(3) Rocker
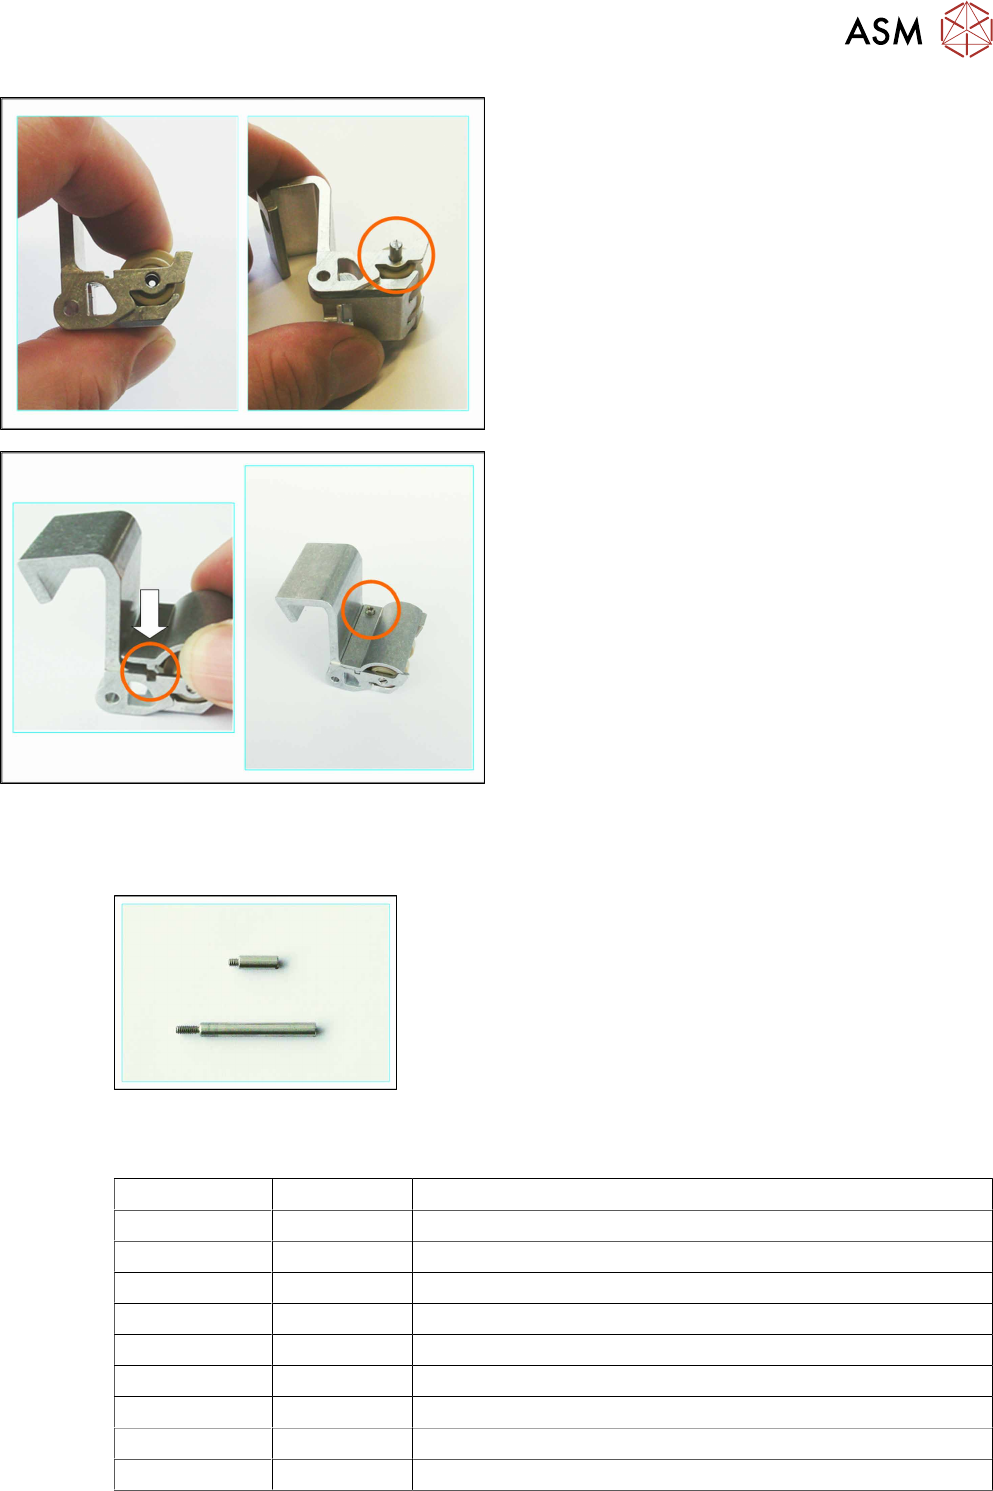
6.6.3.2 Fitting the Tamp Wheel for the Rocker (4 - 16 mm)
► Insert the plain tamp wheel from above into the
rocker.
► Position the tamp wheel so that you can see
through the hole in the rocker and tamp wheel.
► Insert the bearing shaft into the opening provided
and turn to tighten the shaft.
Attention:
Carefully fasten the bearing shaft, not too firmly, so
that the thread is not damaged.
► Make sure that the tamp wheel can be moved
easily in the rocker.
► On 4mm X feeder modules only:
Fit the stripping device (see 6.6.1.2 "Fitting the Rocker Stripping Device" [}68]).
► Now fit the rocker (see 6.6.2.2 "Fitting the Rocker (4 - 88 mm)" [}70]).
6.6.3.3 Fitting the Tamp Wheel for the Rocker (24 - 88 mm)
The plain tamp wheel has a recess at one end (see
top right diagram) and is flat at the other end (see bot-
tom left diagram).
When inserting the tamp wheel, make sure that the
end with the recess is on the side which will later ac-
commodate the bearing shaft.
► Insert the plain tamp wheel from above into the
rocker, as marked in the diagram.
6 Repairing the X Feeder modules
6.6 Rocker
Service Manual SIPLACE X-Feeder 4 - 88 mm 11/2017 73
► Position the tamp wheel so that you can see
through the hole in the rocker and tamp wheel.
► Insert the bearing shaft into the opening provided
and turn to tighten the shaft.
► Make sure that the tamp wheel can be moved
easily in the rocker.
► Fit the cover on the tamp wheel as marked in the
diagram.
Make sure that the locking rail on the underside
of the cover engages in the groove on the rocker.
► Fix the cover with the cross head screw marked
in the diagram.
► Fit the rocker (see 6.6.2.2 "Fitting the Rocker (4 -
88 mm)" [}70]).
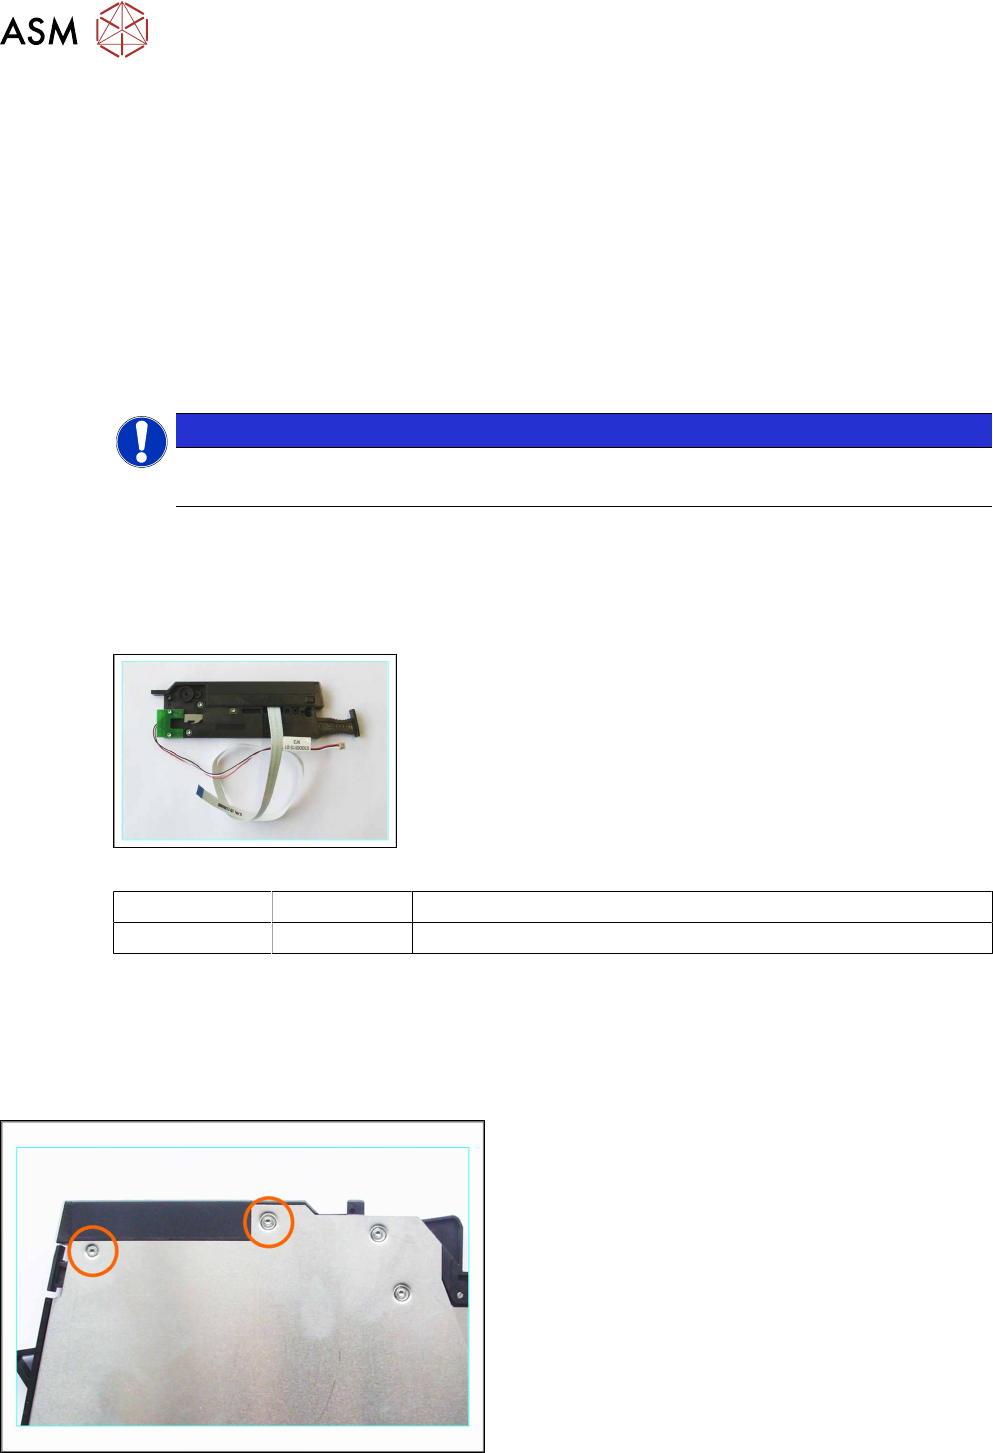
6.6.4 Bearing Shaft
Required spare parts
Example:
Bearing shaft for 4+8mm feeder modules (top),
Bearing shaft for 24mm feeder modules (bottom)
Feeder module Item no. Designation
4+ 8mm 03042321-Sxx Bearing shaft for rocker /X8
12 mm 03042351-Sxx Bearing shaft for rocker /X12
16 mm 03042355-Sxx Bearing shaft for rocker /X16
24 mm 03041969-Sxx Bearing shaft for rocker /X24
32 mm 03042450-Sxx Bearing shaft for rocker /X32
44 mm 03042490-Sxx Bearing shaft for rocker /X44
56 mm 03043387-Sxx Bearing shaft for rocker /X56
72 mm 03043405-Sxx Bearing shaft for rocker /X72
88 mm 03042226-Sxx Bearing shaft for rocker /X88
6 Repairing the X Feeder modules
6.7 Operating Panel Assembly
74 Service Manual SIPLACE X-Feeder 4 - 88 mm 11/2017
Required tools
●
Flat bladed (slotted) screwdriver
●
Split pin punch size 1.4
Procedure for rocker bearing shaft
When replacing the rocker bearing shaft, follow the instructions in 6.6.2 "Rocker Assembly" [}68].
Instead of replacing the rocker, replace the old bearing shaft with a new one.
Procedure for plain tamp wheel bearing shaft
To replace the bearing shaft of the plain tamp wheel, proceed as described in the 6.6.3 "Tamp
Wheel for Rocker" [}71] below. However, instead of the tamp wheel, just replace the old bearing
shaft with a new one.
NOTICE
Thread may be damaged
Carefully fasten the bearing shaft, not too firmly, so that the thread is not damaged.
6.7 Operating Panel Assembly
The operating panel and the removal handle are always replaced together.
Required spare parts
Example: operating panel 8-88mm
Feeder module Item no. Designation
8–88mm 03009198-Sxx Operating control assembly, with cable / X series
Required tools
●
TORX screwdriver size T8
●
Phillips screwdriver
6.7.1 Removing the Operating Panel (4+8 mm)
► Carefully place the feeder module down on its left
side.
► Loosen the 2 screws marked in the diagram.
► Now carefully place the feeder module down on
its right-hand side.
► Remove the left side cover (see 6.3.1 "Removing
the Left Side Cover" [}23]).