2500_Users_Manual-.pdf - 第69页
* * * L ABELER SETUP MENU * * * 1 - LABEL CAL IBRATION 4 - SETUP MENU 2 - LABEL PLA CEMENT 3 - LABEL ADJ UST ENTER LABEL A DJUST VALUE ( X ): _ PROGRAM/TEST LABEL ENTER LABEL A DJUST VALUE ( X ): _ PRINT LABEL ENTER DOT …
PROGRAM/TEST LABEL
ENTER LABEL CALIBRATION VALUE (X):_
* * * LABELER SETUP MENU * * *
1 - LABEL CALIBRATION 4 - SETUP MENU
2 - LABEL PLACEMENT
3 - LABEL ADJUST
ENTER LABEL PLACEMENT VALUE (X):_
ENTER “A” FOR AUTO CENTERING
PLACEMENT = 0
PLACEMENT = A
1363-2
LABELLABEL
Installation
and
Setup
Label
Placement
Figure
2-16
Changing
the
Label
Placement
Value
The
label
calibration
value
can
also
be
changed
while
the
2500
is
processing
devices
using
the
STOP
command.
Press
STOP
on
the
2500's
keyboard
and
then
LOWER
CASE
+
C.
The
2500
displays:
where
X
represents
the
current
setting.
Enter
a
new
value
(between
0
and
255)
on
the
2500's
keyboard.
Press
ENTER
to
save
the
value.
Press
CAL
to
run
the
ADC
optic's
label
calibration.
When
the
calibration
has
completed,
press
START
to
continue
running
the
Task.
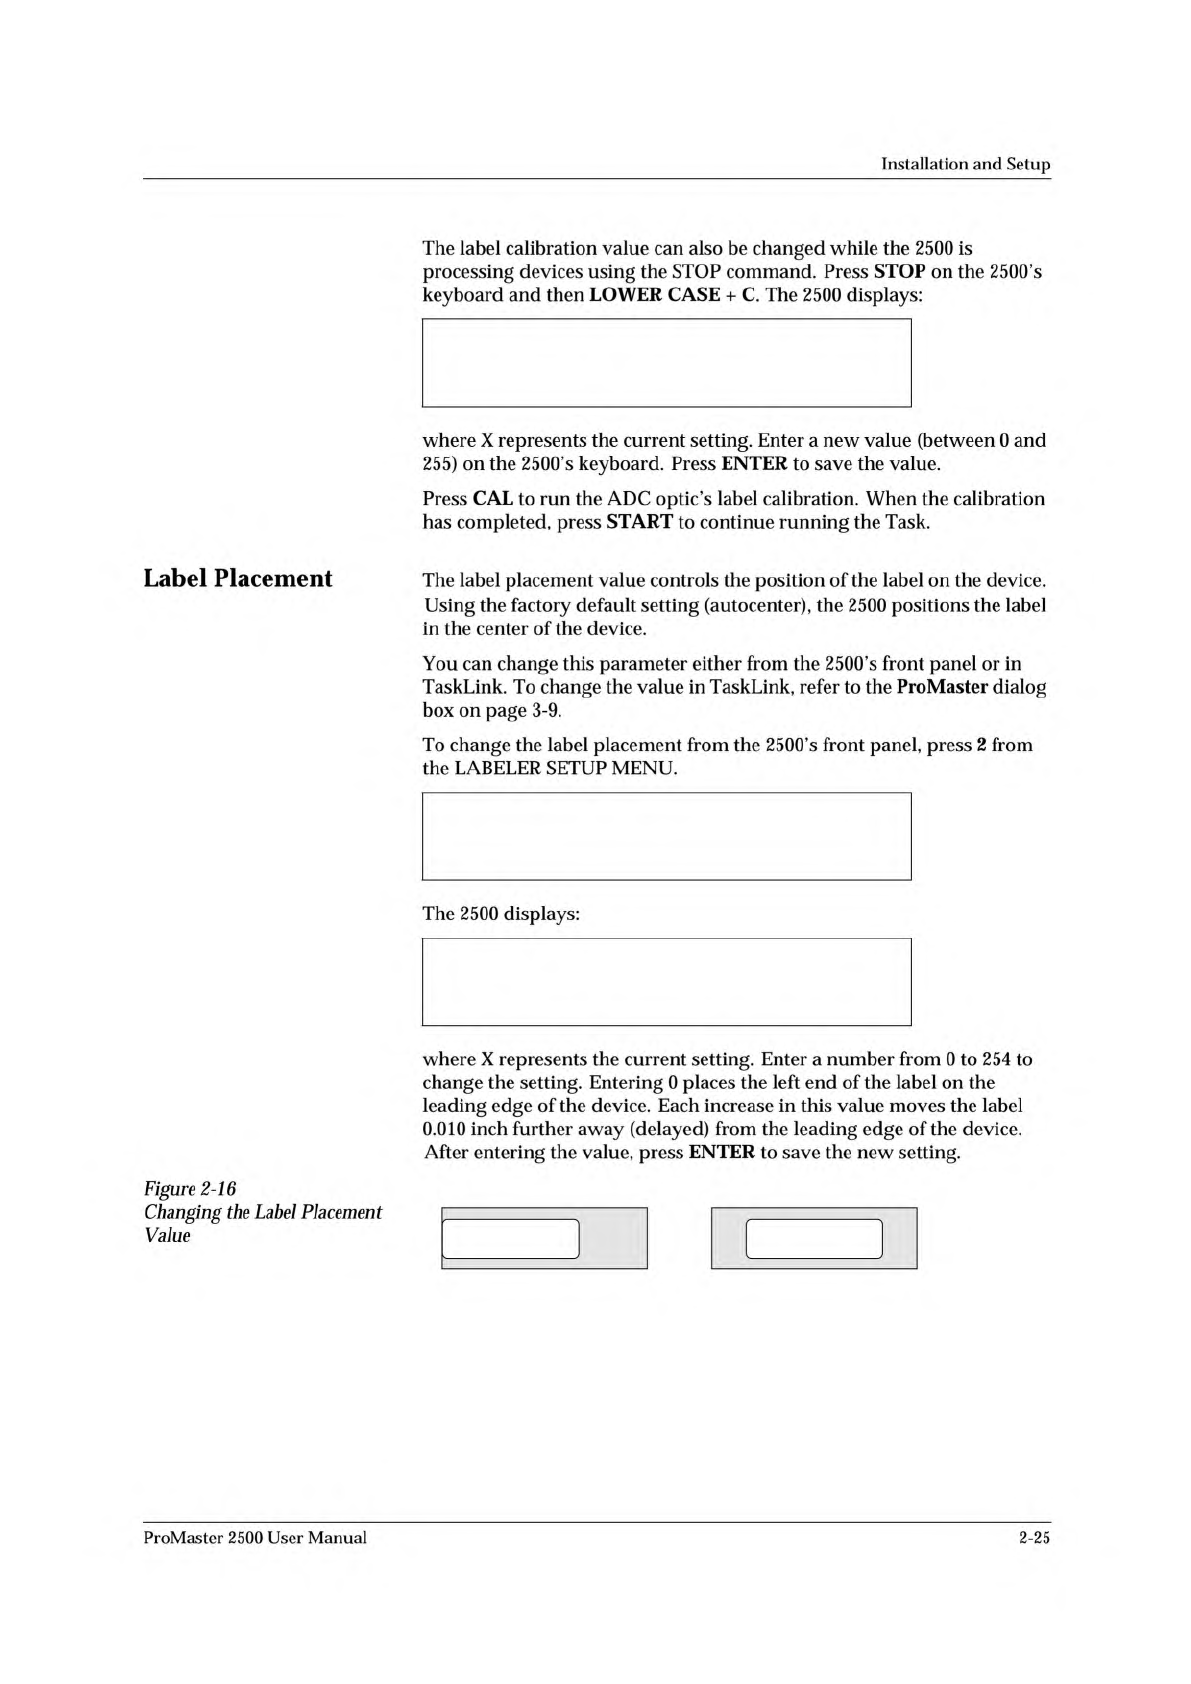
The
label
placement
value
controls
the
position
of
the
label
on
the
device.
Using
the
factory
default
setting
(autocenter),
the
2500
positions
the
label
in
the
center
of
the
device.
You
can
change
this
parameter
either
from
the
2500's
front
panel
or
in
TaskLink.
To
change
the
value
in
TaskLink,
refer
to
the
ProMaster
dialog
box
on
page
3-9.
To
change
the
label
placement
from
the
2500,s
front
panel,
press
2
from
the
LABELER
SETUP
MENU.
The
2500
displays:
where
X
represents
the
current
setting.
Enter
a
number
from
0
to
254
to
change
the
setting.
Entering
0
places
the
left
end
of
the
label
on
the
leading
edge
of
the
device.
Each
increase
in
this
value
moves
the
label
0.010
inch
further
away
(delayed)
from
the
leading
edge
of
the
device.
After
entering
the
value,
press
ENTER
to
save
the
new
setting.
ProMaster
2500
User
Manual
2-25
* * * LABELER SETUP MENU * * *
1 - LABEL CALIBRATION 4 - SETUP MENU
2 - LABEL PLACEMENT
3 - LABEL ADJUST
ENTER LABEL ADJUST VALUE (X): _
PROGRAM/TEST LABEL
ENTER LABEL ADJUST VALUE (X): _
PRINT LABEL
ENTER DOT SPLIT VALUE (XX): _
1938-2
NORMALBLURRED TEXT
Installation
and
Setup
Label
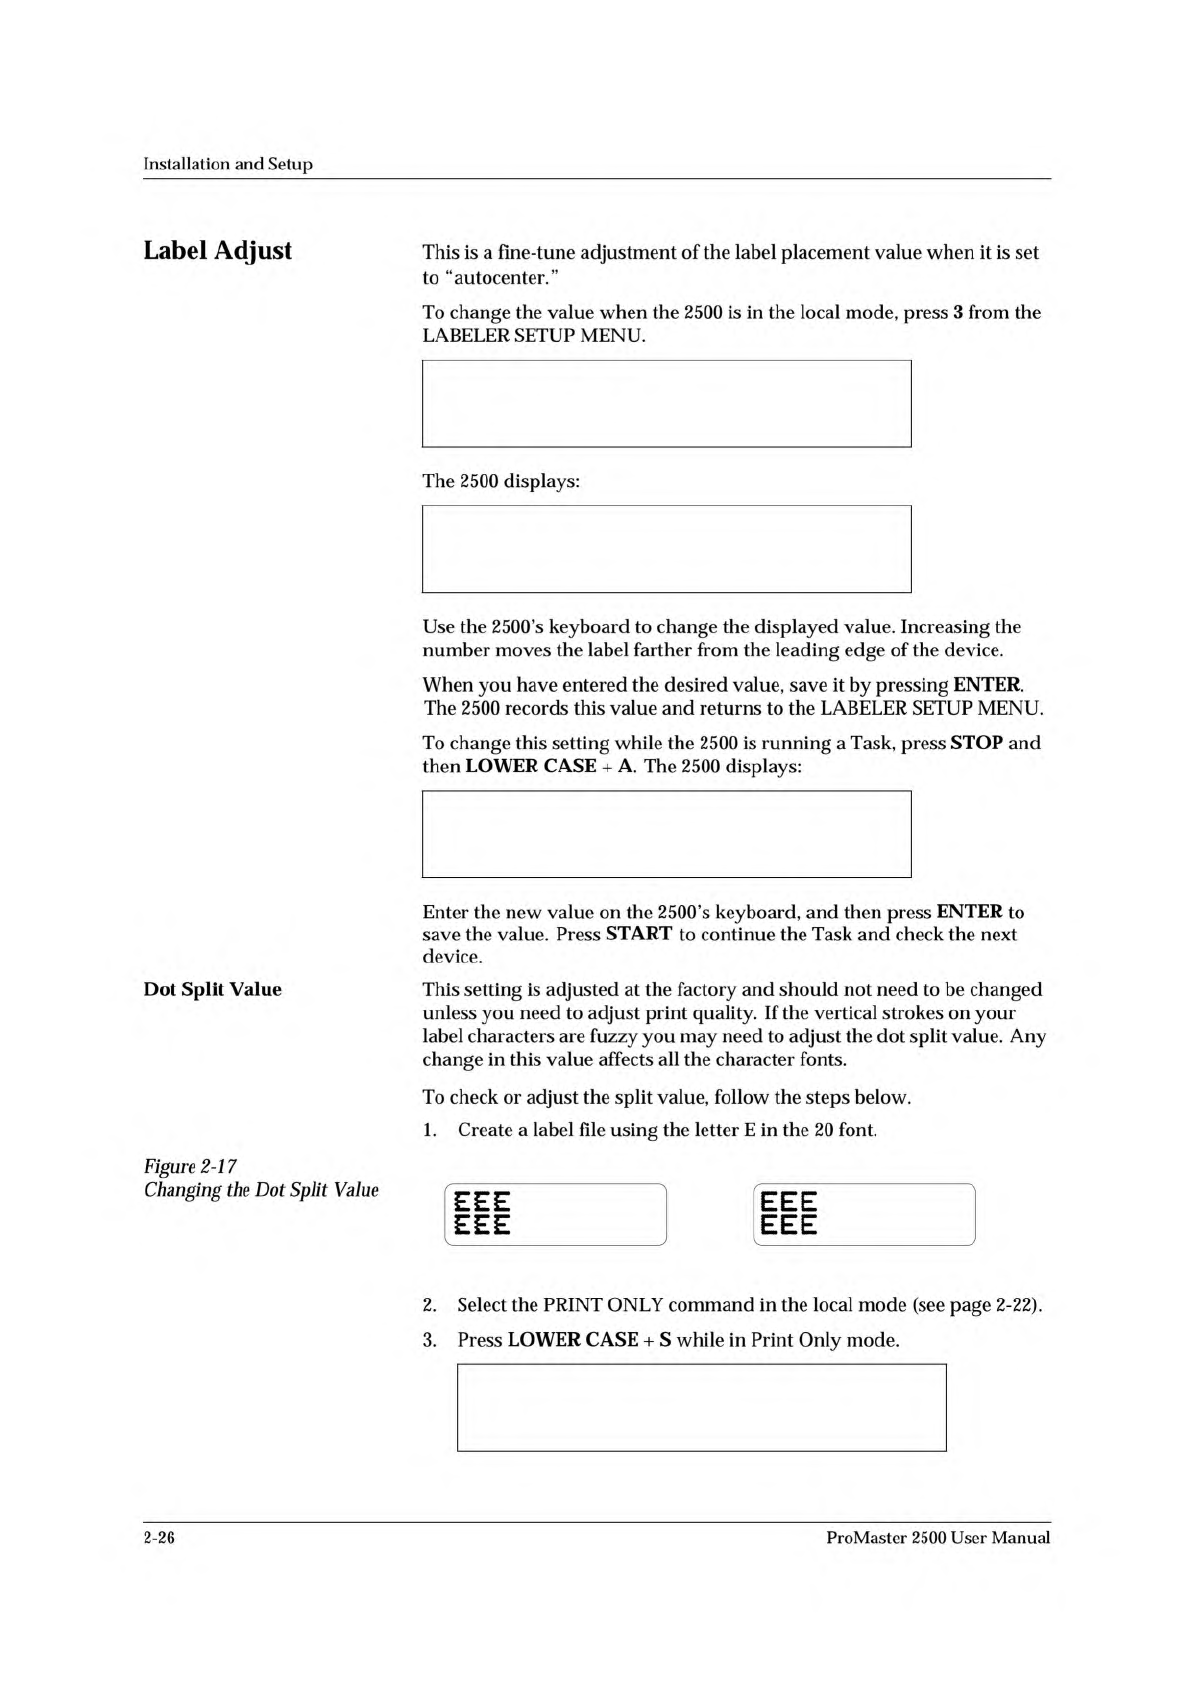
Adjust
Dot
Split
Value
Figure
2-1
7
Changing
the
Dot
Split
Value
This
is
a
fine-tune
adjustment
of
the
label
placement
value
when
it
is
set
to
“autocenter.”
To
change
the
value
when
the
2500
is
in
the
local
mode,
press
3
from
the
LABELER
SETUP
MENU.
The
2500
displays:
Use
the
2500's
keyboard
to
change
the
displayed
value.
Increasing
the
number
moves
the
label
farther
from
the
leading
edge
of
the
device.
When
you
have
entered
the
desired
value,
save
it
by
pressing
ENTER.
The
2500
records
this
value
and
returns
to
the
LABELER
SETUP
MENU.
To
change
this
setting
while
the
2500
is
running
a
Task,
press
STOP
and
then
LOWER
CASE
+
A.
The
2500
displays:
Enter
the
new
value
on
the
2500's
keyboard,
and
then
press
ENTER
to
save
the
value.
Press
START
to
continue
the
Task
and
check
the
next
device.
This
setting
is
adjusted
at
the
factory
and
should
not
need
to
be
changed
unless
you
need
to
adjust
print
quality.
If
the
vertical
strokes
on
your
label
characters
are
fuzzy
you
may
need
to
adjust
the
dot
split
value.
Any
change
in
this
value
affects
all
the
character
fonts.
To
check
or
adjust
the
split
value,
follow
the
steps
below.
1.
Create
a
label
file
using
the
letter
E
in
the
20
font.
2.
Select
the
PRINT
ONLY
command
in
the
local
mode
(see
page
2-22).
3.
Press
LOWER
CASE
+
S
while
in
Print
Only
mode.
2-26
ProMaster
2500
User
Manual
1656-2
INCREASE DECREASE
Installation
and
Setup
4.
Enter
a
new
value
from
the
2500's
keyboard
and
press
ENTER
to
save
the
new
dot
split
value.
5.
6.
Press
START
to
print
and
examine
the
next
sample
label.
Closely
examine
the
vertical
stroke
on
the
letter
E
to
see
if
it
is
clear
and
formed
from
a
single
column
of
dots
(see
Figure
2-17).
Repeat
this
process
until
you
are
satisfied
with
the
quality
of
the
printed
character.
Additional
Commands
for
the
Thermal
Printer
Two
commands,
Intensity
and
Print
Shift,
are
specific
to
the
thermal
printer.
•
Print
Shift
allows
you
to
adjust
the
vertical
position
of
the
characters
on
the
label.
•
Intensity
allows
you
to
adjust
the
darkness
of
text
or
graphics
on
the
label.
The
values
for
these
parameters
can
be
changed
using
the
STOP
command
while
the
2500
is
processing
devices.
Each
parameter,
along
with
the
STOP
command
for
changing
its
current
setting,
is
described
in
the
following
sections.
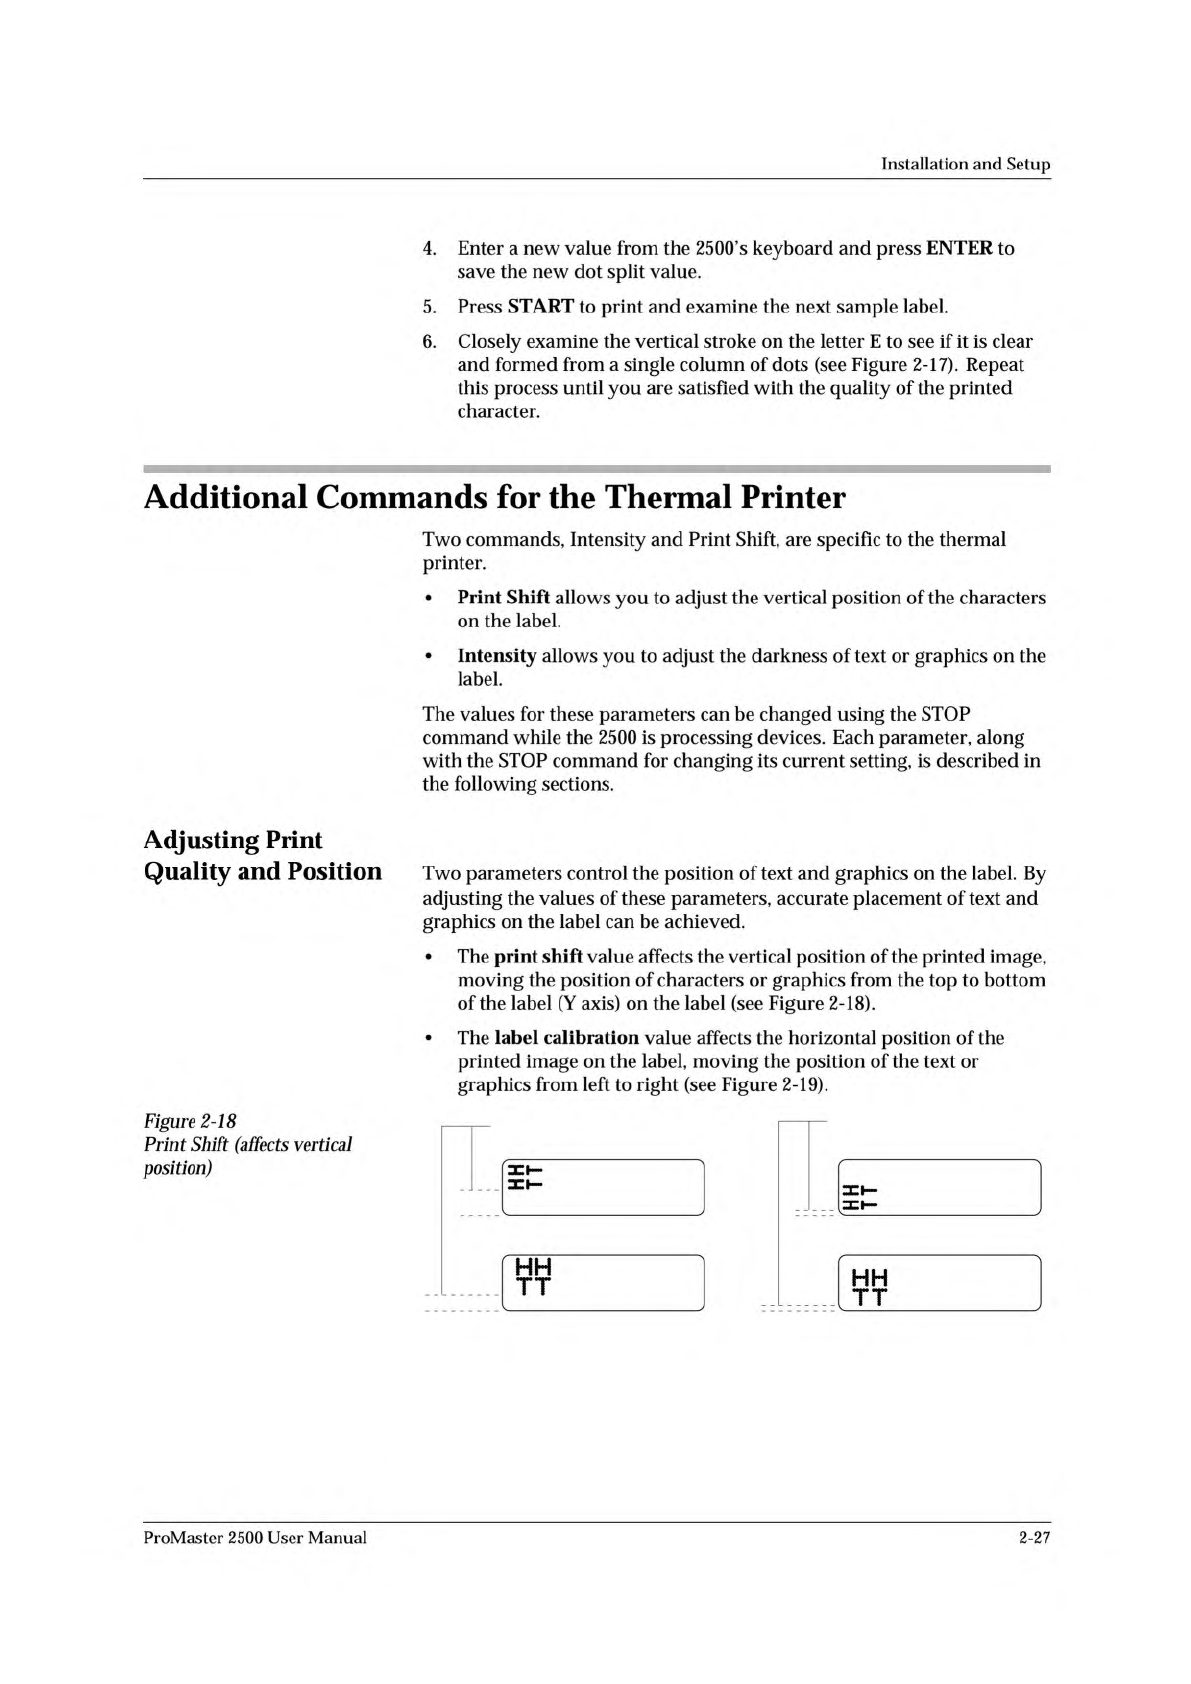
Adjusting
Print
Quality
and
Position
Two
parameters
control
the
position
of
text
and
graphics
on
the
label.
By
adjusting
the
values
of
these
parameters,
accurate
placement
of
text
and
graphics
on
the
label
can
be
achieved.
•
The
print
shift
value
affects
the
vertical
position
of
the
printed
image,
moving
the
position
of
characters
or
graphics
from
the
top
to
bottom
of
the
label
(Y
axis)
on
the
label
(see
Figure
2-18).
•
The
label
calibration
value
affects
the
horizontal
position
of
the
printed
image
on
the
label,
moving
the
position
of
the
text
or
graphics
from
left
to
right
(see
Figure
2-19).
Figure
2-18
Print
Shift
(affects
vertical
position)
ProMaster
2500
User
Manual
2-27