00196962-04-BA-SX12-V2-EN.pdf - 第230页
5 Working with the machine User manual SIPLACE SX1/SX2 5.3 Switching on the SIPLACE line From software version SC 706.1 SP1 Version 10/2014 230 5.3 Switching on the SIPLACE line 5.3.1 St arting the SIPLACE Pr o Line Cont…

User manual SIPLACE SX1/SX2 5 Working with the machine
From software version SC 706.1 SP1 Version 10/2014 5.2 Controls and displays
229
Keyboard 5
The keyboard is located beneath the monitor.
5
Indicator lamp with horn - two color (standard) 5
The sequence of colors of the indicator lamps is white - green. These lamps are used to signal
operating statuses and malfunctions of the machine. See also Section 5.7 on page 247.
Indicator lamp with horn - three color (optional) 5
The sequence of colors of the indicator lamps is red - yellow - green. These lamps are used to
signal operating statuses and malfunctions of the machine. See also Section 5.7 on page 247.
5.2.3 Ergonomic arrangement of controls
Fig. 5.2 - 1, page 227 provides an overview of the position of the controls. They are subdivided
into the following groups:
Operator panel at location 1 5
– LCD touchscreen
– Keyboard with trackball
– Start button
– Stop button
– Main switch
Operator panel at location 2 5
– LCD touchscreen
– Keyboard with trackball
– Start button
– Stop button
CAUTION
Risk of collision on the monitor with keyboard
When working on the component trolley, there is risk that you could collide with the mon-
itor and keyboard.
Turn the monitor and keyboard away to the side.
Make sure that you are not under the monitor and keyboard with your head.
5 Working with the machine User manual SIPLACE SX1/SX2
5.3 Switching on the SIPLACE line From software version SC 706.1 SP1 Version 10/2014
230
5.3 Switching on the SIPLACE line
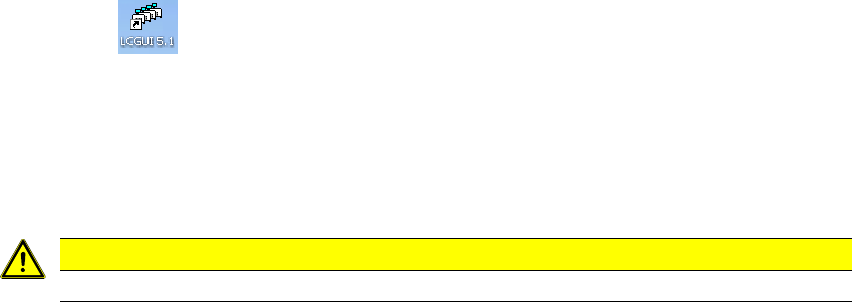
5.3.1 Starting the SIPLACE Pro Line Control GUI program
Start the program on the line computer SIPLACE Pro Line Control GUI
via the Windows Start menu
Start --> Programs --> SIPLACE Pro --> LCGUI
or
with the icon on your desktop.
Enter your user data.
The system connects to the SIPLACE Pro server and opens the user interface.
5.3.2 What to consider before switching on the stations
5
Check whether the stations are connected to the power and compressed air supplies.
Perform a sight check of the stations. Make sure that there are no obstacles in the travel
range of the gantries.
Make sure that the Z axes of all heads are in their uppermost end positions.
With waffle pack changer option: Switch the waffle pack changer on before you switch the ma-
chine on.
CAUTION
Before you switch on the stations, please perform the following steps.

User manual SIPLACE SX1/SX2 5 Working with the machine
From software version SC 706.1 SP1 Version 10/2014 5.3 Switching on the SIPLACE line
231
5.3.3 User classification
Certain functions or menus may only be executed or can only accessed by specially trained per-
sonnel. A differentiation is made between the following operator levels:
– Production
– Advanced production
– Service (customer)
– Service (SIPLACE)
The operator levels "Advanced production" and "Service (customer)" can be password protected.
The operator level "Service (SIPLACE)" is already password protected.
For a detailed description of the user classification, refer to section 5.1
, page 223.
5.3.4 Switching on the station and starting the station software user interface
5
Switch the station on at the main power switch.
After switching on, check whether the manometers show the required operating pressure.
The station computer software is loaded and the "Production" view of the station software is
shown for the "Production" operator level (see following diagram).
CAUTION
Communication problems when switching on the station!
Early switching on of station can lead to communication problems.
Only switch the station on if the monitor of the SIPLACE Pro computer shows the
"Desktop",