00197279-03_SM_Glue-Feeder_EN.pdf - 第52页
Replacing Spare Parts Jet Valve P-DOT 3.15.2 Fitting the Jet Valve P-DOT 52 Service Manual SIPLACE Glue Feeder ► Plug th e power su pply int o the jet valve (down below). (1) ► Use the marke d screw to fasten the power s…
Replacing Spare Parts
3.15.2 Fitting the Jet Valve P-DOT Jet Valve P-DOT
Service Manual SIPLACE Glue Feeder 51
► Align the cartridge pipe centrally and straight in rela
-
tion to the back, so that the cartridge can be correctly
screwed into place.
► Fix the cartridge pipe with one hand in this position
and then screw the lock tight.
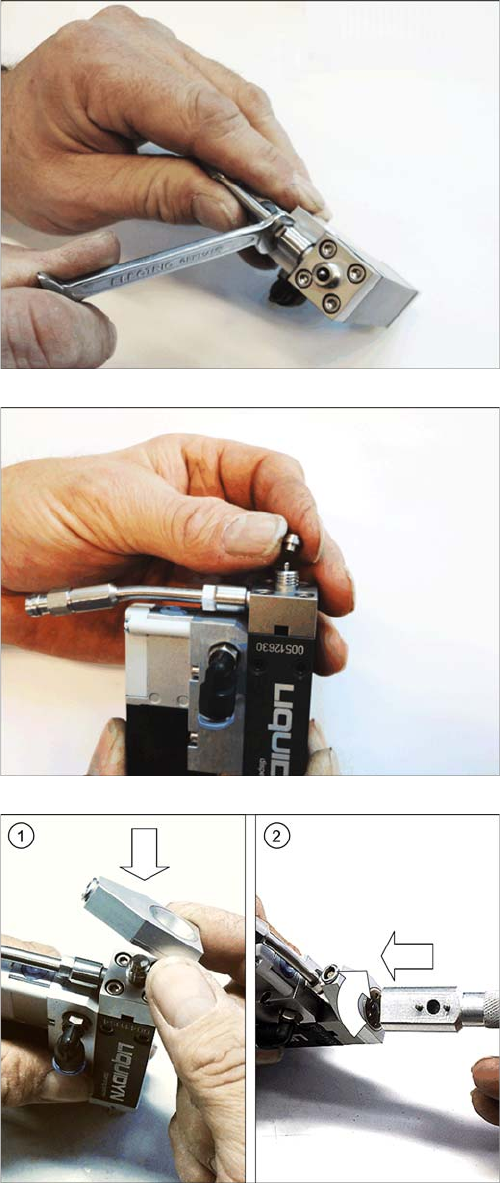
► Fit the dispenser nozzle onto the top of the jet block.
► Place the nozzle heating onto the jet block and align
this straight on the feed pipe. (1)
► Place the union nut into the nozzle heating and
tighten. (2) Use the heating key for this.
Replacing Spare Parts
Jet Valve P-DOT 3.15.2 Fitting the Jet Valve P-DOT
52 Service Manual SIPLACE Glue Feeder
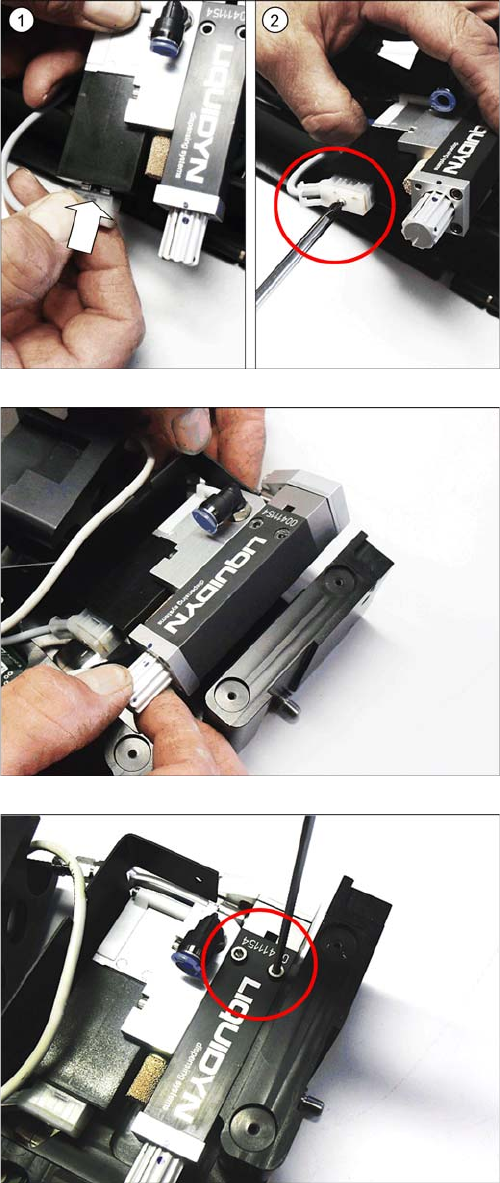
► Plug the power supply into the jet valve (down
below). (1)
► Use the marked screw to fasten the power supply into
place on the jet valve. (2) Use a Phillips screwdriver
for this.
► As shown in the diagram, lift the jet valve into the glue
feeder.
► Coat the tips of the two screws with LOCTITE 243.
► Use the two marked screws to loosely tighten the jet
valve to the frame. Use a size 2.5 Allen key for this.
Replacing Spare Parts
3.15.2 Fitting the Jet Valve P-DOT Jet Valve P-DOT
Service Manual SIPLACE Glue Feeder 53
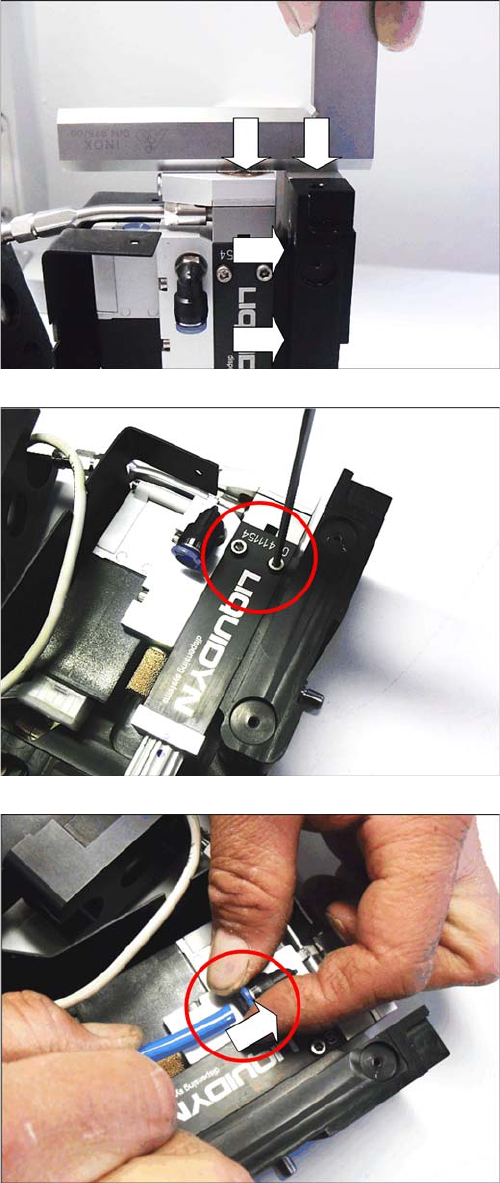
► Align the jet valve.
The right side of the jet valve must be flush with the
frame.
The nozzle should be at the same height as the refer
-
ence sheets on the front of the glue feeder.
► Once the jet valve has been correctly aligned, tighten
the two screws.
► Insert the hose as far as possible into the com
-
pressed air connection.