00197279-03_SM_Glue-Feeder_EN.pdf - 第67页
Replacing Spare Parts 3.17.1 Manometer (Dispenser) Manometer Service Manual SIPLACE Glue Feeder 67 ► Mark the hose connected to the to p manometer with adhesive tape. ► Carefully place the glue fe eder down on its left s…
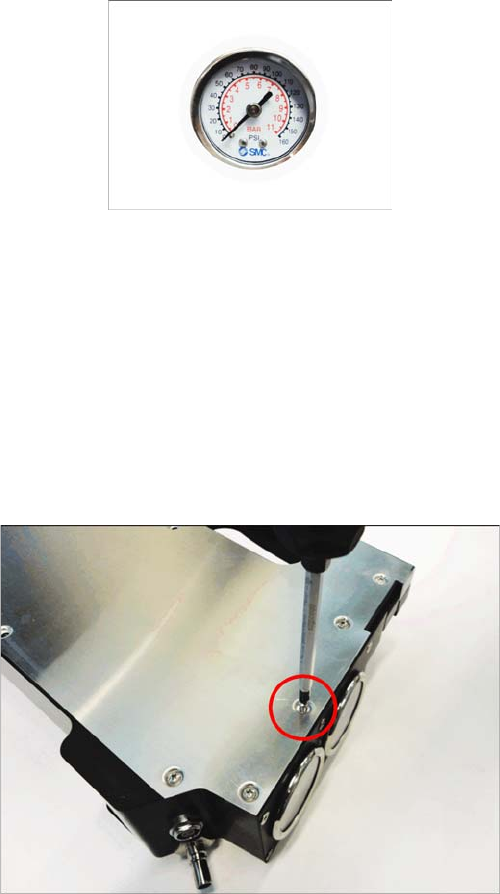
Replacing Spare Parts
Manometer 3.17.1 Manometer (Dispenser)
66 Service Manual SIPLACE Glue Feeder
3.17
3.17 Manometer
Manometer
3.17.1
3.17.1 Manometer (Dispenser)
Manometer (Dispenser)
Required spare parts
Manometer 4K8-10P assembly, item no. 03094559-xx
Required tools
▪ Phillips screwdriver
▪ Allen key, size 1.5
▪ Open-ended wrench, size 7
▪ Open-ended wrench, size 11
▪ Open-ended wrench, size 14
3.17.1.1
3.17.1.1 Removing the Manometer (Dispenser)
Removing the Manometer (Dispenser)
► Remove the right side cover (see "3.8.1 Removing
the Right Side Cover" [ ➙ 21])
► Carefully place the glue feeder down on its right side.
► Remove the marked Phillips screw.
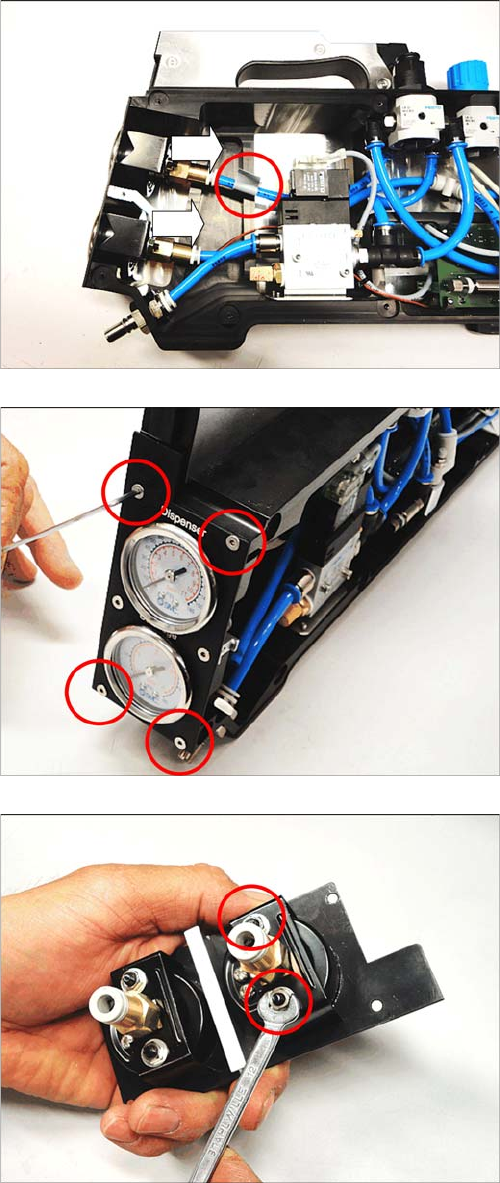
Replacing Spare Parts
3.17.1 Manometer (Dispenser) Manometer
Service Manual SIPLACE Glue Feeder 67
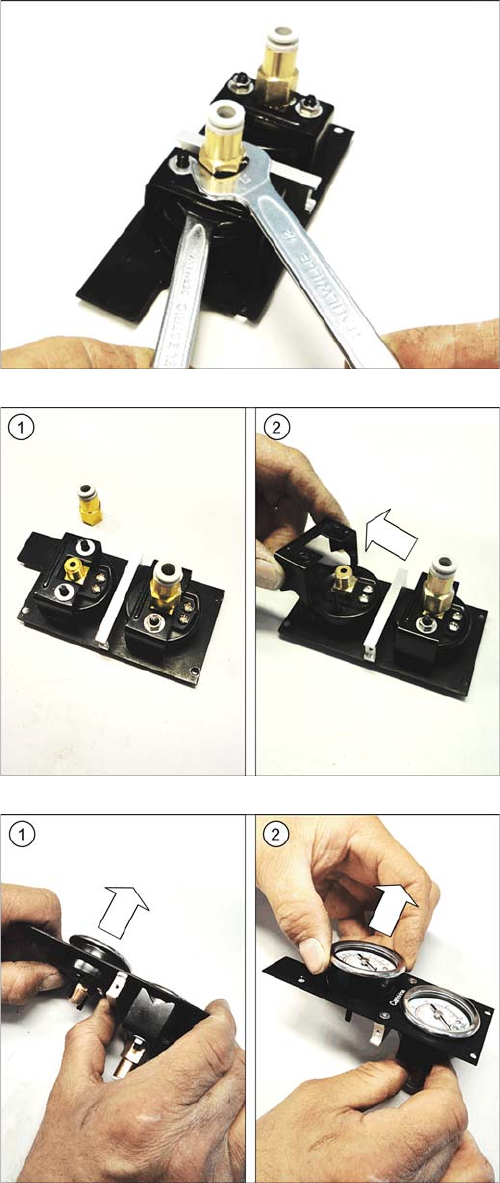
► Mark the hose connected to the top manometer with
adhesive tape.
► Carefully place the glue feeder down on its left side.
► Remove the hoses from the top and bottom manom
-
eters.
► Remove the 4 screws marked. Use a size 1.5 Allen
key for this.
► Lift the plate with the two manometers forwards and
out of the glue feeder frame.
► Remove the two marked nuts. Use a size 7 fork
wrench for this.
Replacing Spare Parts
Manometer 3.17.1 Manometer (Dispenser)
68 Service Manual SIPLACE Glue Feeder
► Remove the large brass nut with the straight push-fit
connector. Use two fork wrenches for this:
a size 14 fork wrench for below, to hold the screw,
a size 11 fork wrench for above, to loosen the brass
nut.
► Once you have removed the brass nut (1), pull the fix
-
ture bracket sideways and off the manometer. (2)
► Carefully press the manometer a little out of the cover
plate. (1)
► Carefully pull the manometer fully out of the cover
plate. (2)