00197279-03_SM_Glue-Feeder_EN.pdf - 第85页
Replacing Spare Parts 3.22.1 Removing the Cartridge Holder Cartridge Holder Assembly Service Manual SIPLACE Glue Feeder 85 3.22 3 . 2 2 C a r t r id g e H o ld e r A s s e m b ly Cartridge Holder Assembly Required spare …
Replacing Spare Parts
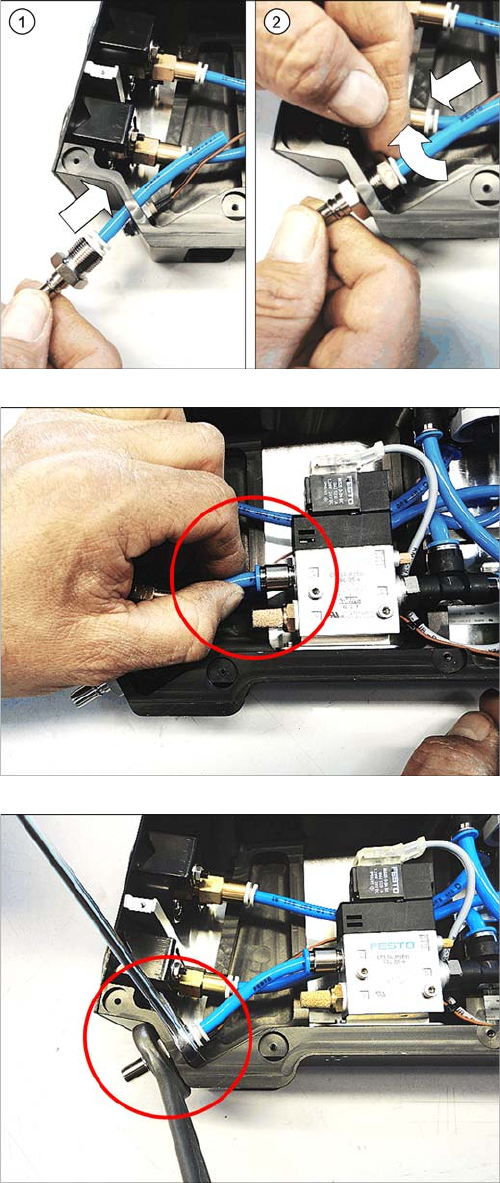
Coupler Plug 3.21.2 Fitting the Coupler Plug
84 Service Manual SIPLACE Glue Feeder
See also
3.8.2 Fitting the Right Side Cover [ ➙ 21]
► Insert the hose and coupler plug into the glue feeder
frame. (1)
► Push the nut over the hose and then tighten it. (2)
► Push the hose as far as possible into the plug-in con
-
nector lock on the solenoid valve.
► Tighten the inner nut, fastening the coupler plug to
the frame. Use 2 size 17 fork wrenches for this.
Use one to hold the nut on the outside of the frame,
so that this nut does not turn.
► Fasten the right side cover (see .
Replacing Spare Parts
3.22.1 Removing the Cartridge Holder Cartridge Holder Assembly
Service Manual SIPLACE Glue Feeder 85
3.22
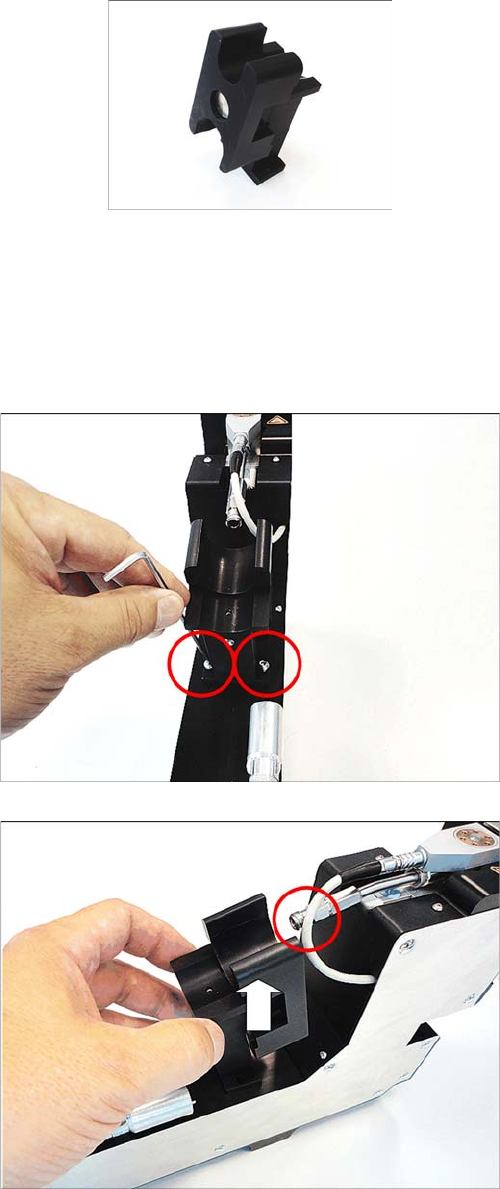
3.22 Cartridge Holder Assembly
Cartridge Holder Assembly
Required spare parts
Cartridge holder assembly, item no. 03094060- xx
Required tools
▪ Allen key size 2.5
3.22.1
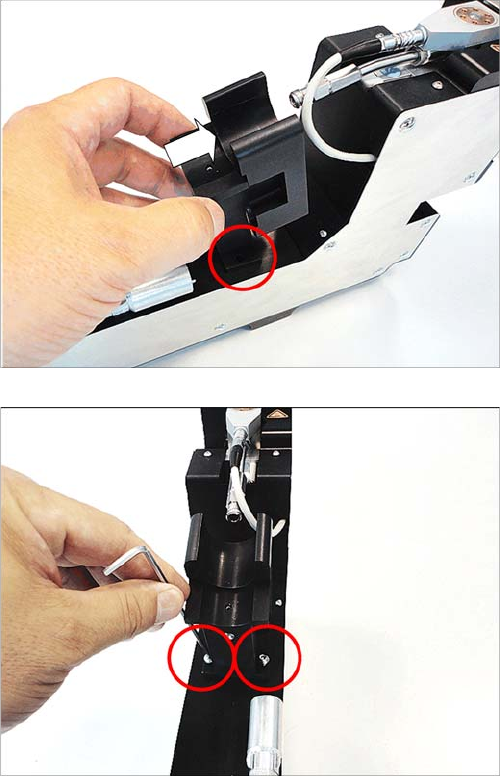
3.22.1 Removing the Cartridge Holder
Removing the Cartridge Holder
► Remove the two marked screws. Use a size 2.5 Allen
key for this.
► Carefully lift the cartridge holder off the glue feeder.
Make sure that the cartridge holder does not hit the
cartridge pipe.
Replacing Spare Parts
Cartridge Holder Assembly 3.22.2 Fitting the Cartridge Holder
86 Service Manual SIPLACE Glue Feeder
3.22.2
3.22.2 Fitting the Cartridge Holder
Fitting the Cartridge Holder
► As shown in the diagram, carefully fit the cartridge
holder onto the glue feeder.
Make sure that you position the cartridge holder so
that you can screw the cartridge to the cartridge pipe
afterwards.
► Use the two marked screws to fasten the cartridge
holder. Use a size 2.5 Allen key for this.
1. Fasten the first screw loosely so that the cartridge
base can still move a little, giving you room to fit the
second screw.
2. Tighten the second screw.
3. Now tighten the first screw.